How to Paint Wooden Blinds: A Complete DIY Guide for a Fresh, Professional Finish
Painting wooden blinds might sound like one of those weekend projects you keep pushing to “next Saturday.” Then next Saturday becomes next month, and suddenly you’re still staring at faded, scratched blinds that have seen better days. Sound familiar?
The good news? You don’t need to replace perfectly good wooden blinds. A fresh coat of paint can completely transform them for a fraction of the cost. I’ve painted several sets over the years, and honestly, I wish I’d started sooner. The first time felt intimidating, but once I learned the right process, it became one of my favorite budget-friendly home upgrades.
Whether you want crisp white blinds, dramatic black ones, or a trendy sage green finish, this guide walks you through every step. Along the way, I’ll also share a few mistakes I learned the hard way—because nobody enjoys sanding dried paint drips off 40 tiny slats. :
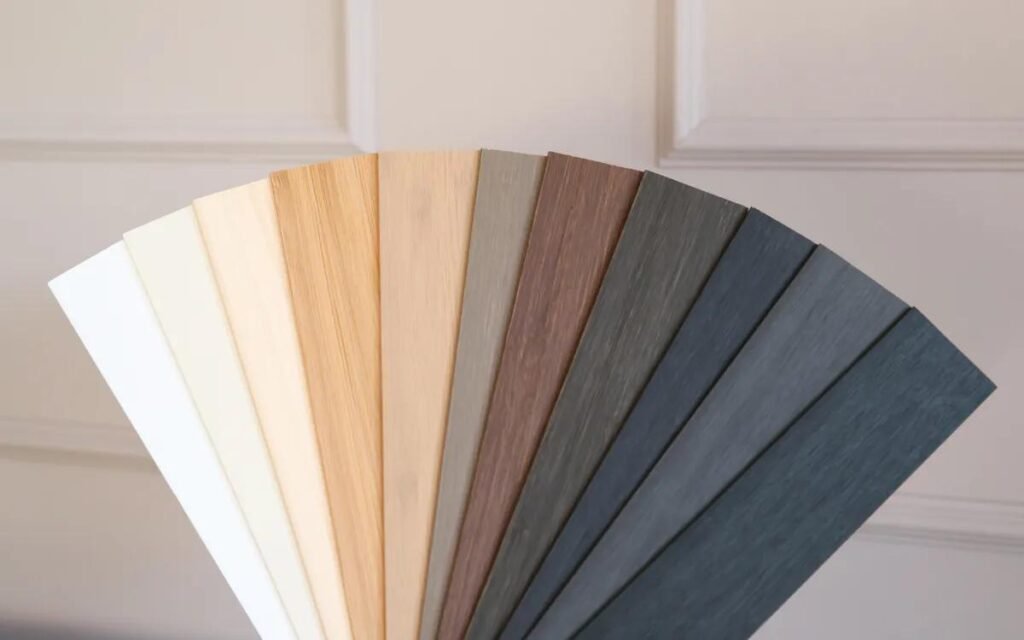
Table of Contents
Why Paint Wooden Blinds Instead of Replacing Them?
Replacing quality wooden blinds often costs hundreds of dollars. Painting them usually costs less than one gallon of paint and a free weekend.
Besides saving money, painting lets you customize your décor exactly how you want.
Benefits include:
- Save money
- Refresh outdated colors
- Cover scratches and stains
- Match new wall colors
- Extend the life of your blinds
- Reduce waste
Ever wondered why professional decorators repaint existing blinds instead of replacing them? Because solid wood blinds are built to last, and paint gives them a brand-new appearance.
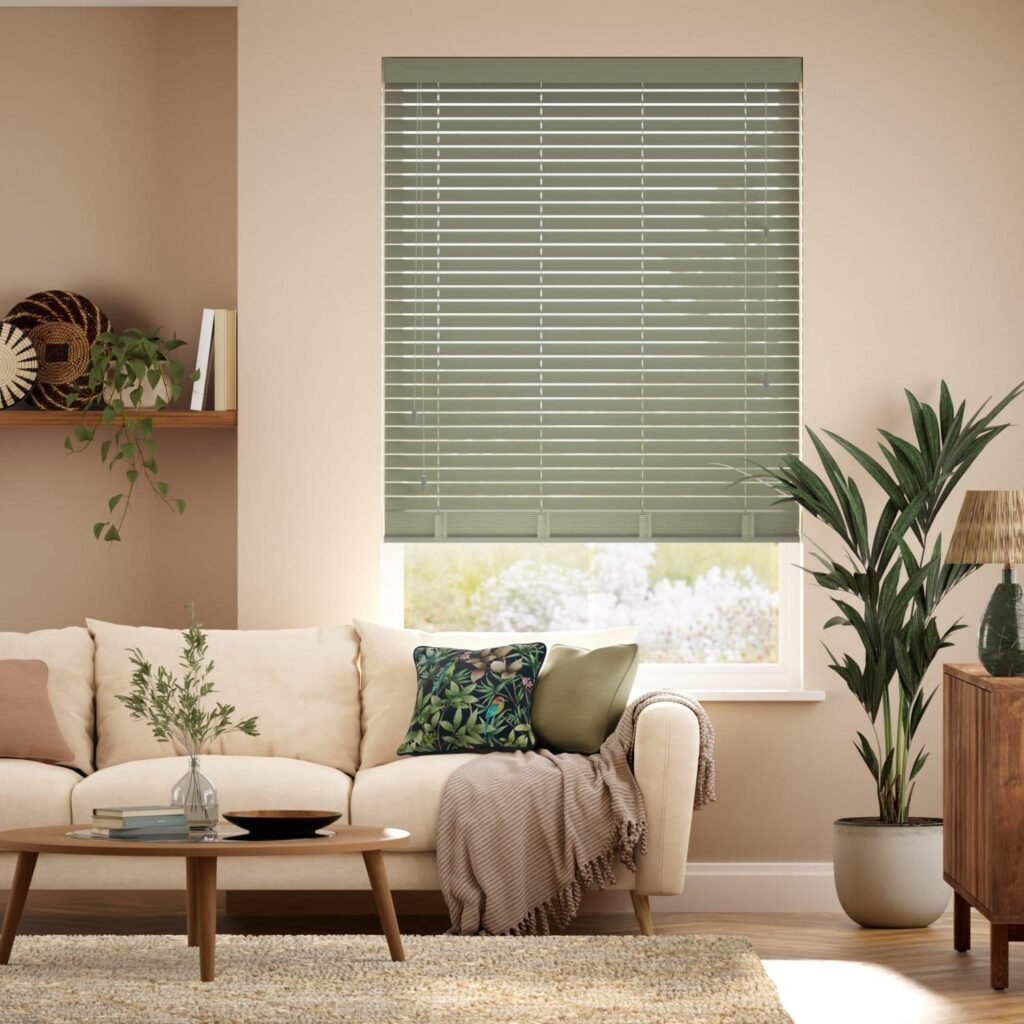
Image: Side-by-side comparison of old stained wooden blinds and freshly painted white blinds.
Supplies You’ll Need
Before opening the paint can, gather everything first. Running around looking for painter’s tape with wet hands isn’t exactly fun.
Essential Supplies
- Mild cleaner
- Microfiber cloth
- Screwdriver
- Fine-grit sandpaper (220 grit)
- Tack cloth
- Painter’s tape
- Drop cloth
- High-quality primer
- Latex or acrylic paint
- Small foam roller
- Angled paintbrush
- Spray paint (optional)
- Paint sprayer (optional)
- Drying rack or sawhorses
Pro Tip: I prefer foam rollers for flat slats because they leave fewer brush marks.
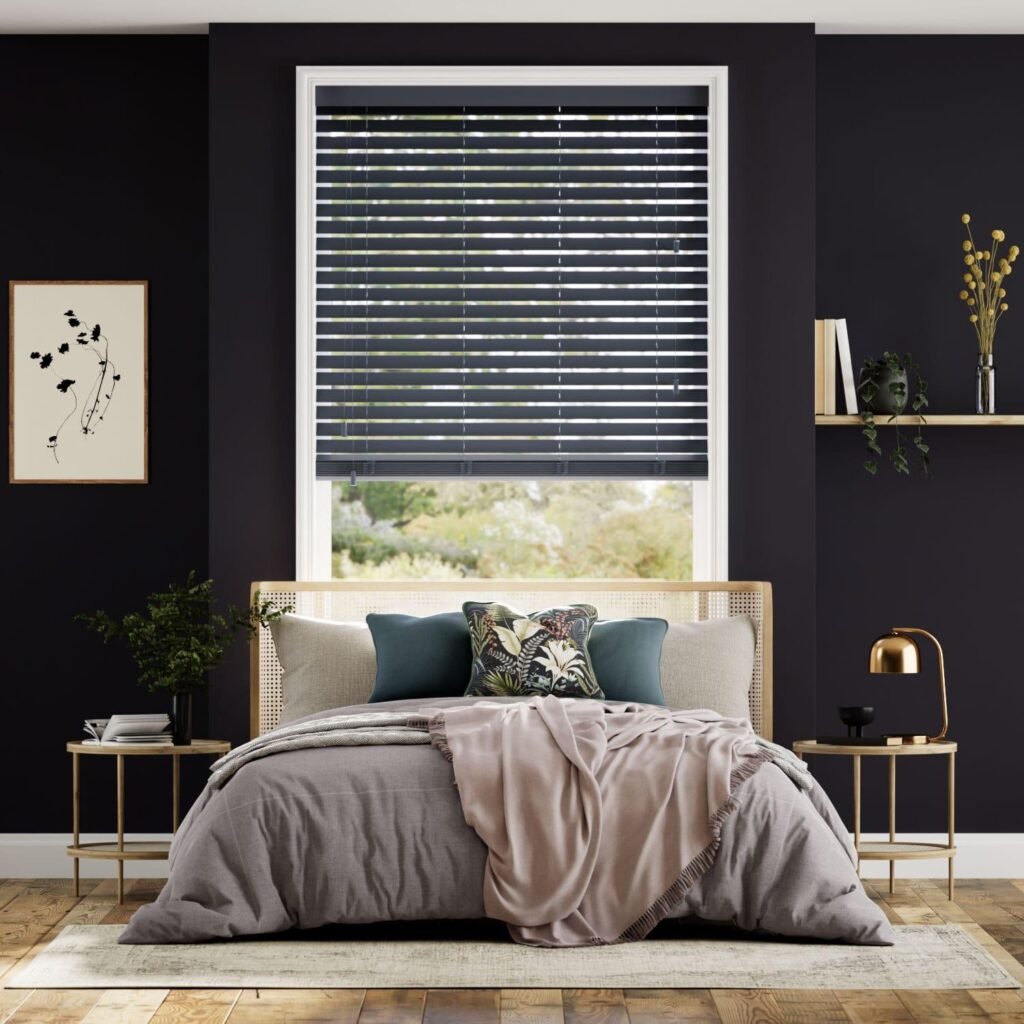
Image: DIY painting supplies neatly arranged on a workbench.
Choose the Right Paint
Not every paint works well on wooden blinds.
Because blinds move constantly, you need paint that stays durable and resists sticking.
Best Paint Options
Acrylic Latex Paint
This remains my favorite.
Pros
- Easy cleanup
- Low odor
- Flexible finish
- Doesn’t yellow easily
Furniture Paint
Furniture paint offers excellent durability.
It also requires fewer coats than standard wall paint.
Spray Paint
Spray paint creates an incredibly smooth finish.
However, you need proper ventilation and patience.
Chalk Paint
Chalk paint creates a beautiful matte appearance.
You’ll usually need a protective topcoat afterward.
IMO, satin or semi-gloss acrylic paint gives the best balance between durability and appearance.
Pick the Perfect Finish
The sheen matters more than many people realize.
Here’s a quick comparison.
| Finish | Best For |
| Matte | Modern, rustic rooms |
| Eggshell | Soft contemporary look |
| Satin | Best overall choice |
| Semi-gloss | Kitchens and bathrooms |
| High-gloss | Dramatic modern spaces |
Satin remains the sweet spot for most homes.
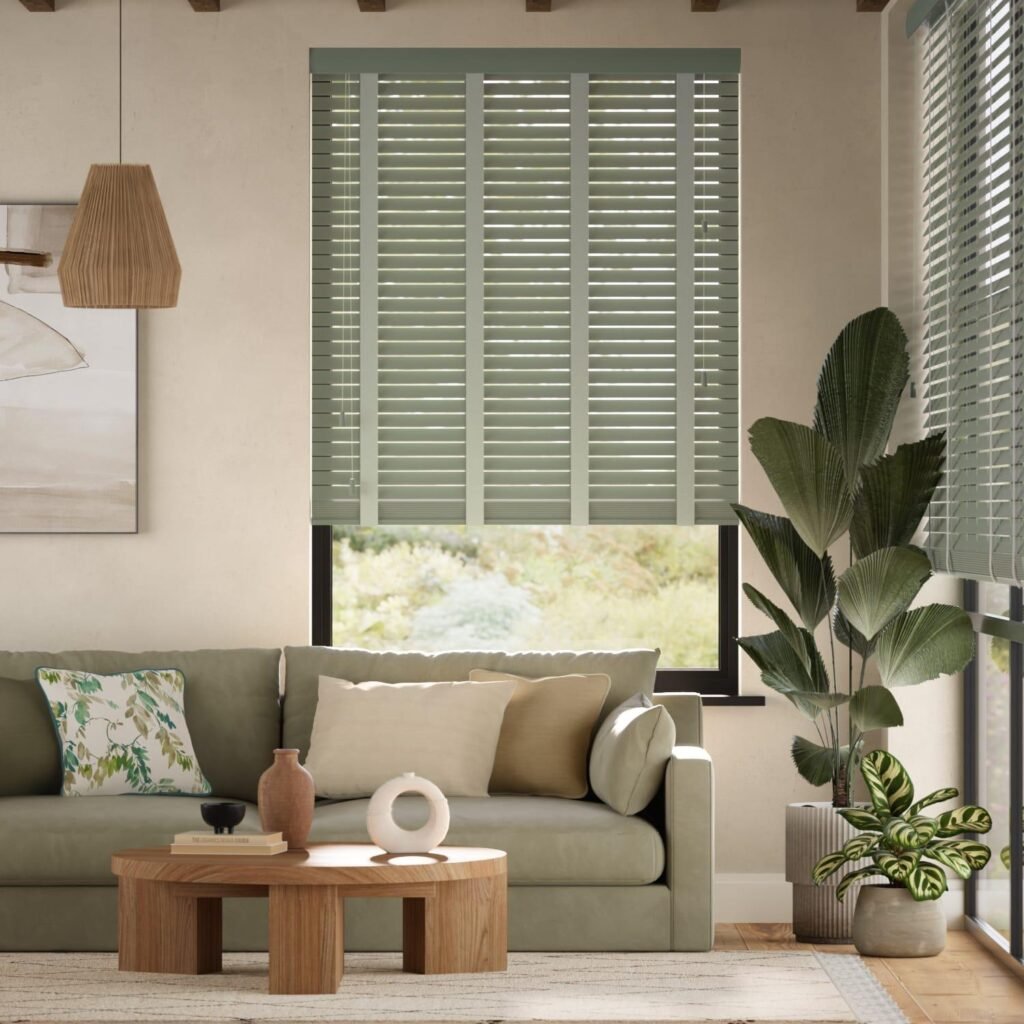
Image: Paint finish comparison board showing matte, satin, and semi-gloss samples.
Remove the Blinds
Could you paint them while hanging?
Technically.
Should you?
Absolutely not.
Removing them makes every step easier and produces a much cleaner finish.
Steps
- Raise the blinds completely.
- Remove the valance.
- Unscrew mounting brackets.
- Carefully lower the blinds.
- Label hardware.
Trust me, labeling brackets saves frustration later.
Clean the Blinds Thoroughly
Paint hates dirt.
Dust also loves hiding between every single slat.
Use warm water mixed with mild dish soap.
Wipe each slat carefully.
Allow everything to dry completely.
If grease remains, use a degreaser.
Never paint over wax or furniture polish.
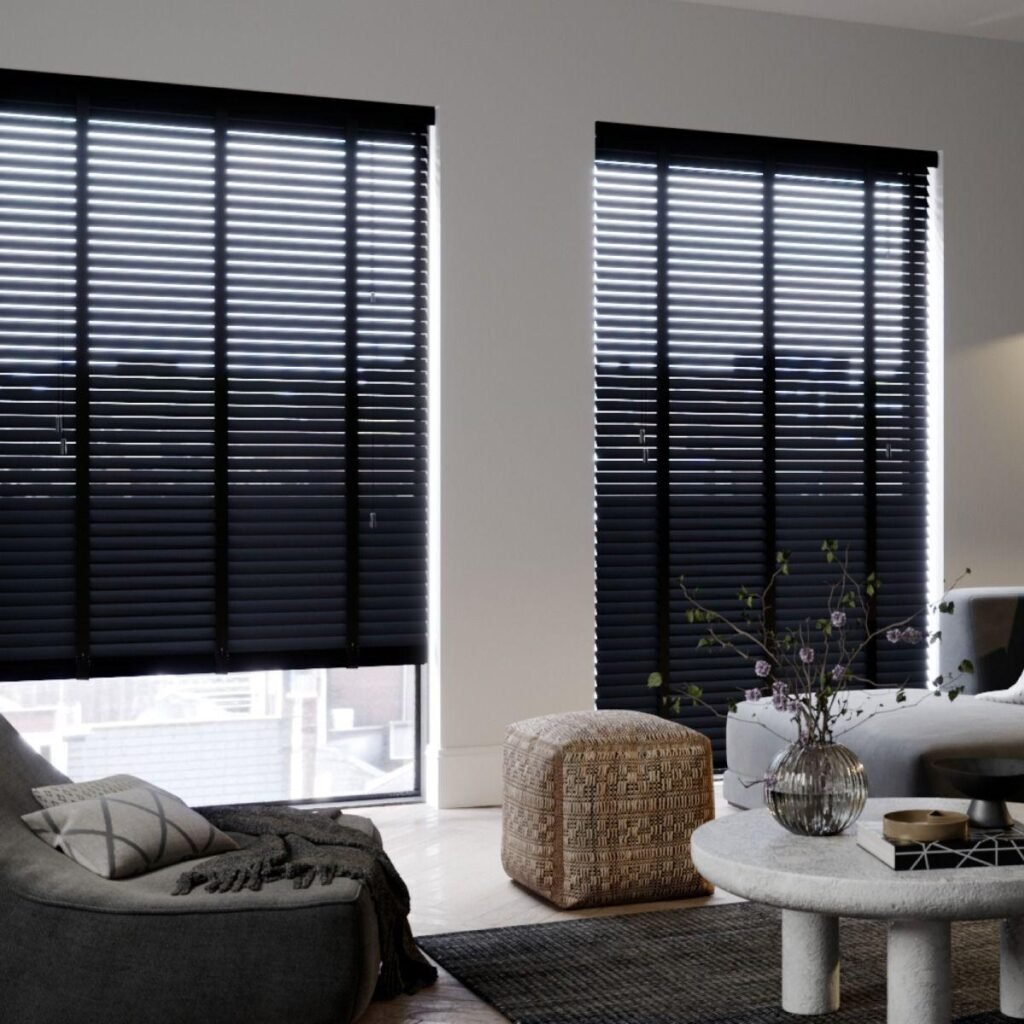
Image: Cleaning wooden blind slats with a microfiber cloth.
Sand the Surface
Sanding sounds boring.
Unfortunately, skipping it usually produces peeling paint later.
Lightly sand every visible surface.
Your goal isn’t removing the finish.
You’re simply helping primer grip the wood.
Use 220-grit sandpaper.
After sanding:
- Vacuum dust
- Wipe with tack cloth
- Let dry
Apply Primer
Primer creates the foundation.
Without it, paint often chips around the edges.
Choose a bonding primer suitable for finished wood.
Apply a thin coat.
Avoid thick layers.
Allow it to dry according to manufacturer directions.
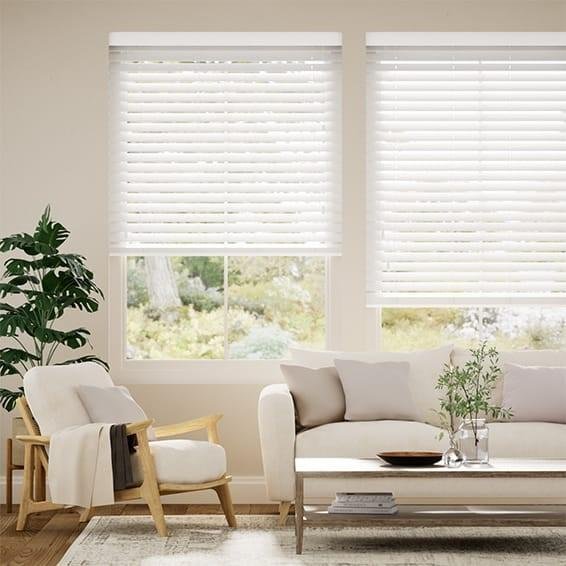
Image: Applying primer evenly across wooden blind slats.
How to Paint Wooden Blinds (Step-by-Step)
Now comes the fun part.
Step 1: Lay the Blinds Flat
Support the blinds so air reaches both sides.
Many DIYers suspend them between sawhorses.
That works wonderfully.
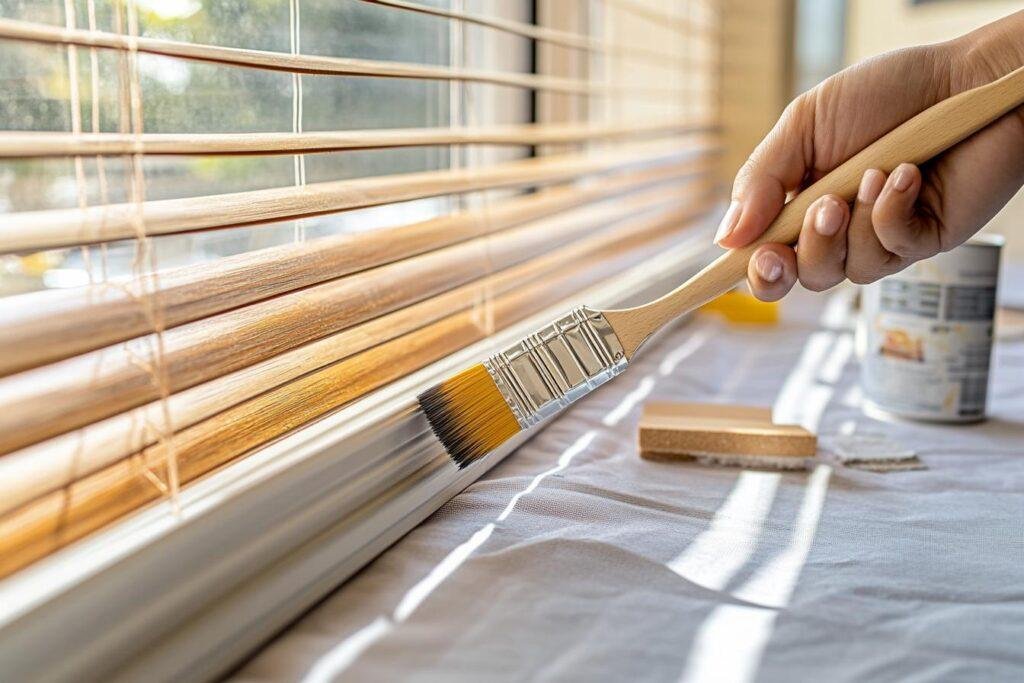
Step 2: Paint One Side
Use a foam roller.
Follow with a brush for corners.
Paint in long, even strokes.
Step 3: Let Dry
Don’t rush.
Seriously.
Touching “almost dry” paint usually creates fingerprints forever.
Step 4: Flip Carefully
Once dry, paint the opposite side.
Repeat the same process.
Step 5: Add Second Coat
Two thin coats almost always outperform one thick coat.
Sometimes dark colors need a third coat.
Brush vs Roller vs Spray Paint
Let’s compare your options.
| Method | Pros | Cons |
| Brush | Inexpensive | Brush marks |
| Foam Roller | Smooth finish | Slower |
| Spray Paint | Factory look | Overspray |
| Paint Sprayer | Fast | More cleanup |
Personally, I use a roller for most projects.
Sprayers produce beautiful results, but cleaning them sometimes feels like another DIY project.
Common Mistakes to Avoid
Even experienced painters make these occasionally.
Avoid These Errors
- Skipping primer
- Painting dirty blinds
- Applying thick coats
- Ignoring drying time
- Using cheap brushes
- Painting in humid weather
- Reinstalling too soon
Ever wondered why painted blinds sometimes stick together?
Usually thick paint caused the problem.
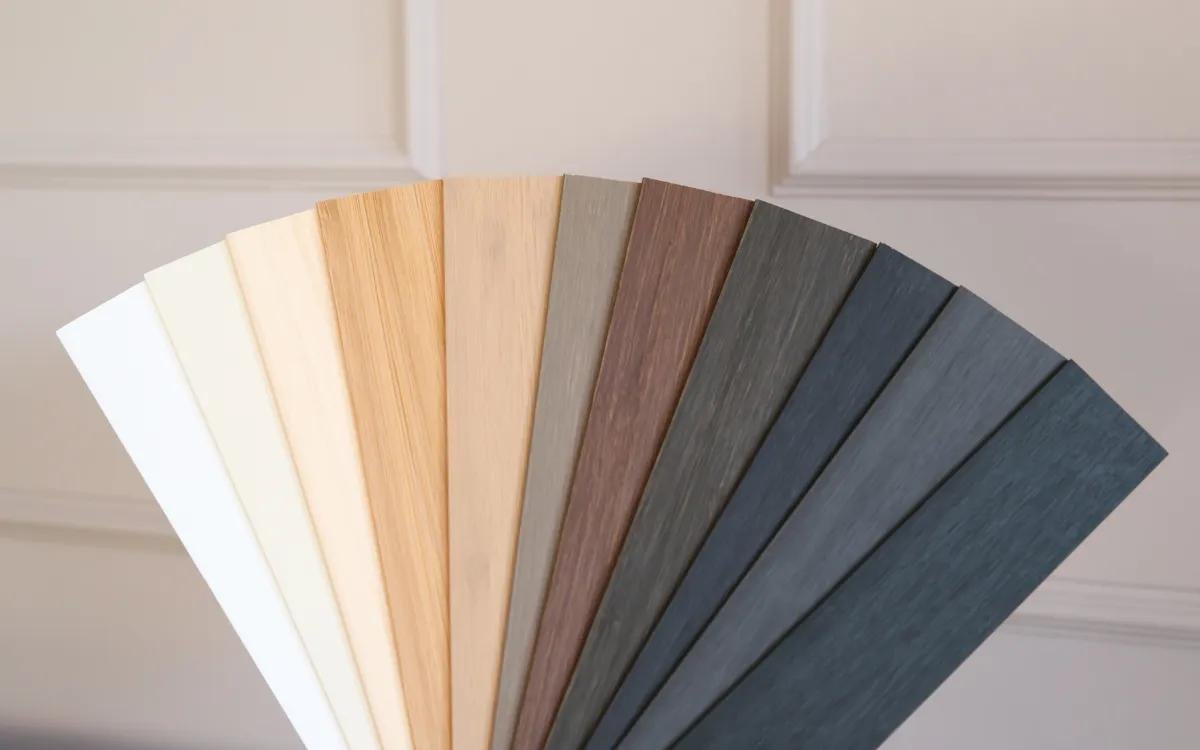
Best Colors for Wooden Blinds
Choosing color feels harder than painting.
Here are some favorites.
White
Classic.
Bright.
Timeless.
Works almost everywhere.
Black
Modern.
Bold.
Excellent with white trim.
Soft Gray
Pairs beautifully with contemporary homes.
Sage Green
One of today’s trendiest choices.
Creates a calm atmosphere.
Navy Blue
Adds sophistication without overwhelming the room.
Beige
Warm and inviting.
Perfect for traditional spaces.
How Long Does the Paint Last?
With proper preparation, painted wooden blinds typically last 5–10 years.
High-quality primer extends that lifespan.
Cleaning them gently also helps.
Avoid abrasive cleaners.
Instead:
- Dust weekly
- Wipe with damp microfiber cloth
- Avoid soaking
- Handle carefully
Can You Spray Paint Wooden Blinds?
Absolutely.
Spray paint actually produces one of the smoothest finishes.
For best results:
- Spray outdoors
- Apply several thin coats
- Hold the can 8–10 inches away
- Keep moving
- Overlap each pass slightly
FYI, patience makes all the difference here.
Frequently Asked Questions
Do I need primer?
Yes.
Primer dramatically improves adhesion and durability.
Can I paint blinds without removing them?
You can.
I don’t recommend it.
Removing them creates a much cleaner finish.
Should I paint both sides?
Yes.
Both sides remain visible when the blinds open.
Which paint finish works best?
Satin works best for most homes.
How many coats should I apply?
Usually two.
Dark colors sometimes require three.
Can I use leftover wall paint?
Yes, if it’s high-quality acrylic latex.
However, furniture paint often lasts longer.
Final Thoughts
Painting wooden blinds ranks among the most satisfying DIY home projects because the transformation feels dramatic without costing much money. You don’t need expensive tools or years of experience. You simply need patience, proper preparation, and a little attention to detail.
I still remember finishing my first set and wondering why I almost spent hundreds replacing them. Fresh paint completely changed the room, and guests assumed I had installed brand-new blinds. That’s always a nice little bonus.
So why keep looking at worn, faded blinds when a weekend project can make them look fantastic again? Grab your supplies, put on your favorite playlist, and give those wooden blinds the makeover they deserve. Your windows—and probably your wallet—will thank you.