How to Make Black Color Paint (DIY Guide for Perfect Rich Black Every Time)
Black paint looks simple, right? Open the tube, squeeze it out, and you’re done. Well…not always! Sometimes you run out of black paint halfway through a project. Other times, you want a warmer black, a cooler black, or simply enjoy creating your own custom colors.
I’ve mixed my own black paint more times than I can count, especially during DIY furniture makeovers and small art projects. At first, I thought, “How hard can it be?” Then I accidentally created a muddy brown that looked like old coffee. Lesson learned! Thankfully, making beautiful black paint isn’t difficult once you understand a few simple color-mixing tricks.
In this guide, I’ll show you how to make black color paint using different methods, explain why some mixtures work better than others, and share practical tips that save both paint and frustration. Ready to mix some magic? Let’s get started.
Table of Contents
Why Make Black Paint Instead of Buying It?
You might wonder why anyone would mix black paint when every craft store sells it. That’s a fair question.
The answer is simple: custom black often looks richer and more natural than straight-from-the-bottle black.
Artists, furniture painters, and interior decorators frequently mix their own black because they can control its undertones. Some projects need a cool charcoal black, while others look better with a warm, soft black.
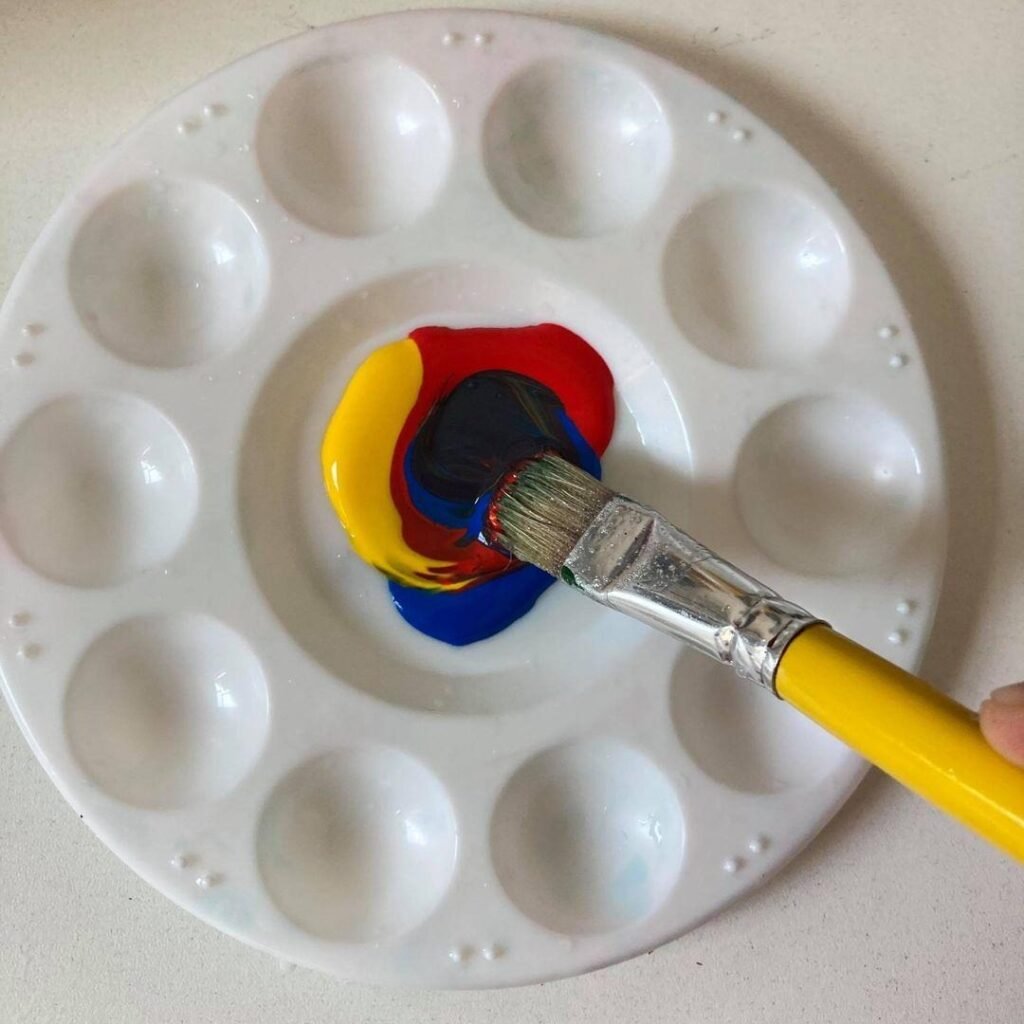
Making your own black paint also helps when:
- You run out of black paint halfway through a project.
- You only have primary colors available.
- You want custom undertones.
- You enjoy experimenting with color mixing.
- You want to improve your painting skills.
Ever noticed how black furniture sometimes looks blue while another piece looks brownish? That’s no accident. Those subtle undertones completely change the finished appearance.
Materials You’ll Need
Before you start mixing, gather everything in one place.
Basic Supplies
You’ll need:
- Red paint
- Blue paint
- Yellow paint
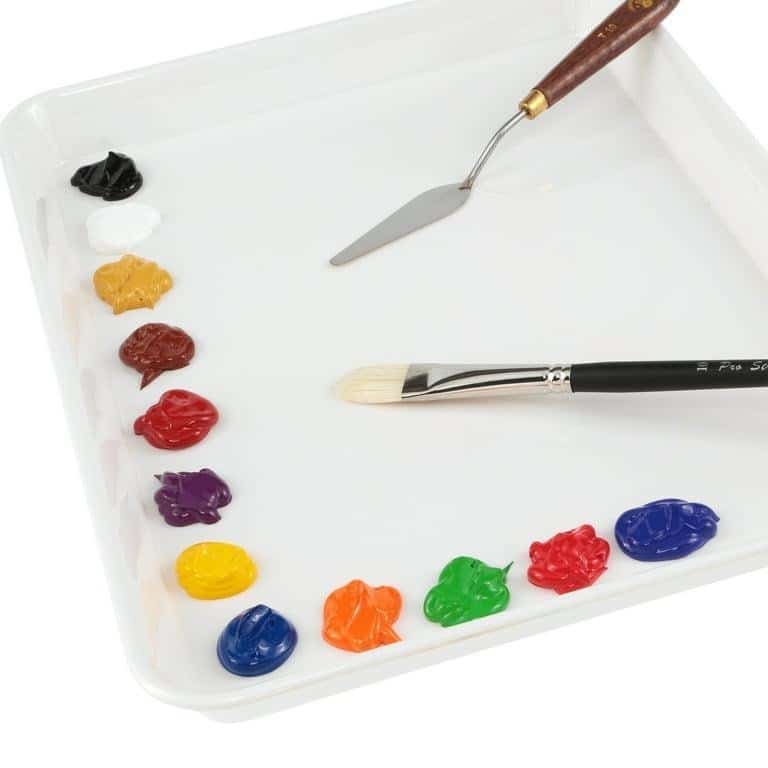
- Mixing palette
- Palette knife or small brush
- Water (for acrylics)
- Paper towels
- Test paper or canvas
Optional Supplies
These make the process even easier.
- Brown paint
- Green paint
- Purple paint
- Orange paint
- White paint (for testing shades)
Pro Tip: Use a palette knife instead of your brush whenever possible. It blends paint faster and wastes less color.
Understanding Why Black Paint Can Be Mixed
Here’s something many beginners don’t realize.
Black isn’t always a single pigment. Many commercial black paints already combine several pigments to achieve a deeper, richer finish.
When you mix multiple colors together correctly, each color absorbs different wavelengths of light. As more light gets absorbed, the mixture appears darker until it reaches a beautiful black.
Sounds a little scientific? It is—but you don’t need a chemistry degree. You just need the right color combinations.
Method 1: Mix the Three Primary Colors
This is the classic method every artist should know.
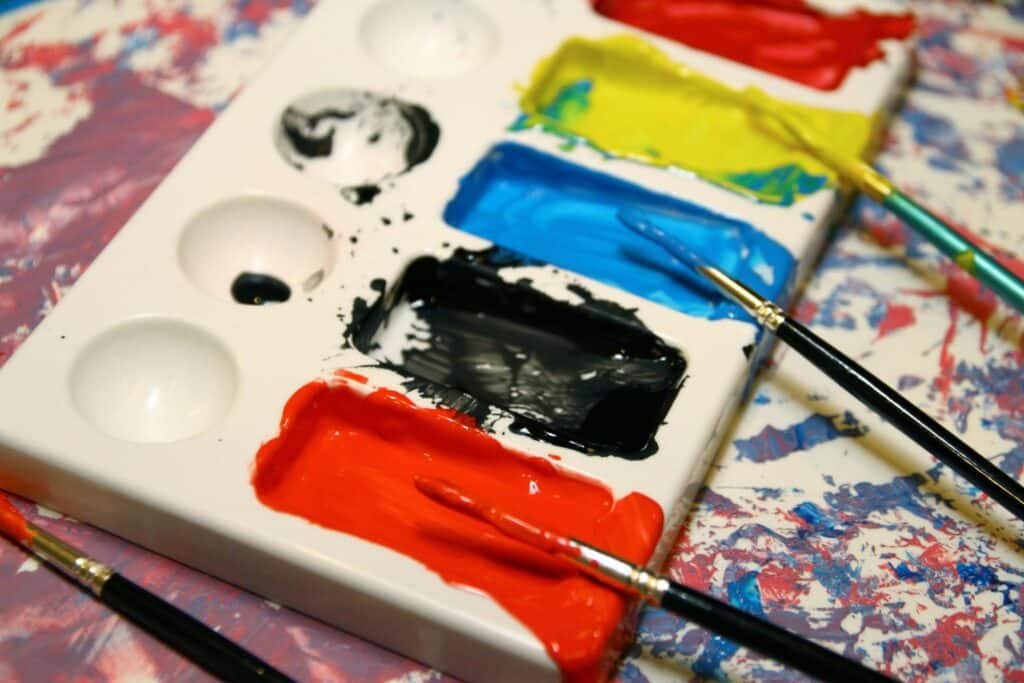
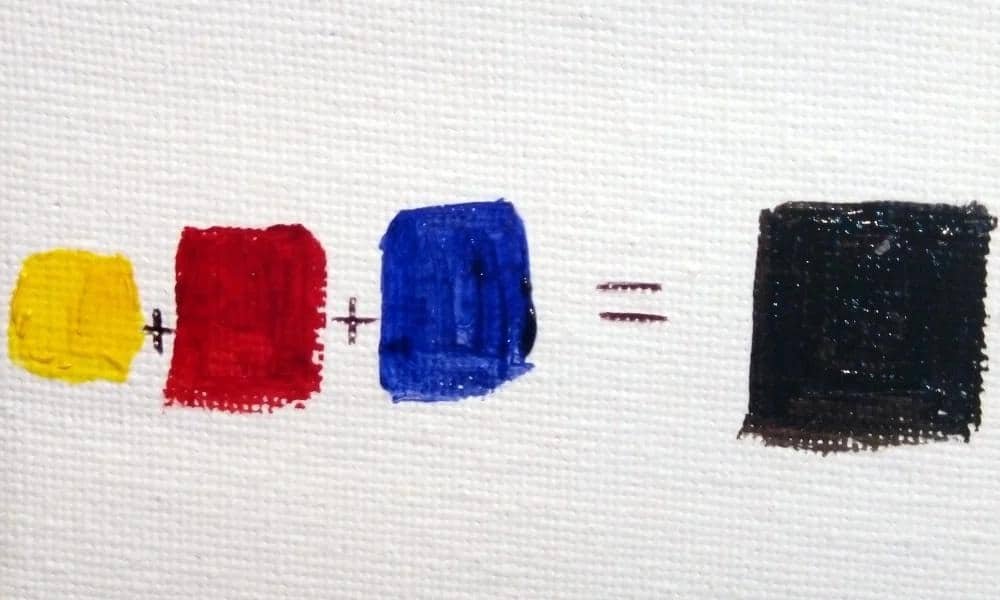
If you have red, yellow, and blue paint, you already have everything needed to make black.
Step 1: Start with Equal Amounts
Place small amounts of:
- Red
- Yellow
- Blue
onto your palette.
Don’t squeeze out huge blobs. Trust me—you’ll thank yourself later if the first mixture needs adjusting.
Step 2: Mix Slowly
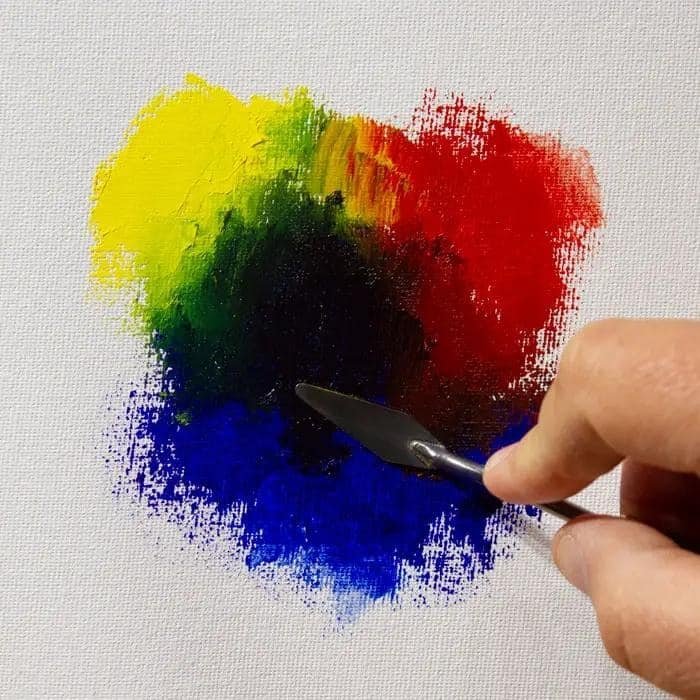
Blend all three colors together.
At first, you’ll probably see:
- Brown
- Olive green
- Dark gray
Don’t panic.
This happens almost every time.
Keep mixing until the pigments fully combine.
Step 3: Adjust the Color
If your mixture looks:
- Too green: add a tiny bit more red.
- Too purple: add a little yellow.
- Too brown: increase blue slightly.
Tiny adjustments make a huge difference.
IMO, patience beats dumping in more paint every single time.
Styling & Mixing Tips
- Mix on a white palette so you can judge the true color.
- Test every adjustment on scrap paper.
- Add paint in very small amounts.
- Write down your mixing ratio if you plan to recreate the color later.
- Mix enough paint before starting your project to keep the finish consistent.
Bonus Tip
Different brands use different pigments.
Even if two bottles both say “Primary Blue,” they may produce slightly different blacks. Whenever you switch brands, make a quick test batch first.
Method 2: Mix Complementary Colors
Here’s a method many experienced painters actually prefer.
Instead of mixing all three primary colors separately, you combine complementary colors.
Complementary colors naturally neutralize each other, creating a rich, dark mixture that often reaches black faster.
Best Color Combinations
Try one of these:
- Blue + Orange
- Red + Green
- Yellow + Purple
Each pair creates a slightly different black with unique undertones.
Blue + Orange
This combination creates a cool black.
It works beautifully for:
- Modern furniture
- Night skies
- Industrial décor
- Contemporary artwork
Add a touch more blue if you want an even cooler finish.
Red + Green
This produces a balanced, neutral black.
Many painters use it for:
- Portraits
- Nature scenes
- Rustic projects
- Decorative crafts
It also hides color bias better than many other mixtures.
Yellow + Purple
This pair creates one of the deepest blacks when the pigments complement each other well.
The final result usually feels:
- Rich
- Soft
- Slightly warm
I love using this combination for decorative signs because it photographs beautifully under natural light.
Styling & Mixing Tips
- Start with a 1:1 ratio of complementary colors.
- Adjust one color at a time until the mixture deepens.
- Test the color after it dries because wet paint often looks darker.
- Keep notes if you discover a perfect custom black.
Bonus Tip
Want a warmer black?
Add just the tiniest touch of burnt sienna or dark brown after mixing. The result looks fantastic on wood furniture and vintage-style décor without making the paint appear obviously brown.
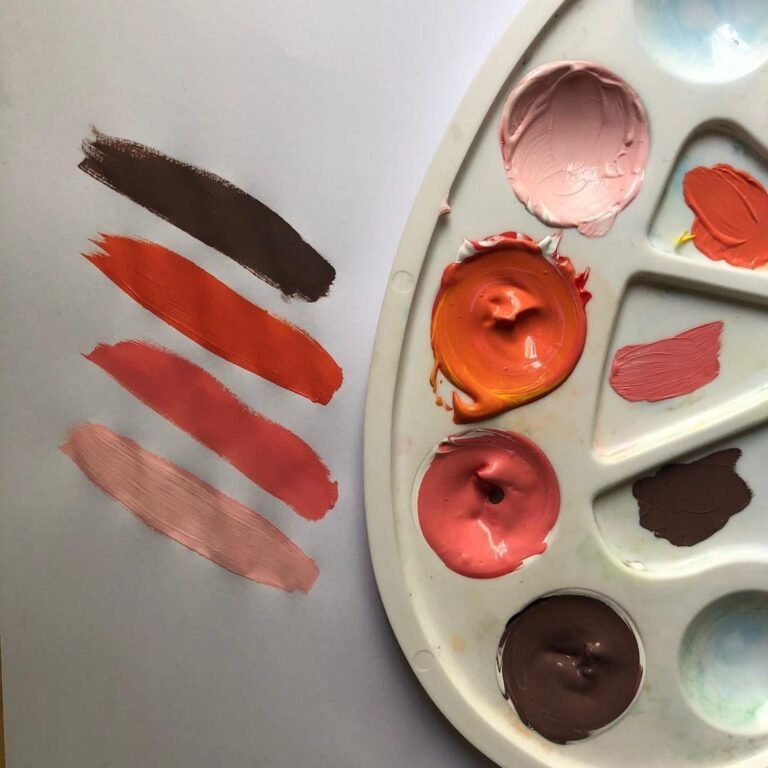
Method 3: Mix Blue and Brown for an Easy, Rich Black
If you asked me for my favorite shortcut, this would probably win. Mixing blue and brown often creates a gorgeous black with very little effort.
Why does it work so well? Brown already contains several pigments. When you combine it with a deep blue, the colors cancel each other out and produce an impressively dark shade.
I first tried this method while repainting an old wooden side table. I had plenty of blue and brown left over but almost no black paint. Instead of driving to the store, I experimented—and honestly, the custom black looked even better than the tube paint.
Best Blue and Brown Combinations
Try these combinations for excellent results:
- Ultramarine Blue + Burnt Umber
- Phthalo Blue + Burnt Umber
- Prussian Blue + Raw Umber
- Navy Blue + Dark Brown
Not every combination creates the exact same black. Some produce a cool charcoal, while others lean toward a warm espresso black.
Styling & Mixing Tips
- Start with equal parts blue and brown.
- Add blue if the mixture looks too warm.
- Add brown if the mixture appears overly cool.
- Test the color on both white and dark surfaces.
- Mix thoroughly before judging the final shade.
Bonus Tip
Need an aged farmhouse black? Add the tiniest dab of dark gray to soften the richness. It creates a beautiful vintage finish that looks fantastic on cabinets and furniture.
Method 4: Use Complementary Pigments for Artist-Quality Black
Sometimes you don’t actually mix colors—you mix pigments.
Artists have created black paint from natural materials for centuries. While modern paint makes life much easier (thank goodness), natural pigments still produce beautiful results.
Some common black pigments include:
- Charcoal powder
- Black iron oxide
- Lamp black pigment
- Carbon black
- Bone black pigment
These pigments mix with acrylic mediums, oil binders, or watercolor mediums to create custom paint.
Why Choose Pigments?
Natural pigments offer several advantages:
- Deep, rich color
- Excellent coverage
- Long-lasting results
- Great control over paint consistency
FYI, pigments can get a little messy. Wear gloves unless you enjoy looking like you’ve been repairing chimneys all afternoon.
Styling & Mixing Tips
- Mix pigment slowly into the binder.
- Stir continuously to avoid lumps.
- Store leftover paint in airtight containers.
- Label each batch for future projects.
Bonus Tip
If you’re experimenting with homemade paint, make small batches first. It’s much easier to adjust a little paint than rescue a giant bowl of unexpected dark gray.
Common Mistakes When Making Black Paint
Everyone makes mistakes while learning. I certainly did.
Luckily, most of these problems have simple fixes.
Adding Too Much of One Color
Many beginners squeeze out large amounts of one color, hoping to darken the mixture faster.
Instead, they accidentally create:
- Muddy brown
- Dark olive
- Deep purple
- Grayish green
Solution: Add paint gradually. Tiny adjustments always beat giant corrections.
Using Bright Primary Colors
Not every “primary red” behaves the same way.
Some bright paints contain pigments that fight against rich blacks.
Whenever possible, choose:
- Ultramarine Blue
- Crimson Red
- Yellow Ochre
- Burnt Umber
These pigments usually produce deeper results.
Not Mixing Long Enough
Ever thought your paint looked terrible after only ten seconds?
Keep mixing.
Many pigments need extra blending before the color settles into a consistent black.
Patience really pays off here.
Ignoring Drying Time
Fresh paint often looks darker while wet.
After drying, the color may become:
- Slightly lighter
- Cooler
- Warmer
- Less saturated
Always let your test sample dry before making major adjustments.
Quick Troubleshooting Guide
| Problem | Likely Cause | Easy Fix |
| Green tint | Too much yellow | Add red |
| Purple tint | Too much blue and red | Add yellow |
| Brown color | Too much red | Increase blue gradually |
| Gray appearance | Weak pigments | Use darker pigments |
| Uneven color | Poor mixing | Blend longer |
How to Make Different Types of Black
One of the coolest things about mixing your own paint is customization.
Black doesn’t have to look exactly the same every time.
Warm Black
Warm blacks contain subtle brown or red undertones.
They’re perfect for:
- Rustic furniture
- Farmhouse décor
- Wooden signs
- Traditional artwork
Styling Tips
- Mix in a touch of burnt sienna.
- Add a little brown.
- Pair with cream, beige, or natural wood.
Bonus Tip
Warm black hides dust surprisingly well on furniture. That’s a small victory if you dislike constant cleaning.
Cool Black
Cool blacks lean toward blue.
They work beautifully in:
- Modern interiors
- Space paintings
- Ocean artwork
- Contemporary furniture
Styling Tips
- Add a tiny amount of navy or ultramarine blue.
- Pair with white, silver, or cool gray.
- Use matte finishes for dramatic contrast.
Bonus Tip
Cool black often photographs better under bright natural light.
Soft Black
Soft black isn’t completely dark.
Instead, it looks slightly faded and relaxed.
Many interior designers love this shade because it feels less harsh than jet black.
Styling Tips
- Add a small amount of gray.
- Pair with sage green.
- Combine with linen textures.
- Use on accent furniture.
Bonus Tip
Soft black creates a cozy atmosphere without making a room feel too heavy.
Tips for Different Paint Types
Not every paint behaves the same way.
Understanding the differences saves a lot of frustration.
Acrylic Paint
Acrylic dries quickly.
Best practices:
- Mix fast.
- Mist your palette with water.
- Prepare enough paint before starting.
Oil Paint
Oil paint gives you more working time.
Advantages include:
- Smooth blending
- Rich color depth
- Easy adjustments
Just remember that drying takes much longer.
Watercolor
Watercolor appears lighter after drying.
Use concentrated pigment when creating black.
Always test your mixture before painting the final piece.
Tempera Paint
Tempera works well for school projects and beginner artists.
Mix small amounts because tempera dries fairly quickly once exposed to air.
How to Create Matte, Satin, and Glossy Black Paint
The finish changes the overall appearance just as much as the color itself.
Matte Black
Matte finishes create a soft, elegant appearance.
Great for:
- Furniture
- Wall décor
- Crafts
- Picture frames
Satin Black
Satin offers a subtle sheen without becoming overly shiny.
Many DIY furniture painters choose satin because it balances durability and appearance.
Glossy Black
Glossy black reflects more light.
It works beautifully on:
- Cabinets
- Decorative accessories
- Modern furniture
- Accent pieces
Just remember that glossy finishes highlight surface imperfections, so prepare the surface carefully before painting.
Best Colors to Pair with Black Paint
Black works with almost every color, but some combinations create a much bigger visual impact than others. Choosing the right companion color can make your project look professionally designed instead of simply painted.
Whether you’re painting furniture, walls, artwork, or craft projects, these combinations rarely disappoint.
Black + White
This timeless pairing never goes out of style.
It’s perfect for:
- Modern homes
- Minimalist décor
- Canvas paintings
- Geometric designs
- Bathroom and kitchen accents
The sharp contrast creates a clean, sophisticated appearance without much effort.
Black + Natural Wood
One of my personal favorites!
Natural wood softens black beautifully and adds warmth to the overall look.
This combination works especially well for:
- Coffee tables
- Floating shelves
- Dining tables
- Cabinets
- Rustic home décor
Black + Gold
Want something that feels luxurious?
Gold instantly elevates black and creates an elegant finish.
Great choices include:
- Picture frames
- Decorative trays
- Mirrors
- Furniture hardware
- Wall art
Black + Sage Green
This combination has become incredibly popular in recent years.
It feels calm, fresh, and surprisingly cozy.
Styling Tips
- Pair matte black with light woods for Scandinavian-inspired interiors.
- Use glossy black with metallic accents for a contemporary look.
- Add cream or beige if you want to soften bold black finishes.
- Mix black with deep emerald green for dramatic statement pieces.
- Avoid pairing black with too many dark colors unless the space has plenty of natural light.
Bonus Tip
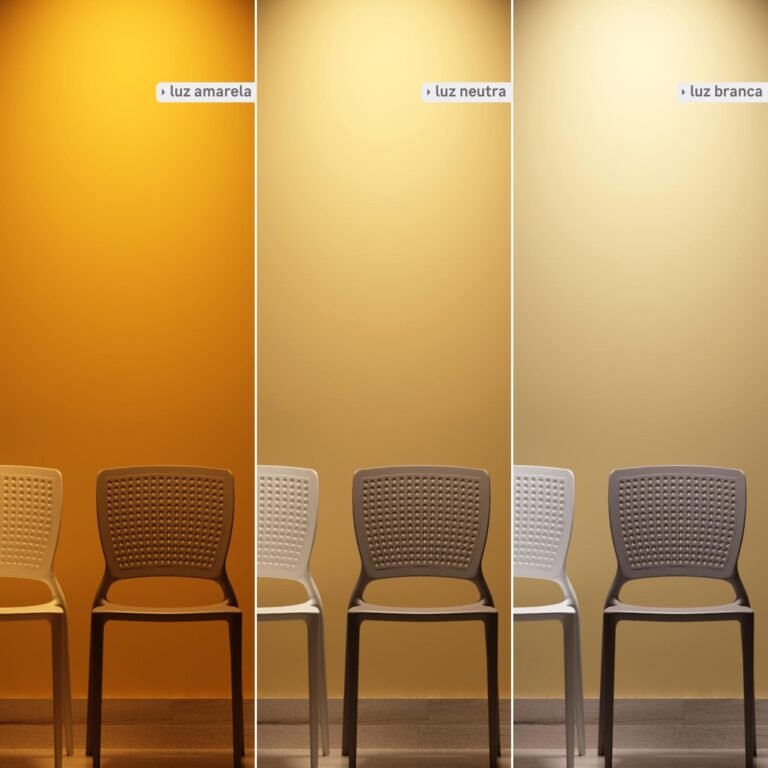
Before painting your entire project, place color samples side by side under natural daylight. Artificial lighting can completely change how black appears.
How to Store Homemade Black Paint
You spent time mixing the perfect shade, so don’t let it dry out before your next project.
Proper storage keeps homemade paint usable for much longer.
Follow These Simple Steps
- Store paint in an airtight container.
- Seal the lid immediately after mixing.
- Label the container with the mixing ratio.
- Keep it in a cool, dry location.
- Stir thoroughly before using it again.
If you notice a thin layer of separation, don’t panic. Simply stir the paint until it becomes smooth again.
Styling & Storage Tips
- Use small glass jars for leftover paint.
- Keep containers away from direct sunlight.
- Store different black shades separately.
- Write the date on every container.
Bonus Tip
I always keep a small notebook with my favorite paint recipes. It saves me from playing the “How did I make that amazing black?” guessing game six months later. Trust me, future-you will appreciate it.
Homemade Black Paint vs. Store-Bought Black Paint
So which option wins?
Honestly, both have their place.
Here’s a quick comparison.
| Feature | Homemade Black Paint | Store-Bought Black Paint |
| Cost | Usually cheaper if you already own colors | Convenient but may cost more |
| Customization | Excellent | Limited |
| Color Control | High | Fixed |
| Convenience | Requires mixing | Ready to use |
| Consistency | Depends on your mixing | Very consistent |
| Creativity | Unlimited | Limited |
If I’m painting a small DIY project or artwork, I usually mix my own black because I enjoy customizing the shade.
For large walls or furniture sets, I often buy pre-made black paint simply because matching multiple batches can become tricky.
Frequently Asked Questions
Can I Make Pure Black with Only Two Colors?
Yes—but only with certain combinations.
The best options include:
- Blue + Brown
- Red + Green
- Blue + Orange
- Purple + Yellow
Some combinations produce deeper blacks than others, so don’t hesitate to experiment.
Why Does My Black Paint Look Brown?
This usually happens because:
- You added too much red.
- Your yellow dominates the mixture.
- Your pigments aren’t dark enough.
Add a little blue and mix thoroughly before making further adjustments.
Can I Use Food Coloring Instead of Paint?
No.
Food coloring works for baking and crafts involving edible materials, but it won’t create durable paint for walls, furniture, or canvas.
Which Paint Type Mixes Best?
Every type has strengths.
- Acrylic: Great for beginners and crafts.
- Oil: Excellent for artists who enjoy blending.
- Watercolor: Perfect for illustrations.
- Tempera: Ideal for classrooms and kids’ projects.
Choose the paint that matches your project rather than searching for a single “best” option.
Does Homemade Black Fade Faster?
Not necessarily.
If you use quality pigments and seal finished projects properly, homemade black paint can last for years.
Outdoor projects simply need weather-resistant paint or a protective topcoat.
Expert Tips for the Best Results
Small details often separate a decent paint job from a fantastic one.
Here are a few habits I’ve picked up over the years.
Always Test First
Never paint directly onto your final project without testing the mixture first.
A five-minute test can save hours of repainting later.
Mix More Than You Think You’ll Need
Matching the exact same shade twice isn’t always easy.
Create enough paint for your entire project before you begin.
Keep Your Tools Clean
Dirty brushes introduce unwanted colors into your mixture.
Clean tools create cleaner blacks.
Seems obvious, yet I’ve ignored this advice before…and let’s just say my “black” ended up looking suspiciously swamp-like.
Work in Good Lighting
Natural daylight shows color much more accurately than warm indoor lighting.
Whenever possible, check your paint near a window before making adjustments.
Record Successful Recipes
Every successful mixture deserves a note.
Write down:
- Paint brands
- Mixing ratios
- Finish type
- Date
This simple habit saves time on future projects.
Final Thoughts
Making your own black paint may seem intimidating at first, but it’s actually one of the most rewarding color-mixing skills you can learn. Once you understand how different colors interact, you’ll create custom blacks that perfectly suit your artwork, furniture, or home décor projects.
Whether you choose the classic red, yellow, and blue method, prefer the reliable blue and brown shortcut, or experiment with complementary colors, the key is to mix slowly, test often, and make small adjustments. Those little tweaks make all the difference.
The next time you run out of black paint—or simply want a richer, more personalized shade—don’t rush to the store. Grab your palette, experiment with confidence, and enjoy the process. You might discover that your handmade black looks even better than the one in the tube.
Happy painting!
Quick Recap
✔ Mix primary colors to create black from scratch.
✔ Blue and brown offer one of the easiest and richest black mixtures.
✔ Complementary colors produce unique black undertones.
✔ Always test paint after it dries before making final adjustments.
✔ Store leftover paint properly in airtight containers.
✔ Keep notes so you can recreate your favorite custom black anytime.