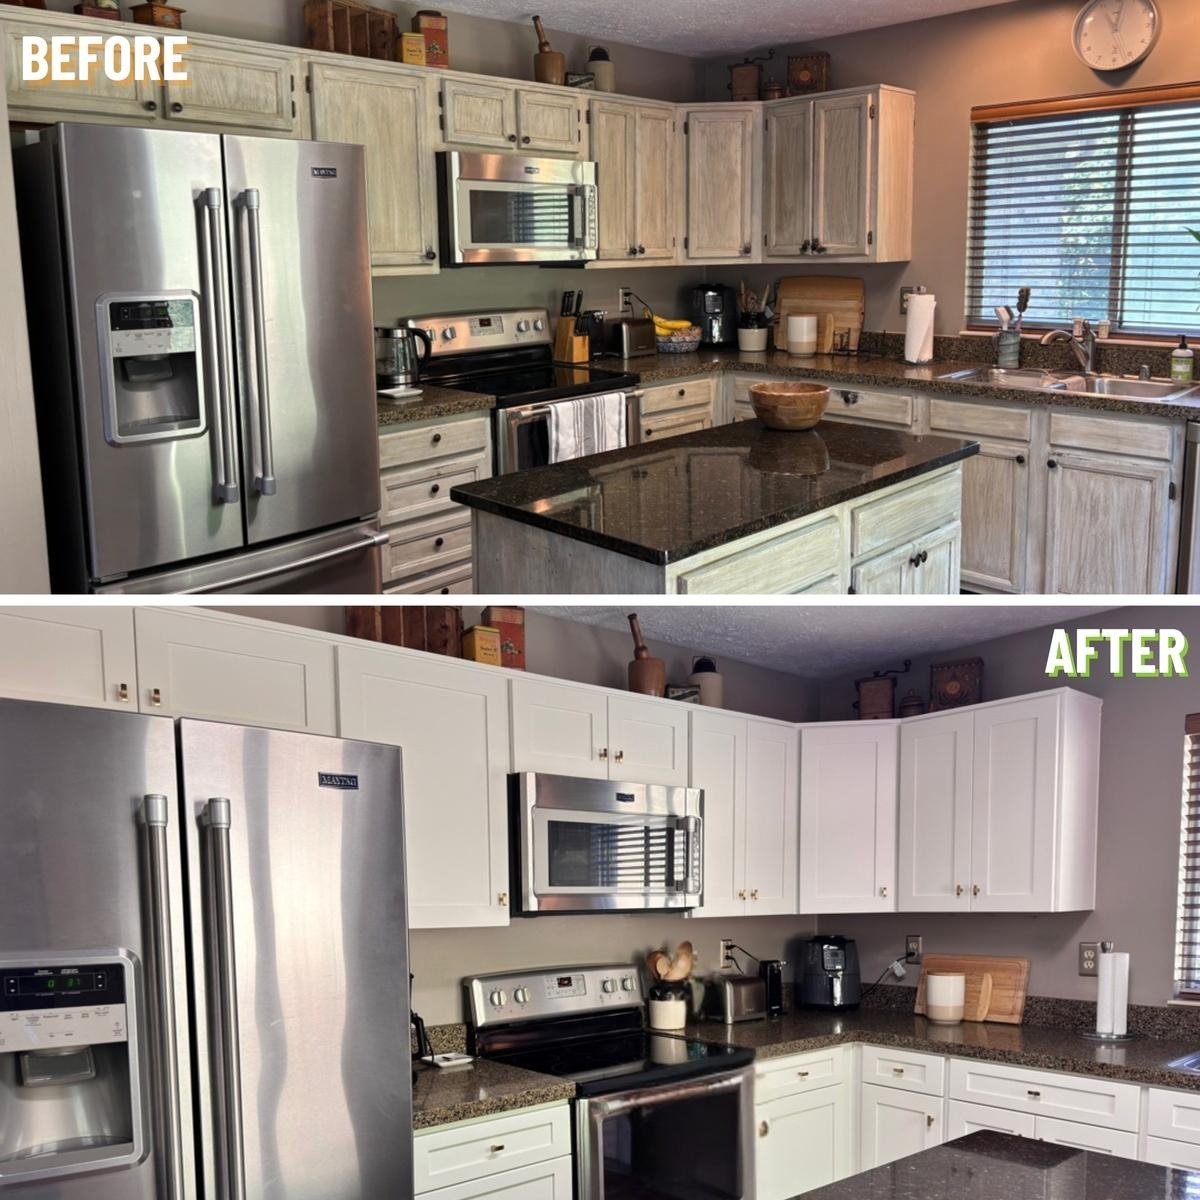
How to Paint Kitchen Cabinets: The Complete Beginner-to-Pro Guide
Few home projects make a kitchen look brand new without draining your wallet quite like painting kitchen cabinets. Seriously, it’s almost unfair how much difference a few coats of paint can make. One weekend your cabinets scream “early 2000s,” and the next they look fresh enough for a home magazine.
I’ve painted cabinets more than once, and I’ll admit something. The first time, I skipped sanding because I thought I had discovered a magical shortcut. Spoiler alert—it peeled faster than cheap nail polish. Lesson learned.
If you’ve been wondering how to paint kitchen cabinets the right way, you’re in the perfect place. I’ll walk you through every step, explain what actually matters, and help you avoid mistakes that can ruin hours of work.
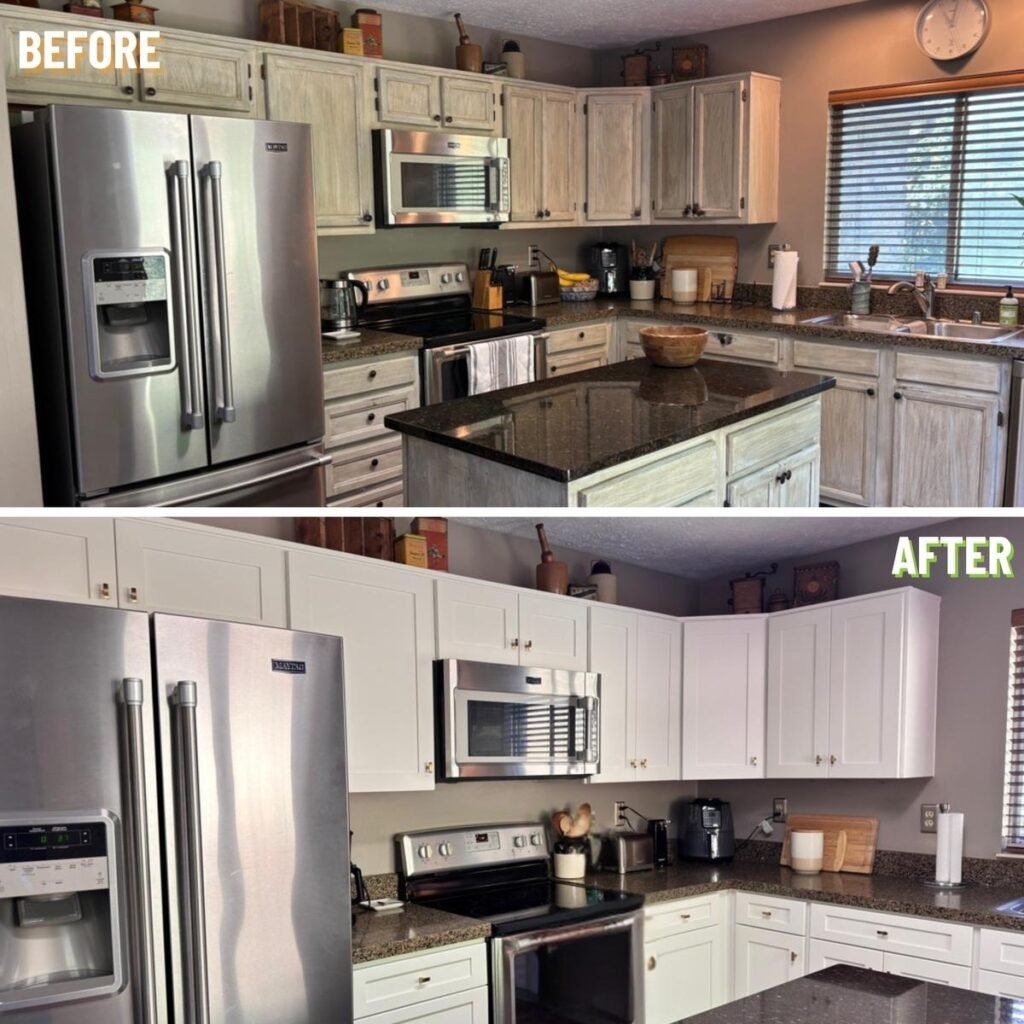
Table of Contents
Why Paint Kitchen Cabinets Instead of Replacing Them?
Replacing cabinets often costs thousands of dollars. Painting them usually costs only a small fraction of that while completely changing your kitchen’s appearance.
Ever looked at your cabinets and thought, “They’re solid, but wow…they’re ugly”? That’s exactly where paint shines.
Painting cabinets offers several benefits:
- Costs much less than replacement
- Transforms your kitchen quickly
- Allows unlimited color choices
- Improves home value
- Makes older kitchens feel modern
Sometimes your cabinets simply need a fresh personality—not a demolition crew.
Tools and Supplies You’ll Need
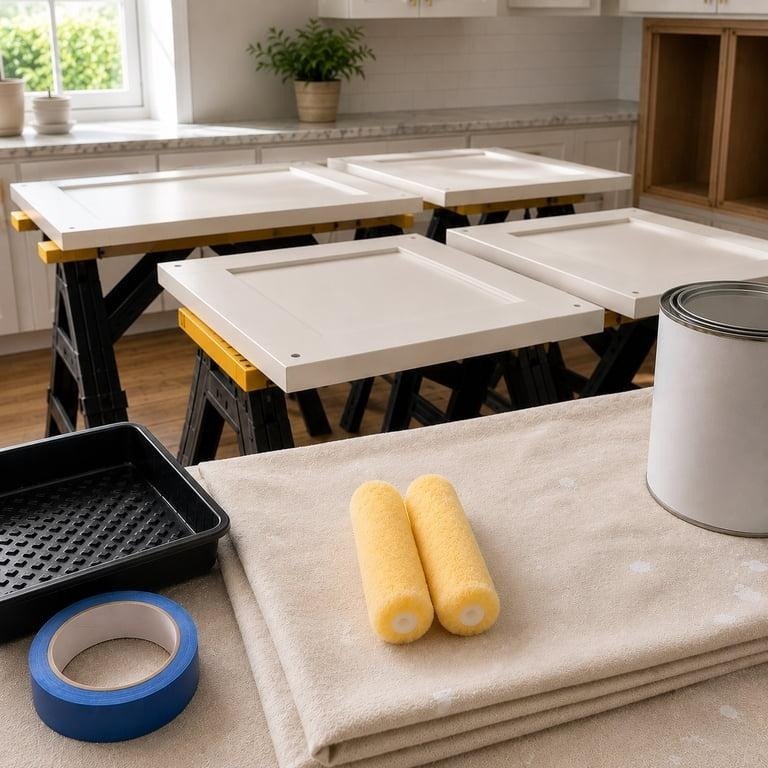
Using quality supplies saves both time and frustration. Cheap brushes may seem like a bargain until they start shedding bristles into wet paint.
Here’s my basic toolkit.
Essential Supplies
- Screwdriver
- Painter’s tape
- Drop cloths
- Cleaning sponge
- Degreaser
- Sandpaper (120, 180 and 220 grit)
- Orbital sander
- Tack cloth
- High-quality primer
- Cabinet paint
- Angled brush
- Foam roller
- Paint tray
- Wood filler
- Putty knife
- Microfiber cloths
Don’t skip the primer. Seriously. It does more work than most people realize.
Choose the Right Paint
Not all paints behave the same.
Kitchen cabinets deal with greasy hands, cooking steam, food splashes, cleaning chemicals, and daily abuse. They deserve something tougher than ordinary wall paint.
Best Paint Options
Acrylic Enamel
This remains one of my favorites.
Pros
- Durable
- Easy to clean
- Low odor
- Smooth finish
Alkyd Hybrid Paint
Many professionals love hybrid paints because they level beautifully.
Pros
- Hard finish
- Excellent durability
- Minimal brush marks
Latex Cabinet Paint
A quality cabinet-grade latex paint also works well.
Avoid standard interior wall paint. It simply doesn’t handle kitchen life very well.
Pick the Perfect Finish
Ever noticed how fingerprints magically find glossy cabinets? It’s almost impressive.
Here are the most popular finishes.
| Finish | Durability | Appearance |
| Matte | Low | Soft and modern |
| Eggshell | Moderate | Slight sheen |
| Satin | High | Popular choice |
| Semi-gloss | Very High | Easy cleaning |
| Gloss | Highest | Very reflective |
IMO, satin offers the best balance between durability and appearance.
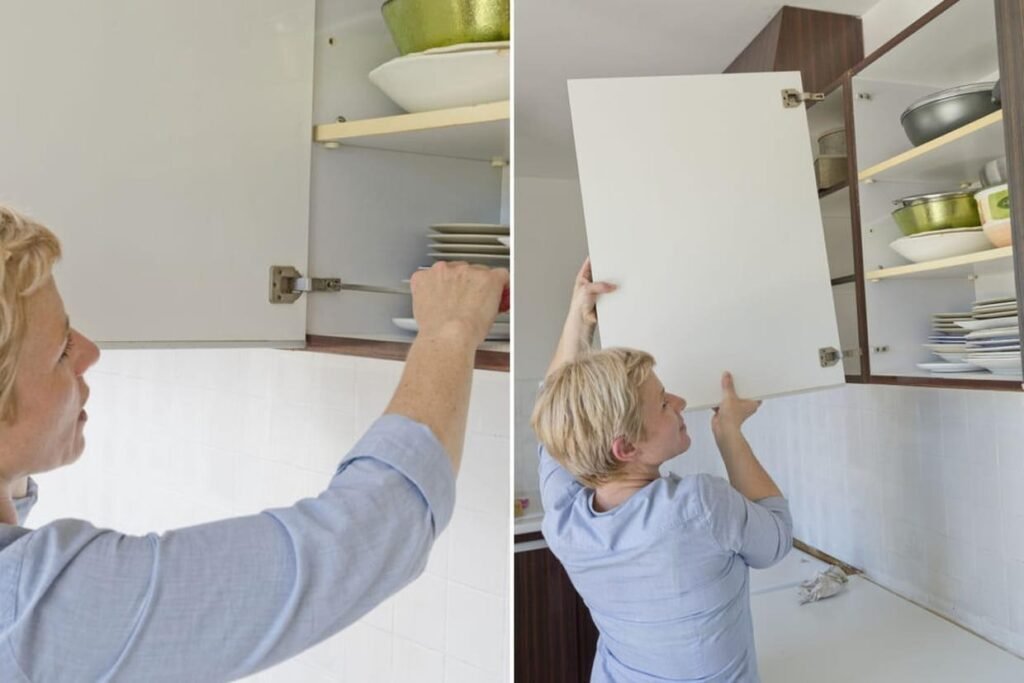
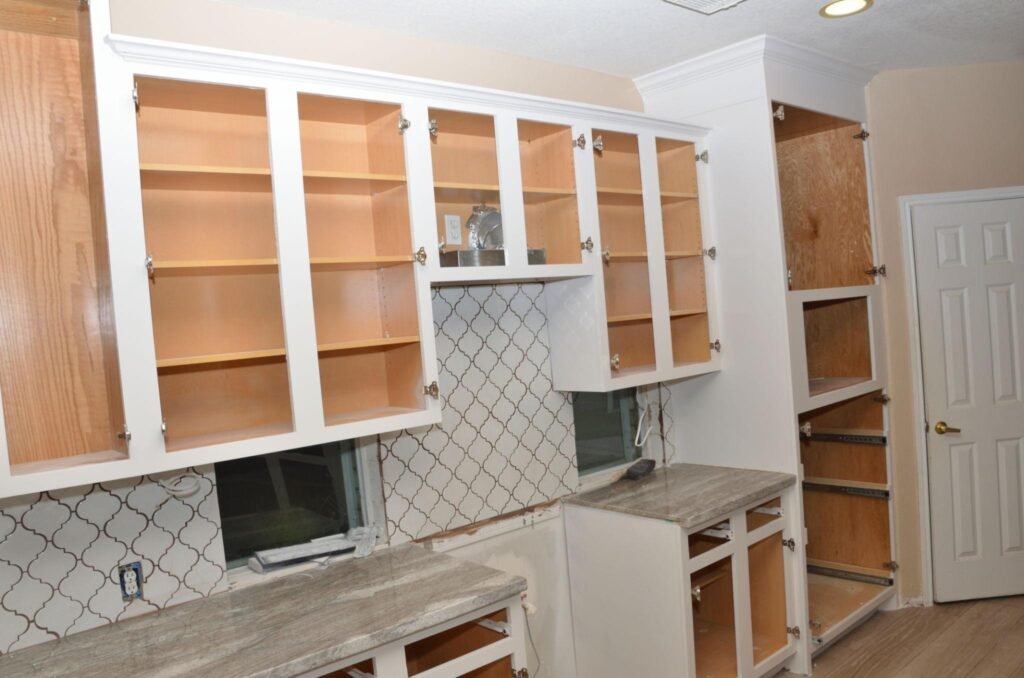
Step 1: Remove Cabinet Doors and Hardware
Never paint cabinets while everything remains attached.
Take your time removing:
- Cabinet doors
- Drawer fronts
- Handles
- Hinges
- Knobs
Label every single piece.
Trust me.
Cabinet Door #12 somehow looks identical to Cabinet Door #5 after three hours of painting.
Use masking tape on the back of each door and number everything.
Store screws inside labeled zipper bags.
Your future self will absolutely appreciate this.
Step 2: Deep Clean Every Surface
Kitchen cabinets collect years of invisible grease.
Even clean-looking cabinets often hide cooking oils that prevent paint from sticking properly.
Use a heavy-duty degreaser and scrub every inch.
Focus on:
- Around handles
- Above the stove
- Cabinet edges
- Bottom corners
- Door frames
After cleaning, wipe everything with clean water and let the cabinets dry completely.
Step 3: Repair Any Damage
Now comes the cosmetic work.
Inspect every cabinet carefully.
Look for:
- Dents
- Chips
- Nail holes
- Cracks
- Scratches
Apply wood filler where needed.
Allow it to dry completely before sanding smooth.
Tiny repairs make a surprisingly huge difference once fresh paint goes on.
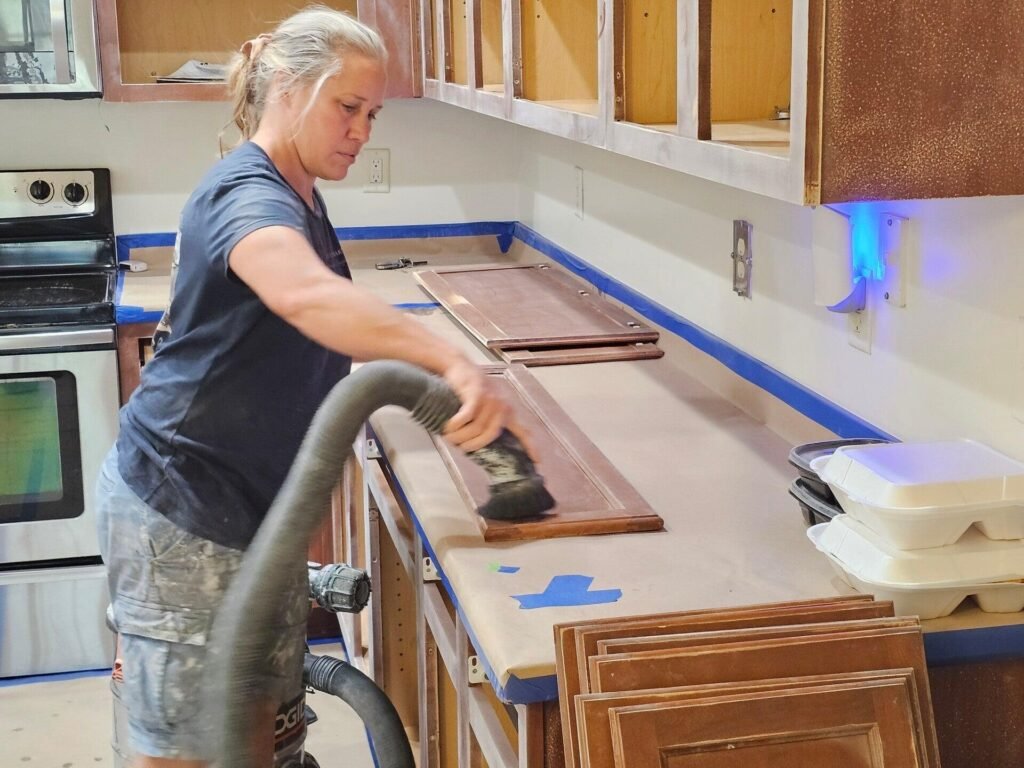
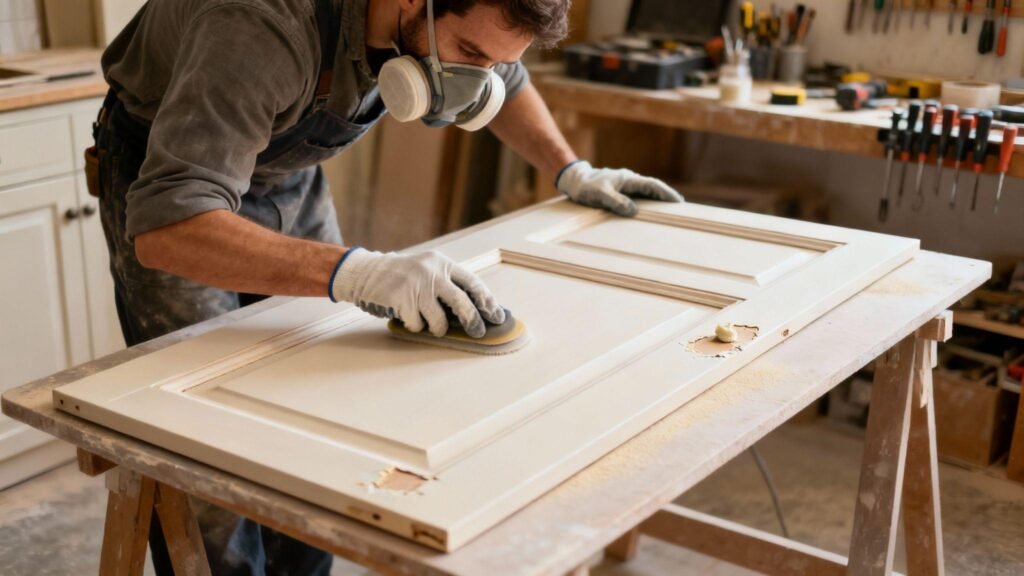
Step 4: Sand the Cabinets
This step scares beginners more than it should.
You don’t need to remove every bit of old finish.
Your goal is simply to create a surface that primer can grip.
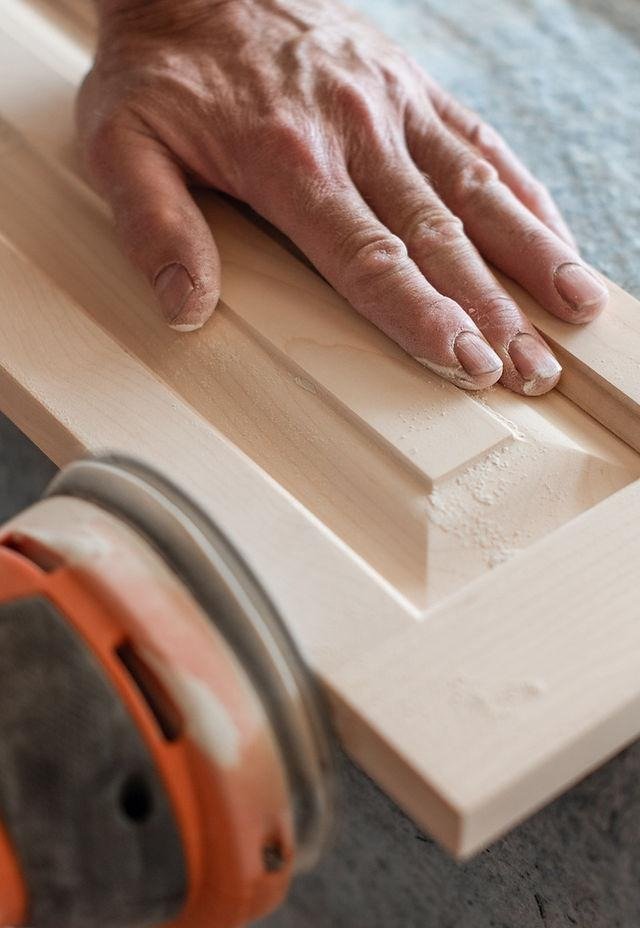
Sanding Guide
- Start with 120-grit if the finish feels glossy.
- Switch to 180-grit for smoothing.
- Finish with 220-grit for a refined surface.
Always sand with the wood grain.
Once finished:
- Vacuum dust
- Wipe with tack cloth
- Let everything dry
Skipping dust removal creates tiny bumps in your final finish.
Nobody wants cabinets that feel like sandpaper.
Common Mistakes to Avoid
Painting cabinets isn’t difficult.
Rushing is.
Avoid these common mistakes:
- Skipping cleaning
- Ignoring sanding
- Using wall paint
- Applying thick coats
- Painting in humid weather
- Forgetting primer
- Reinstalling doors too soon
Patience usually separates professional-looking cabinets from disappointing ones.
Step 5: Prime Like a Pro
Now the transformation starts to feel real.
Primer may not earn any compliments from guests, but it does most of the heavy lifting. It blocks stains, improves adhesion, and creates a smooth foundation for paint. If you want cabinets that still look great years from now, never skip primer.
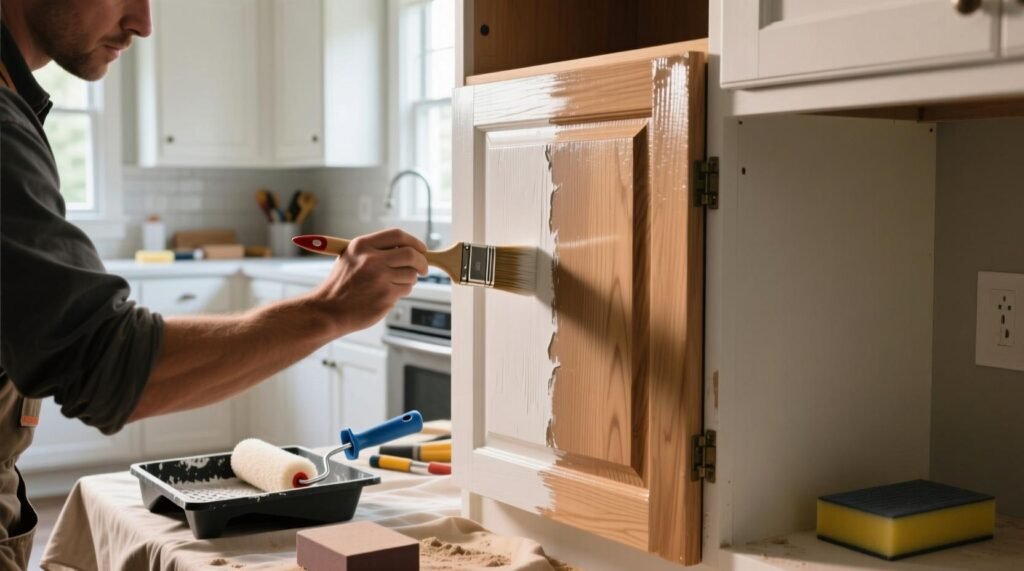
Stir the primer thoroughly before you begin. Apply a thin, even coat instead of trying to cover everything in one pass. Thick primer creates drips, and drips create headaches.
Tips for Applying Primer
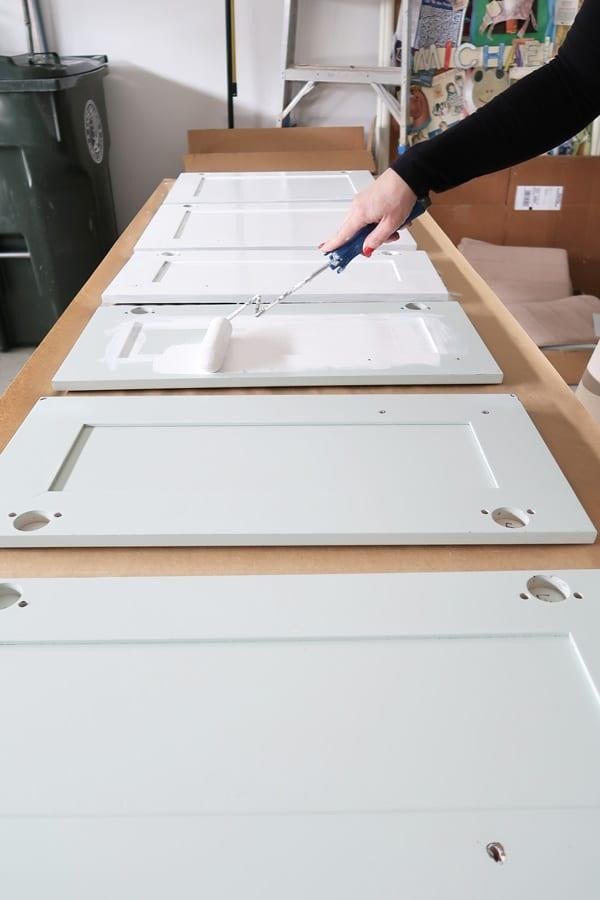
- Use a foam roller for large flat panels.
- Use an angled brush for grooves and corners.
- Paint with the wood grain whenever possible.
- Check edges for drips every few minutes.
- Allow the primer to dry completely before sanding.
Pro Tip
Lightly sand the dried primer with 220-grit sandpaper. This quick step removes tiny imperfections and gives your paint an incredibly smooth finish.
Step 6: Choose the Best Painting Method
Ever wondered why some DIY cabinets look factory-finished while others…well…look homemade? The application method often makes the biggest difference.
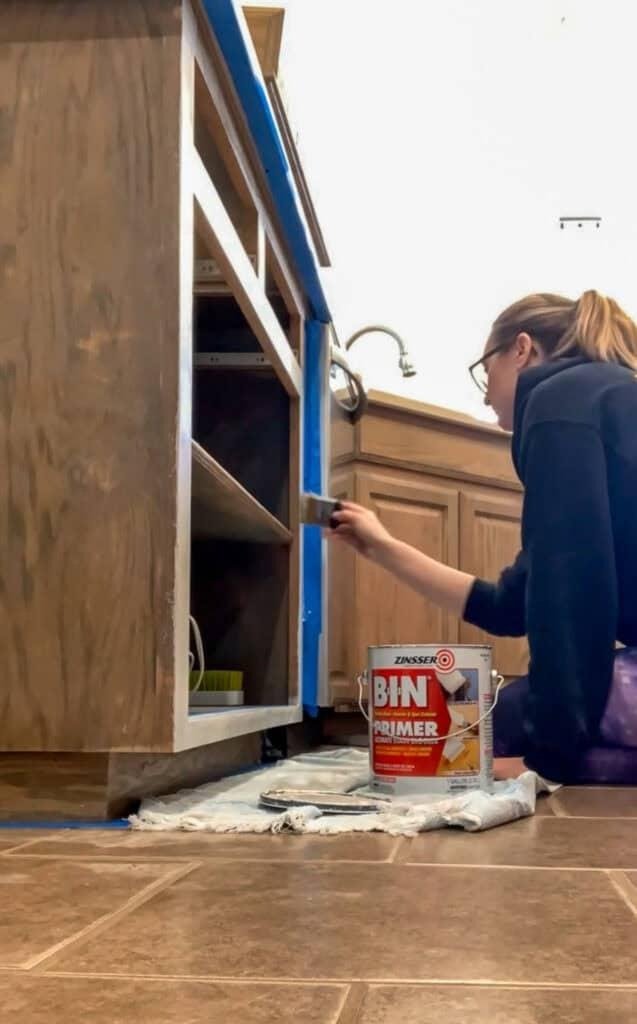
Option 1: Brush
A quality brush offers excellent control.
Best for:
- Detailed cabinet profiles
- Small kitchens
- Touch-ups
- Beginners
Advantages
- Affordable
- Easy to control
- Minimal setup
Drawbacks
- Slight brush marks may appear.
- Painting takes longer.
Option 2: Foam Roller
Many DIY painters love foam rollers.
They spread paint evenly and leave a surprisingly smooth surface when you use thin coats.
Best for:
- Flat cabinet doors
- Drawer fronts
- Large panels
Advantages
- Smooth finish
- Fast coverage
- Beginner-friendly
Drawbacks
- Doesn’t reach decorative grooves.
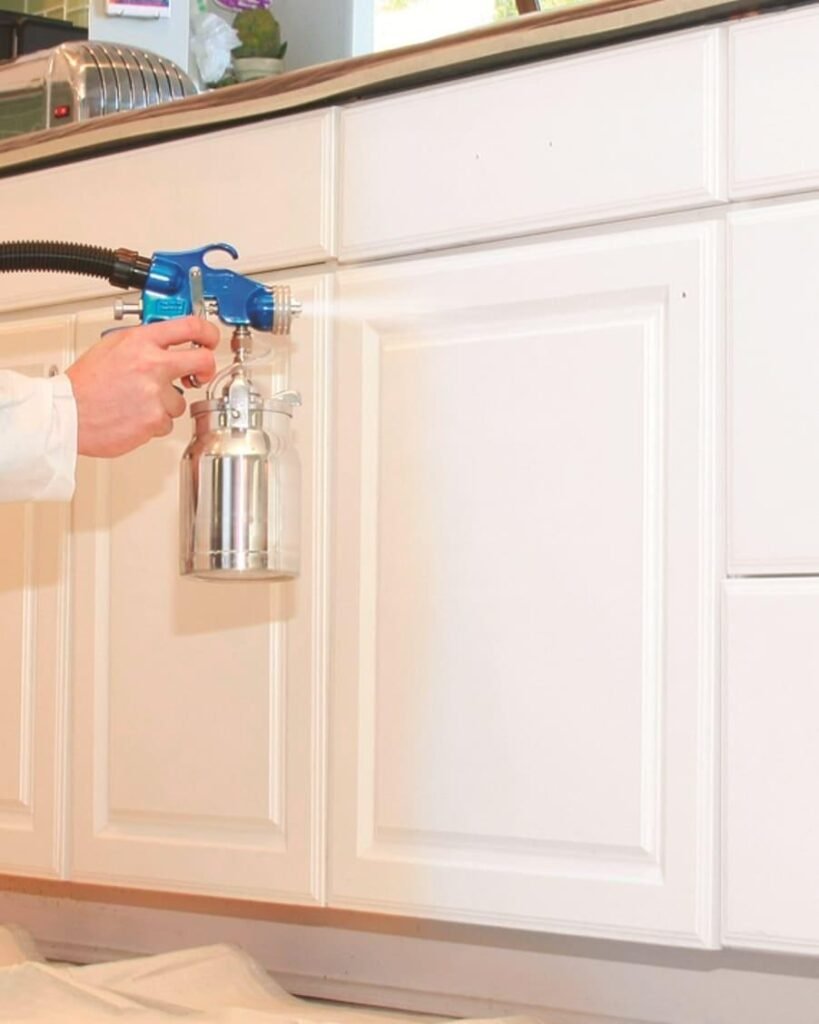
Option 3: Paint Sprayer
Want that factory finish?
A paint sprayer delivers it.
It also creates overspray everywhere if you don’t prepare properly. FYI, your garage floor probably doesn’t want a fresh coat of cabinet paint. 🙂
Advantages
- Ultra-smooth finish
- No brush marks
- Fast application
Drawbacks
- More preparation
- More cleanup
- Higher equipment cost
My Recommendation
If you’re painting your first kitchen, combine an angled brush with a high-density foam roller. You’ll get professional-looking results without investing in expensive spray equipment.
Step 7: Apply the First Coat
Here’s where patience really pays off.
Load only a small amount of paint onto your roller or brush. Spread the paint evenly across the surface instead of flooding it.
Thin coats always beat thick coats.
Work in small sections:
- Paint recessed areas first.
- Paint the center panels.
- Finish the outer frame.
- Smooth everything with long strokes.
Watch the edges carefully. Paint loves to collect there.
Step 8: Let It Dry Completely
Waiting isn’t exciting.
Neither is sanding off fingerprints because someone touched the paint too early.
Follow the manufacturer’s drying recommendations, but remember this:
Dry doesn’t mean cured.
Most cabinet paints become dry to the touch within a few hours, but they continue hardening for several days.
Drying Tips
- Improve airflow with fans.
- Avoid high humidity.
- Keep dust away from wet paint.
- Don’t stack painted doors together.
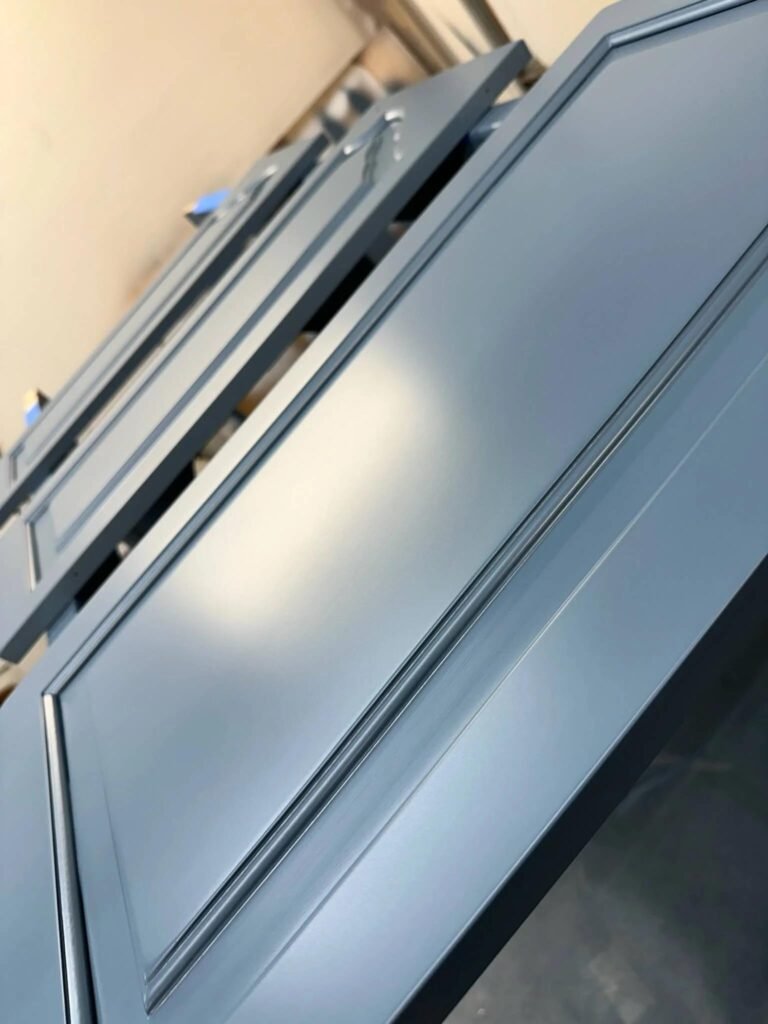
Step 9: Sand Between Coats
Professional painters almost always sand between coats.
Why?
Because tiny dust particles settle into the paint while it dries.
Use 220-grit or 320-grit sandpaper and sand very lightly.
You’re polishing the surface—not removing paint.
After sanding:
- Vacuum the dust.
- Wipe with a tack cloth.
- Let everything dry.
The next coat will glide on beautifully.
Step 10: Apply the Second Coat
Now your cabinets really start to shine.
Paint the second coat exactly the same way:
- Thin coats
- Smooth strokes
- Even coverage
- Check for drips
Most kitchens need two coats.
Very dark cabinets changing to white sometimes need a third coat.
Don’t panic if the first coat looks uneven.
Almost every cabinet project looks a little questionable halfway through. Keep going.
How to Avoid Brush Marks
Brush marks frustrate almost every beginner.
Fortunately, they’re easy to prevent.
Follow These Tips
- Use premium cabinet paint.
- Don’t overload the brush.
- Finish with long, smooth strokes.
- Avoid repainting areas that have started drying.
- Maintain a wet edge.
- Use a foam roller after brushing flat sections.
These small habits create a much smoother finish.
Paint Cabinet Frames Carefully
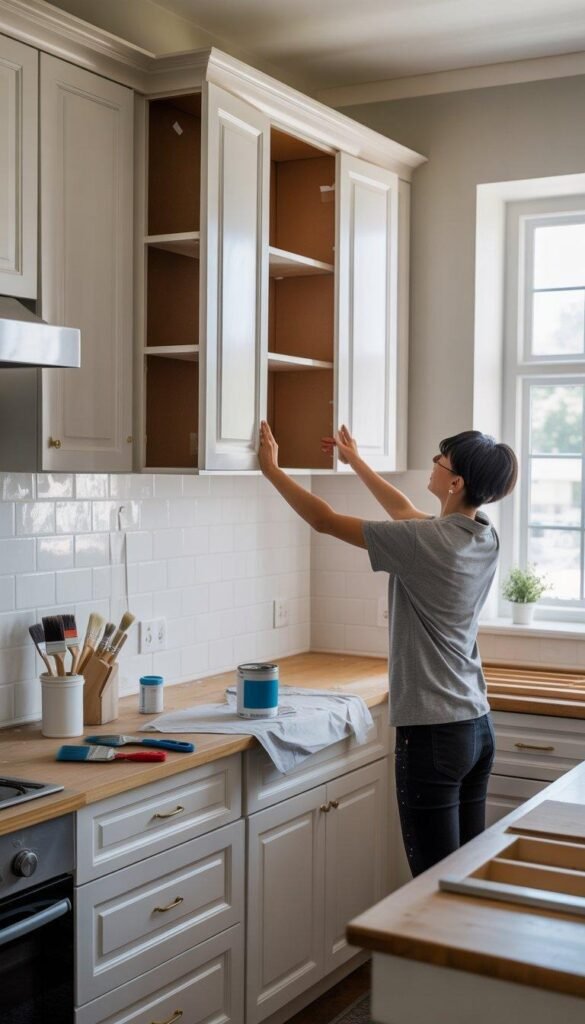
Cabinet frames stay attached to your kitchen, so they require extra attention.
Cover everything nearby with painter’s tape and drop cloths.
Paint one small section at a time.
Move around the kitchen in one direction instead of jumping randomly from cabinet to cabinet.
This simple approach keeps your finish consistent.
Common Problems and Easy Fixes
Paint Drips
Cause
Too much paint.
Fix
Allow the paint to dry completely, sand smooth, and repaint lightly.
Roller Texture
Cause
Cheap roller or thick paint.
Fix
Use a high-density foam roller and apply thinner coats.
Peeling Paint
Cause
Poor cleaning or skipped primer.
Fix
Sand the damaged area, reprime, and repaint.
Visible Brush Strokes
Cause
Low-quality brush or overworking wet paint.
Fix
Use long strokes and stop brushing once the paint begins to set.
Expert Tips That Make Cabinets Look Factory Finished
Small details separate good DIY projects from amazing ones.
Try These Tricks
- Paint cabinet doors horizontally whenever possible.
- Elevate doors using painter’s pyramids or small blocks.
- Replace worn hinges during reassembly.
- Upgrade old knobs for an instant style boost.
- Label every door until installation finishes.
- Keep your workspace clean to reduce dust.
Bonus Tip
If your cabinet hardware looks outdated, replace it after painting. New handles and knobs can make freshly painted cabinets look like an entirely new kitchen for surprisingly little money.
Step 11: Let the Paint Cure Before Reassembling
Congratulations—you’ve made it through the painting process! But don’t rush to hang the doors just yet.
Here’s something many first-time DIY painters overlook: dry paint isn’t fully cured paint. While the surface may feel dry after a few hours, it still needs time to harden. If you reinstall doors too early, you can leave fingerprints, dents, or scratches in your beautiful finish.
Most cabinet paints need 7 to 30 days to cure completely, depending on the product and your home’s temperature and humidity.
Curing Tips
- Wait at least 24–48 hours before reinstalling doors.
- Handle doors gently during installation.
- Avoid slamming cabinet doors for the first few weeks.
- Keep the kitchen well-ventilated to help the paint cure faster.
Bonus Tip
If possible, wait 5–7 days before loading heavy dishes into your cabinets. A little patience now helps protect your hard work for years.
Reinstall the Hardware
Once the paint has cured enough to handle, it’s time to put everything back together.
Remember those labeled bags of screws and hinges? This is where they save the day.
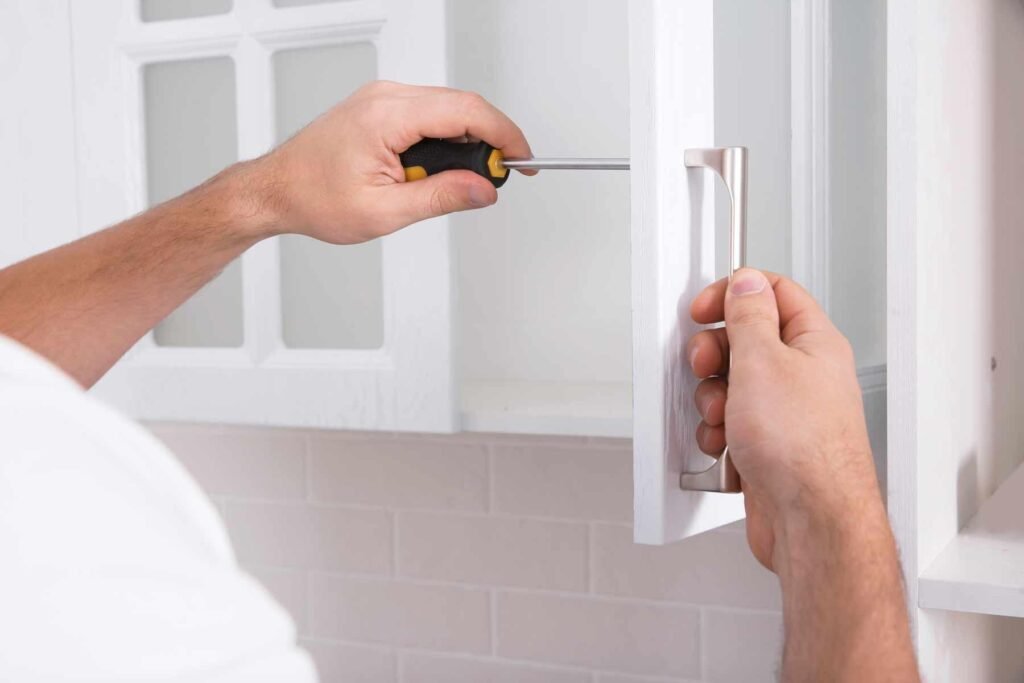
Install each door according to its label and tighten the screws carefully. Don’t overtighten them because that can chip fresh paint around the hardware.
Consider Upgrading Your Hardware
Fresh paint deserves fresh accessories.
Replacing old knobs and handles instantly gives your kitchen a more polished appearance.
Popular hardware finishes include:
- Matte black
- Brushed nickel
- Champagne bronze
- Satin brass
- Oil-rubbed bronze
Even inexpensive hardware upgrades can make painted cabinets look custom-built.
Best Paint Colors for Kitchen Cabinets
Color choice changes the entire personality of your kitchen.
Ever stood in front of a paint display with hundreds of shades and thought, “Well…this isn’t helping”? You’re definitely not alone.
Here are some timeless favorites.
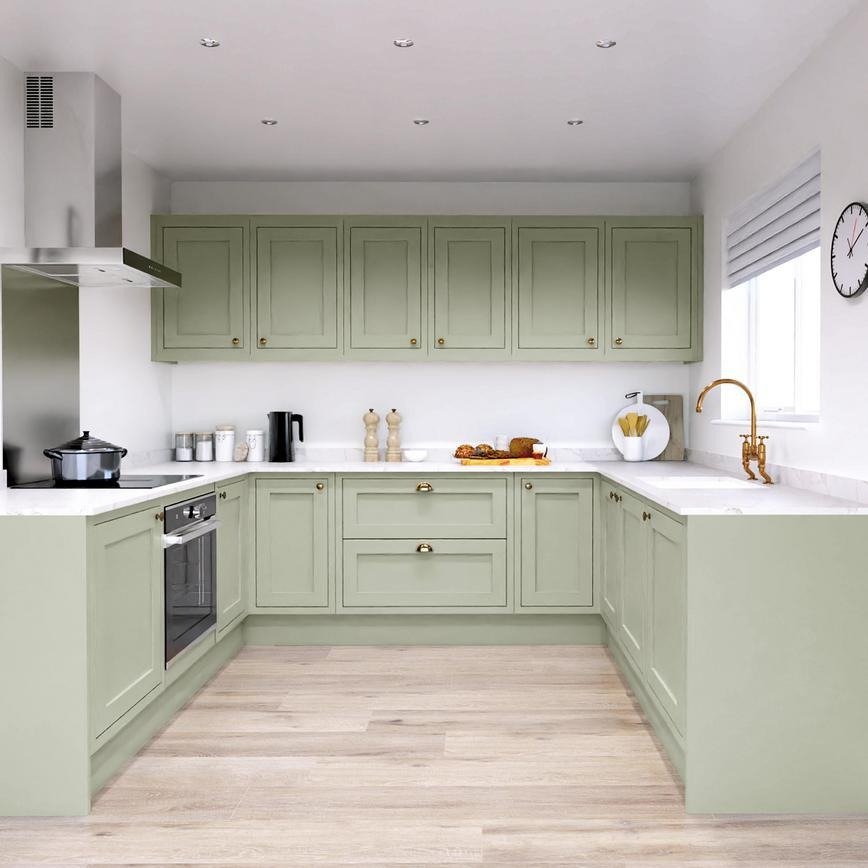
White Cabinets
White remains one of the most popular cabinet colors.
Why homeowners love it:
- Makes kitchens feel larger.
- Reflects natural light.
- Matches nearly every countertop.
- Never goes out of style.
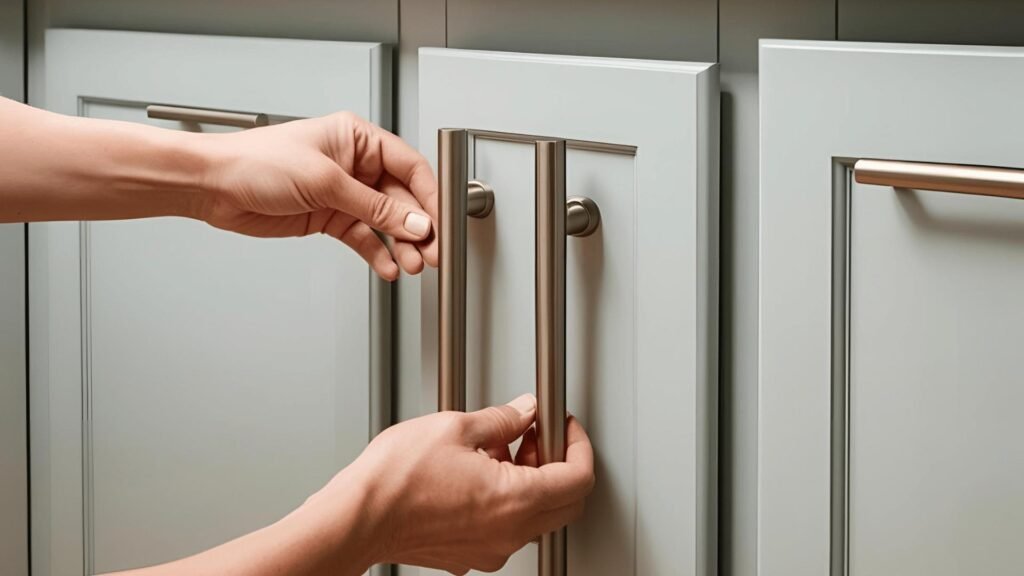
Styling Tips
- Pair with black hardware for contrast.
- Add warm wood cutting boards.
- Include greenery for a fresh touch.
- Use subway tile backsplashes.
Pro Tip
Choose a warm white instead of a stark bright white if your kitchen doesn’t receive much natural light.
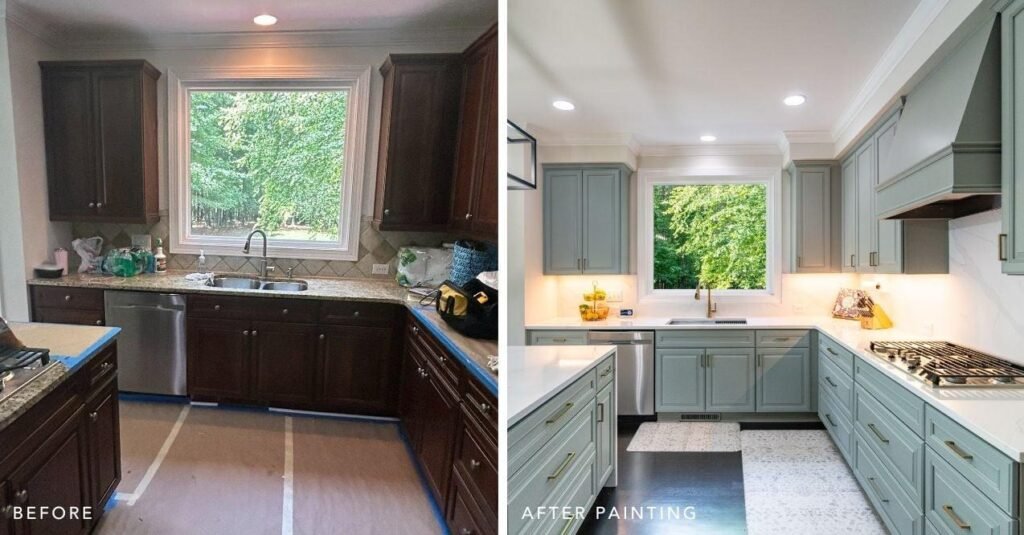
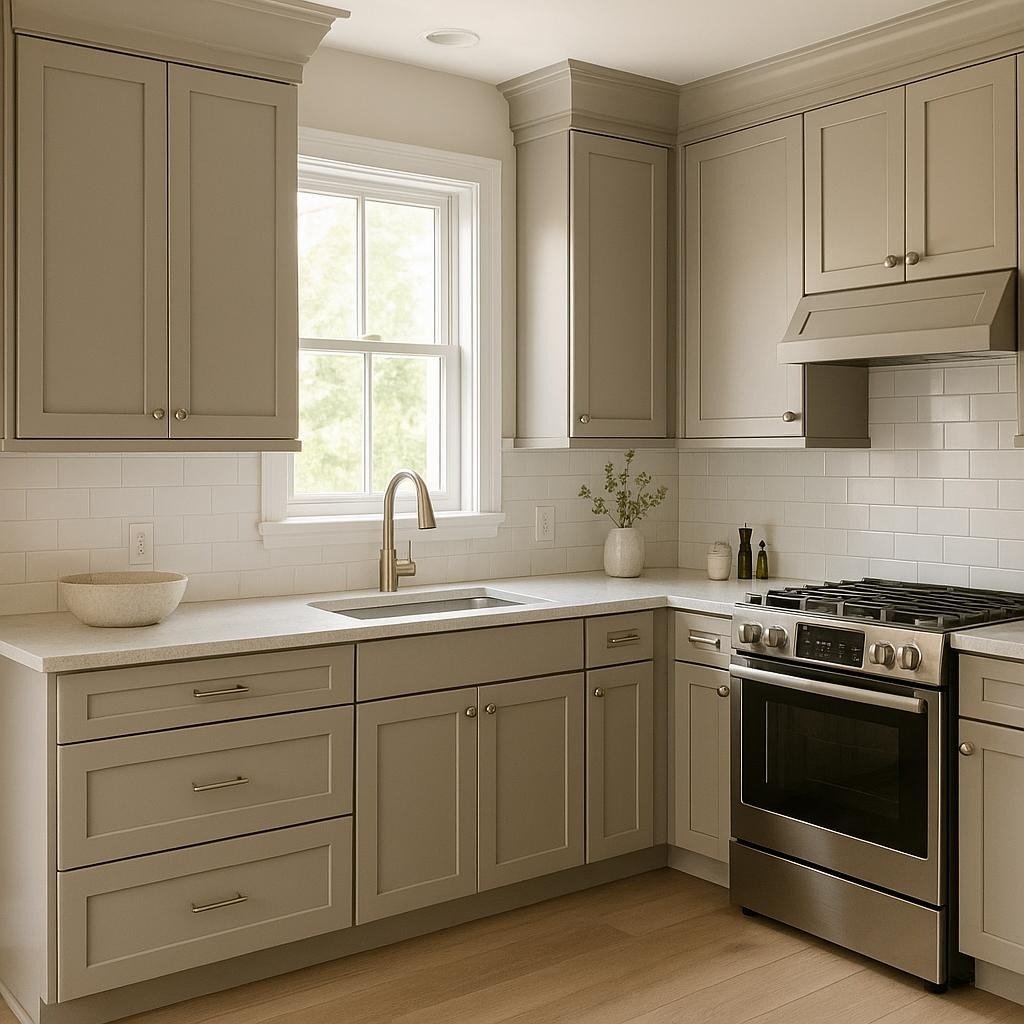
Sage Green Cabinets
Sage green has become a favorite in modern farmhouse and Scandinavian kitchens.
It feels calm, fresh, and welcoming.
Styling Tips
- Pair with brass hardware.
- Add white quartz countertops.
- Include wooden floating shelves.
- Decorate with natural plants.
Bonus Tip
Sage green hides fingerprints better than bright white cabinets.
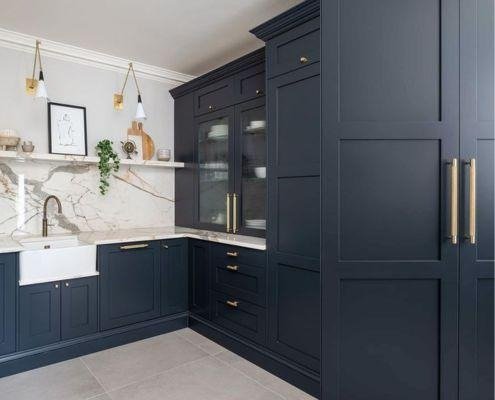
Navy Blue Cabinets
Want a bold kitchen without making it feel overwhelming?
Navy delivers elegance without feeling trendy.
Styling Tips
- Combine with white countertops.
- Add gold hardware.
- Use warm wood flooring.
- Install under-cabinet lighting.
Pro Tip
Navy works especially well on lower cabinets while upper cabinets stay white.
Greige Cabinets
Greige blends gray and beige into one versatile neutral.
It works beautifully in traditional and contemporary kitchens.
Styling Tips
- Pair with stainless steel appliances.
- Use marble countertops.
- Add black light fixtures.
- Mix in warm wood accents.
Bonus Tip
Greige hides everyday dust and smudges surprisingly well.
How to Maintain Painted Kitchen Cabinets
Painting cabinets takes effort, so you’ll want that finish to last.
Luckily, maintenance doesn’t require much work.
Do This
- Clean spills immediately.
- Wipe cabinets weekly with a microfiber cloth.
- Use mild soap and warm water.
- Tighten loose hardware occasionally.
- Touch up chips quickly.
Avoid This
- Abrasive scrubbers.
- Harsh chemical cleaners.
- Steel wool.
- Excessive moisture.
- Hanging wet towels over cabinet doors.
A little care goes a long way.
Common Mistakes to Avoid
Even experienced DIYers make mistakes now and then.
Here are the biggest ones to avoid:
- Skipping the cleaning step
- Not sanding glossy surfaces
- Using regular wall paint
- Applying thick coats
- Ignoring drying times
- Painting in humid weather
- Forgetting to label doors
- Reinstalling hardware too soon
- Buying cheap brushes
- Rushing the project
Every one of these mistakes can reduce the lifespan of your painted cabinets.
Frequently Asked Questions
Can I paint cabinets without sanding?
You can use certain bonding primers that claim to eliminate sanding, but I still recommend light sanding. It improves adhesion and creates a smoother finish.
Should I use a roller or brush?
Use both.
A brush handles corners and details, while a foam roller creates a smoother finish on flat surfaces.
How long does the project take?
Most DIY homeowners finish the project in three to five days, depending on drying times and the size of the kitchen.
Can I paint laminate cabinets?
Yes.
Use a bonding primer specifically designed for slick surfaces, sand lightly, and choose high-quality cabinet paint.
What’s the best finish?
Satin and semi-gloss remain the most popular choices because they balance durability with easy cleaning.
Do painted cabinets last?
Absolutely.
When you clean, sand, prime, and paint correctly, painted cabinets can look beautiful for 8–10 years or longer with proper care.
Final Thoughts
Painting kitchen cabinets might seem intimidating at first, but it becomes surprisingly manageable once you break it into simple steps.
From cleaning and sanding to priming, painting, and curing, each stage builds on the previous one. Skip shortcuts, stay patient, and focus on thin, even coats. Your reward will be a kitchen that looks dramatically refreshed without the cost of a full renovation.
I’ve learned that preparation always matters more than speed. Every time I’ve taken the extra hour to clean thoroughly or sand properly, the results have lasted far longer—and looked much more professional.
So, if you’ve been staring at outdated cabinets and wondering whether they’re worth saving, I’d say go for it. Grab your paintbrush, put on your favorite playlist, and enjoy the process. A little effort, a bit of patience, and a few coats of paint can completely transform the heart of your home. Happy painting!