How to Fix Paint Scratches on Wall: Easy DIY Solutions That Actually Work
Paint scratches happen. One minute your wall looks perfect, and the next, a chair, a pet, or someone’s “careful” moving skills leave an ugly mark staring back at you. The good news? Most wall scratches are surprisingly easy to fix without repainting the entire room.
I’ve dealt with more scratched walls than I’d like to admit. Between moving furniture and everyday life, I’ve learned that a few simple techniques can make those annoying marks disappear. So, if you’re wondering how to fix paint scratches on wall, you’ve come to the right place.
Let’s get those walls looking fresh again!
Table of Contents
Why Do Paint Scratches Happen?
Wall scratches don’t just appear out of nowhere. Something always causes them, even if we don’t catch the culprit in the act.
Common causes include:
- Moving furniture
- Kids playing indoors
- Pets scratching walls
- Vacuum cleaners bumping corners
- Hanging or removing picture frames
- Poor-quality paint
- Thin paint coverage
The deeper the scratch, the more repair work you’ll need. Luckily, most scratches only damage the paint layer.
Ever noticed how scratches always seem to appear right before guests arrive? Funny how walls have perfect timing.
What You’ll Need Before You Start
Before fixing anything, gather your supplies.
Basic Repair Tools
- Soft microfiber cloth
- Mild dish soap
- Fine-grit sandpaper (220 grit)
- Lightweight spackle
- Putty knife
- Matching wall paint
- Small foam brush
- Artist paintbrush
- Paint tray
- Painter’s tape
- Primer (for deep scratches)
Having the correct paint color makes the biggest difference. Even the best repair stands out if the color doesn’t match.
How to Tell If Your Scratch Is Minor or Deep
Don’t grab the paint just yet.
Ask yourself:
- Does the scratch only remove paint?
- Can you feel a groove with your fingernail?
- Is drywall showing?
- Has the paper surface torn?
Here’s a quick guide:
| Scratch Type | Repair Needed |
| Light scuff | Clean only |
| Surface scratch | Touch-up paint |
| Medium scratch | Sand + paint |
| Deep scratch | Fill, sand, prime, paint |
Knowing what you’re dealing with saves a lot of frustration later.
Idea 1: Clean the Scratch Before Doing Anything Else
Many people rush straight for the paint can. I used to do the same until I realized that dirt often makes scratches look much worse than they actually are. A quick cleaning removes grime, pencil marks, and dust that settle inside the scratch. Sometimes the “damage” almost disappears after a gentle wipe. Sounds too easy, right? Give it a try before making extra work for yourself.
Cleaning Tips
- Use warm water with a drop of dish soap.
- Wipe gently using a microfiber cloth.
- Dry the wall completely.
- Avoid abrasive scrub pads.
- Test cleaners in an hidden spot first.
Pro Tip: Never paint over a dirty wall. Dust prevents paint from sticking properly and creates an uneven finish.
Idea 2: Buff Away Light Surface Scratches
Some scratches barely break the paint surface. Instead of filling them, smooth the area with very fine sandpaper. I usually use gentle circular motions until the scratch blends into the surrounding paint. The goal isn’t to remove paint—it’s to level the surface. IMO, patience beats force every single time.
Sanding Tips
- Use only 220-grit sandpaper.
- Sand lightly.
- Keep the pressure even.
- Wipe away sanding dust.
- Stop as soon as the scratch fades.
Bonus Tip: Sanding too aggressively creates a bigger repair than you started with. Your wall won’t appreciate your enthusiasm.
Idea 3: Touch Up Small Paint Scratches
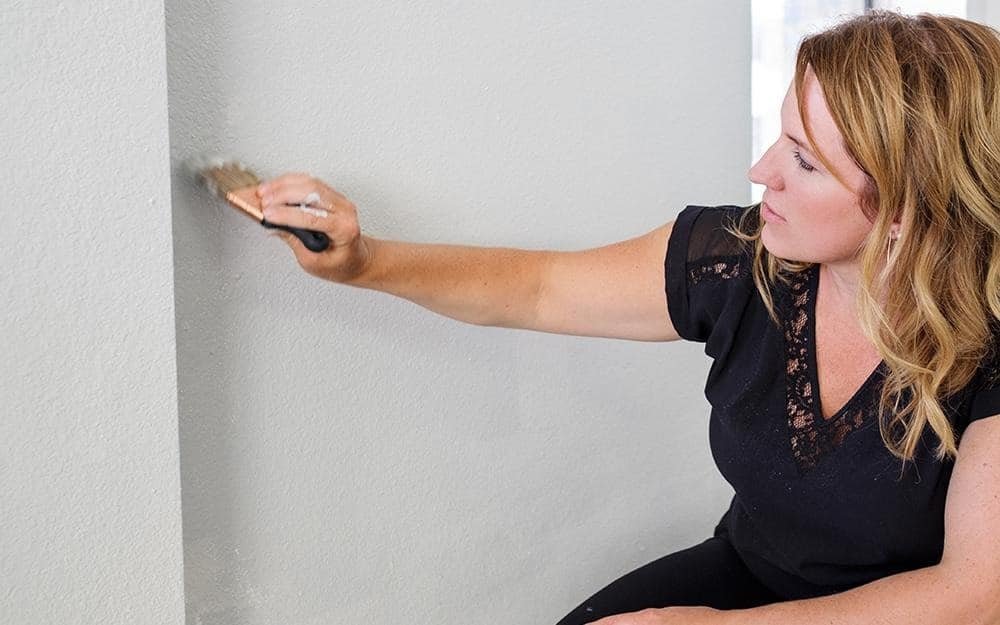
If the scratch only removed paint, you probably don’t need filler. Simply apply matching paint with a small artist brush or foam brush. I like applying two thin coats instead of one thick blob. Thick paint leaves raised spots that practically wave hello every time sunlight hits the wall.
Touch-Up Tips
- Stir the paint thoroughly.
- Apply thin coats.
- Feather the edges.
- Let each coat dry.
- Compare the finish after drying.
Pro Tip: Always use the same paint sheen. Flat, eggshell, satin, and semi-gloss reflect light differently.
Idea 4: Fill Medium Scratches with Lightweight Spackle
When your fingernail catches inside the scratch, paint alone won’t solve the problem. Fill the groove with lightweight spackle, then smooth it using a putty knife. I always spread a very thin layer because sanding excess filler takes much longer than adding a second coat later. Why create extra work?
Repair Tips
- Apply a thin layer.
- Remove excess filler immediately.
- Allow complete drying.
- Sand until smooth.
- Check with your hand before painting.
Bonus Tip: Hold a flashlight across the wall. Side lighting reveals bumps that overhead lights hide.
Idea 5: Prime Deep Scratches Before Painting
Deep scratches often expose drywall underneath. Drywall absorbs paint differently, which creates ugly flashing if you skip primer. Trust me, I’ve learned that lesson the hard way. A small dab of primer creates an even surface and helps your touch-up blend naturally with the rest of the wall.
Priming Tips
- Use drywall primer.
- Apply a thin coat.
- Let primer dry fully.
- Sand lightly if needed.
- Paint after priming.
Pro Tip: Primer isn’t optional for exposed drywall. It saves you from applying endless coats of paint later.
Coming Up in Part 2
The next section will cover even more practical ideas, including:
- Idea 6: Fix scratches on textured walls
- Idea 7: Repair glossy painted walls
- Idea 8: Match paint colors perfectly
- Idea 9: Blend repairs so they disappear
- Idea 10: Prevent future wall scratches
- Common mistakes to avoid
- Professional repair tips
- Expert FAQs
- Final conclusion
This will complete the full 1,500+ word SEO article with additional images.
Idea 6: Repair Scratches on Textured Walls Without Ruining the Pattern
Textured walls can feel intimidating because they don’t forgive mistakes as easily as smooth walls. The trick is to repair the scratch without flattening the surrounding texture. I usually fill the damaged area with a small amount of lightweight spackle, then recreate the texture before painting. It takes a little patience, but the finished repair blends in much better than simply painting over a flat patch. Ever noticed how a perfectly smooth spot on a textured wall stands out more than the original scratch? Funny how that works.
Textured Wall Repair Tips
- Use only a small amount of spackle to avoid creating a raised patch.
- Match the existing texture before painting.
- Dab the surface gently with a sponge or texture brush if needed.
- Let the repair dry completely before sanding.
- Test your texture on a scrap board first if you’re unsure.
Bonus Tip: Take a close-up photo of your wall texture before repairing it. Comparing the repair to the original pattern makes matching much easier.
Idea 7: Fix Scratches on Glossy or Satin Painted Walls Carefully
Glossy, semi-gloss, and satin finishes love to show every tiny imperfection. Even if your paint color matches perfectly, uneven brush strokes can catch the light and give away the repair. I learned this while fixing a hallway wall that looked perfect until the afternoon sun hit it. Suddenly, my “invisible repair” became the room’s main attraction. Not exactly the attention I wanted.
Glossy Wall Repair Tips
- Use the same paint sheen as the original wall.
- Apply thin coats instead of thick ones.
- Blend the paint slightly beyond the repair area.
- Use a small foam roller for a smoother finish.
- Allow each coat to dry before judging the result.
Pro Tip: Natural daylight reveals repairs better than indoor lighting. Check your work during the day before calling the project finished.
Idea 8: Match the Paint Color Like a Pro
A perfect repair depends on one thing more than anything else: matching the paint color. You can fill, sand, and paint flawlessly, but the repair still looks obvious if the color differs by even a tiny shade. If you still have leftover paint from the original project, congratulations—you’ve already won half the battle. If not, remove a small paint chip from an inconspicuous area and take it to your local paint store for color matching. FYI, most modern paint stores can create surprisingly accurate matches.
Paint Matching Tips
- Save leftover paint after every painting project.
- Label paint cans with the room name and finish.
- Compare samples in natural light.
- Check the sheen as well as the color.
- Mix old paint thoroughly before using it.
Bonus Tip: Store leftover paint upside down with a tightly sealed lid. This simple trick helps reduce air exposure and keeps paint usable much longer.
Idea 9: Blend the Repair So Nobody Notices It
Here’s the secret that separates a decent repair from a professional-looking one: blending. Instead of painting only inside the scratch, lightly feather the paint into the surrounding wall. This soft transition helps hide the repair line. I usually use a small foam roller for the final pass because it recreates the original paint texture better than a brush. Why leave behind a noticeable square patch when a little blending makes it disappear?
Blending Tips
- Feather paint outward from the repair.
- Avoid heavy brush strokes.
- Roll lightly over the repaired area.
- Paint during similar lighting conditions.
- Step back several feet to inspect your work.
Pro Tip: Less paint usually creates a better repair. Thick touch-ups often leave raised edges that become more visible after drying.
Idea 10: Prevent Future Paint Scratches Before They Happen
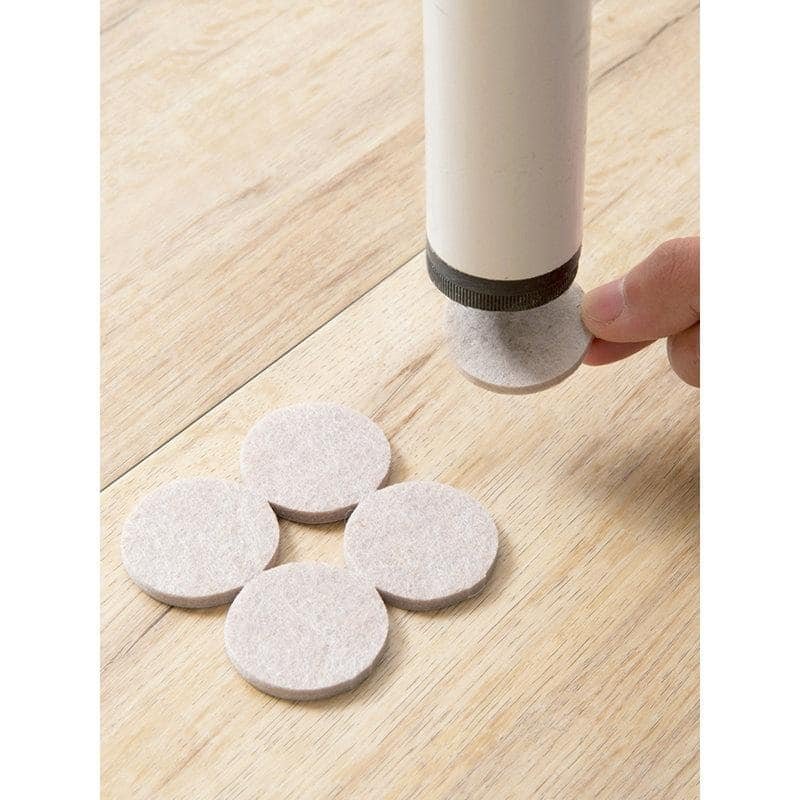
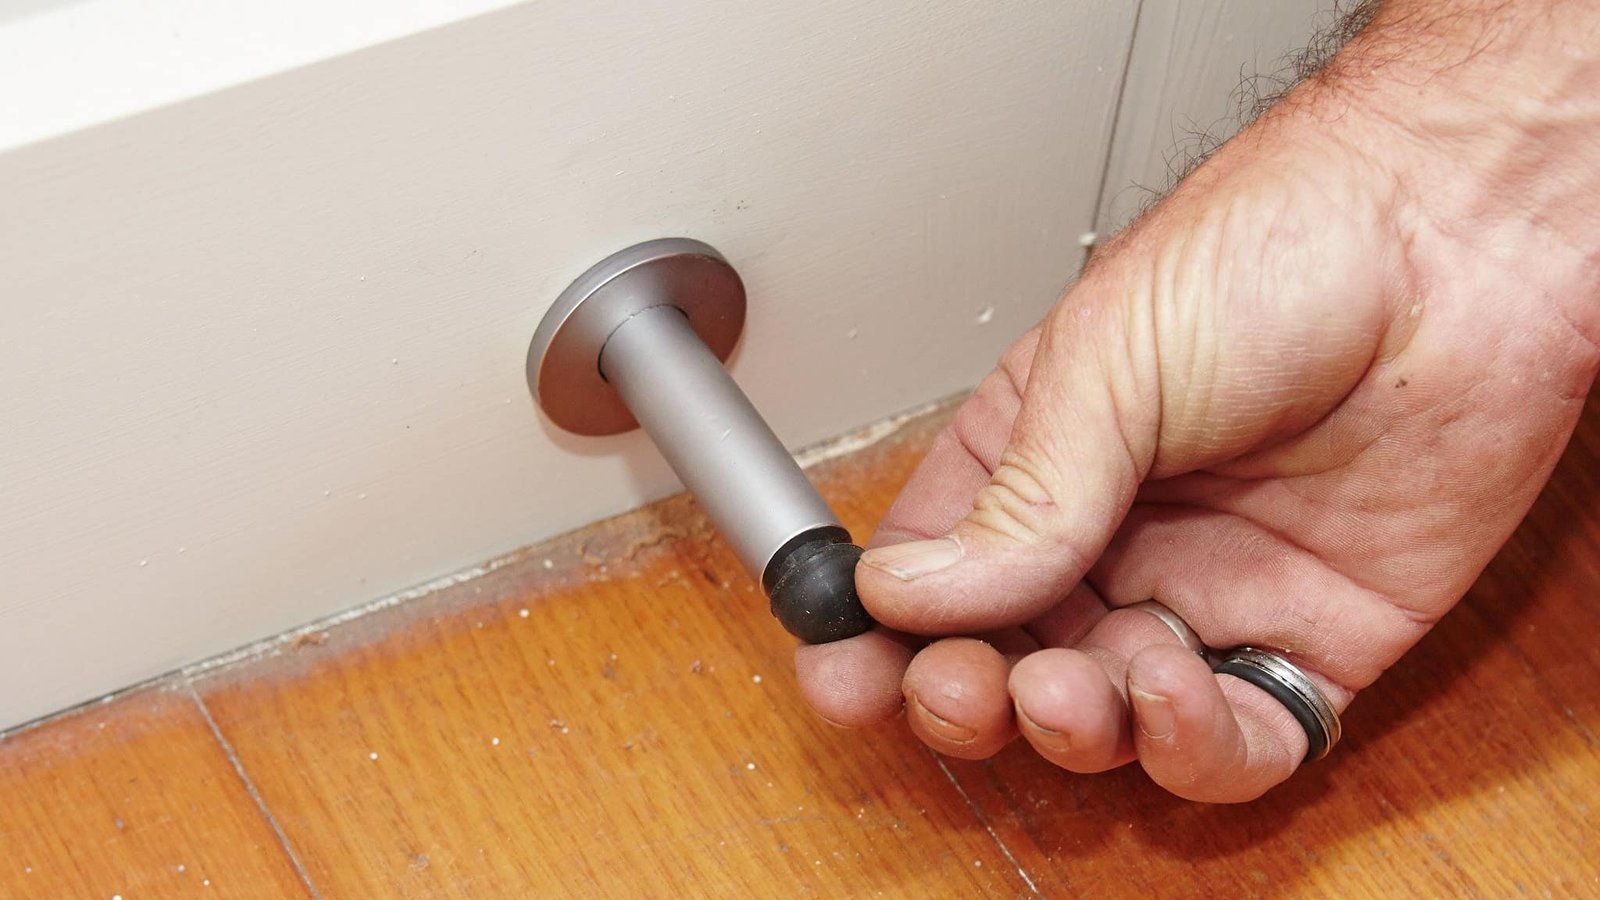
Fixing scratches feels satisfying, but preventing them saves even more time. Most wall damage comes from furniture sliding around, doors swinging too far, or everyday bumps that seem harmless until you notice another scratch. I started adding felt pads under chairs and installing door stoppers years ago, and the number of wall repairs dropped dramatically. Sometimes the easiest DIY project isn’t repairing damage—it’s stopping the damage before it starts.
Prevention Tips
- Install felt pads under furniture legs.
- Add door stoppers behind swinging doors.
- Move furniture with sliders instead of dragging it.
- Keep pets’ nails trimmed.
- Touch up tiny scratches before they grow larger.
Bonus Tip: Keep a small wall repair kit in your home. A little matching paint, fine sandpaper, a foam brush, and lightweight spackle can fix most scratches in less than 30 minutes.
Quick Comparison: Which Repair Method Should You Use?
| Scratch Type | Best Repair Method | Difficulty | Estimated Time |
| Light scuff marks | Clean with mild soap | Easy | 5 minutes |
| Surface paint scratch | Touch-up paint | Easy | 15 minutes |
| Medium scratch | Sand, fill, and paint | Moderate | 30–45 minutes |
| Deep drywall scratch | Fill, prime, and repaint | Moderate | 1–2 hours |
| Textured wall scratch | Fill, recreate texture, paint | Moderate | 1–2 hours |
Signs Your Wall Repair Was Successful
After everything dries, check your work using this quick checklist:
- ✅ The repair blends naturally with the surrounding wall.
- ✅ The paint color matches in daylight.
- ✅ No raised edges remain after sanding.
- ✅ The wall feels smooth when you run your hand across it.
- ✅ The repaired spot doesn’t stand out from different viewing angles.
If you can walk into the room without immediately spotting the repair, congratulations—you nailed it!
Next: Part 3 will complete the article with:
- Common mistakes to avoid
- Professional maintenance tips
- Frequently Asked Questions (FAQs)
- Final summary and conclusion
- Additional relevant images
Common Mistakes to Avoid When Fixing Paint Scratches
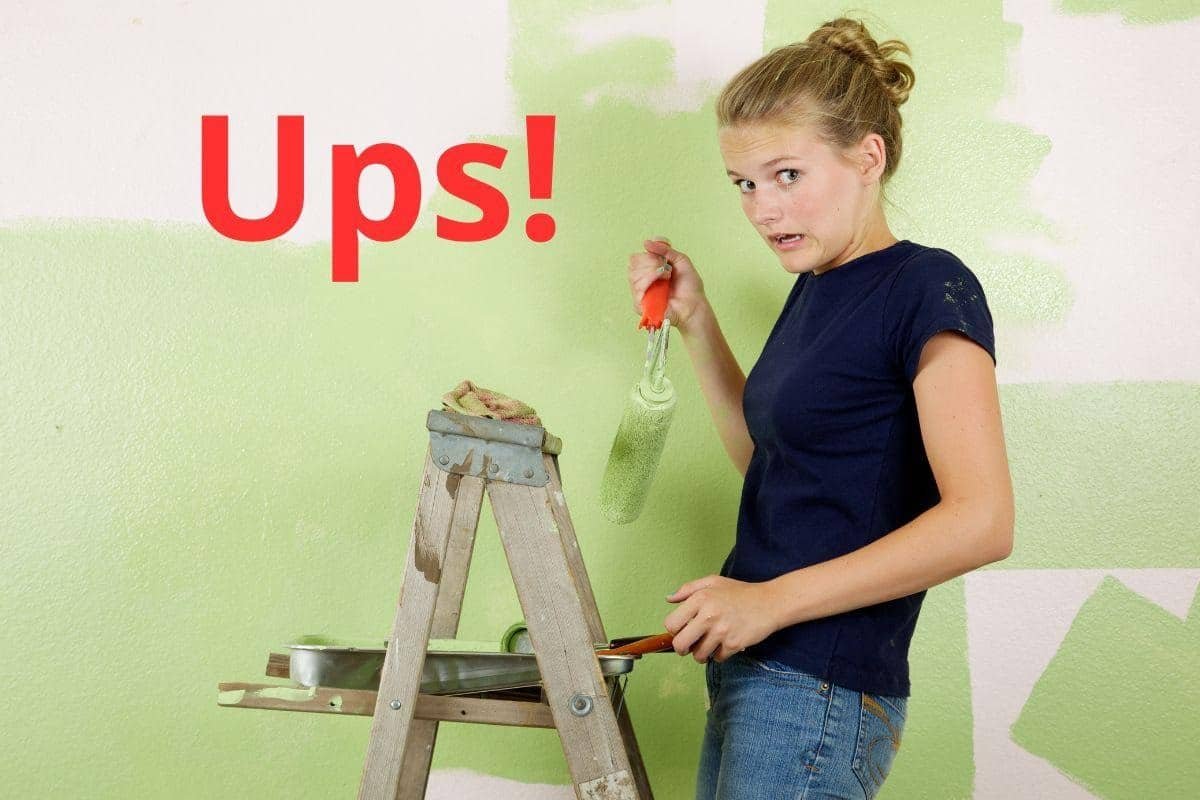
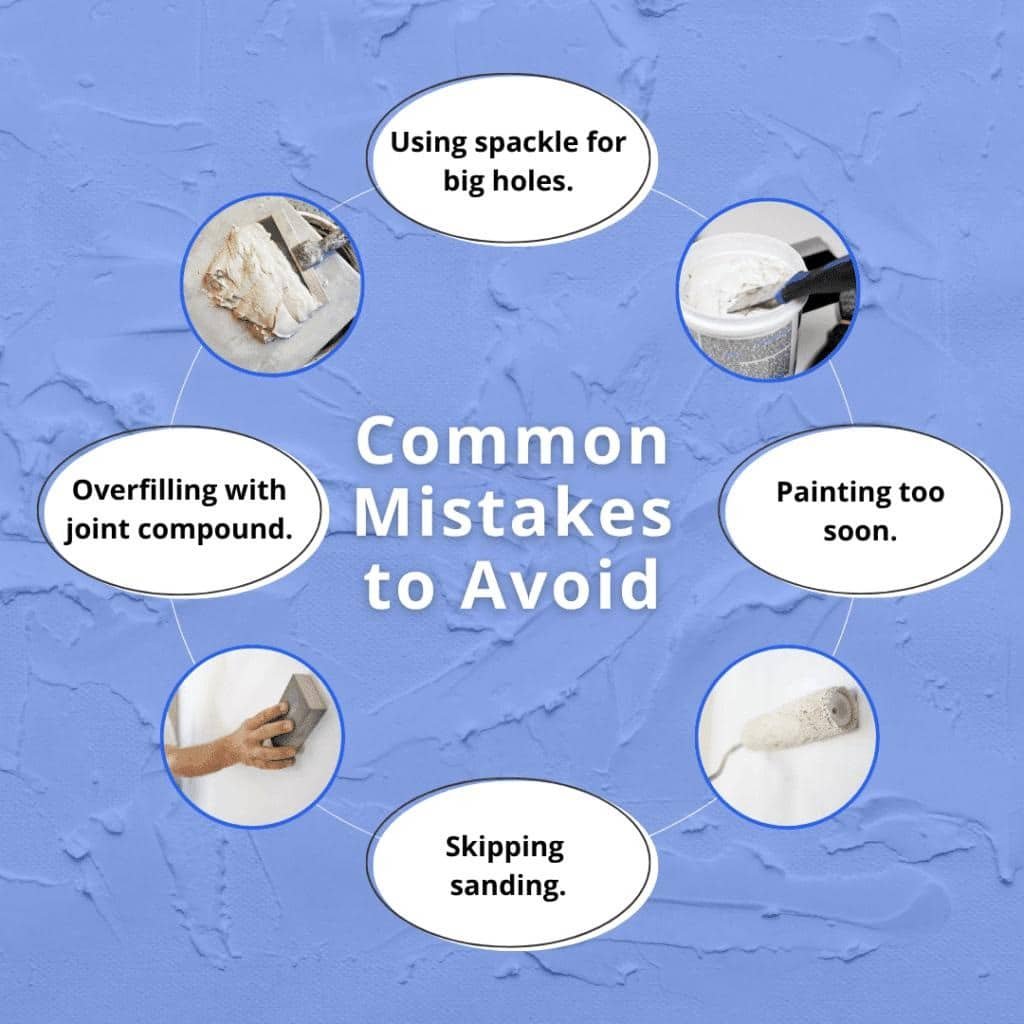
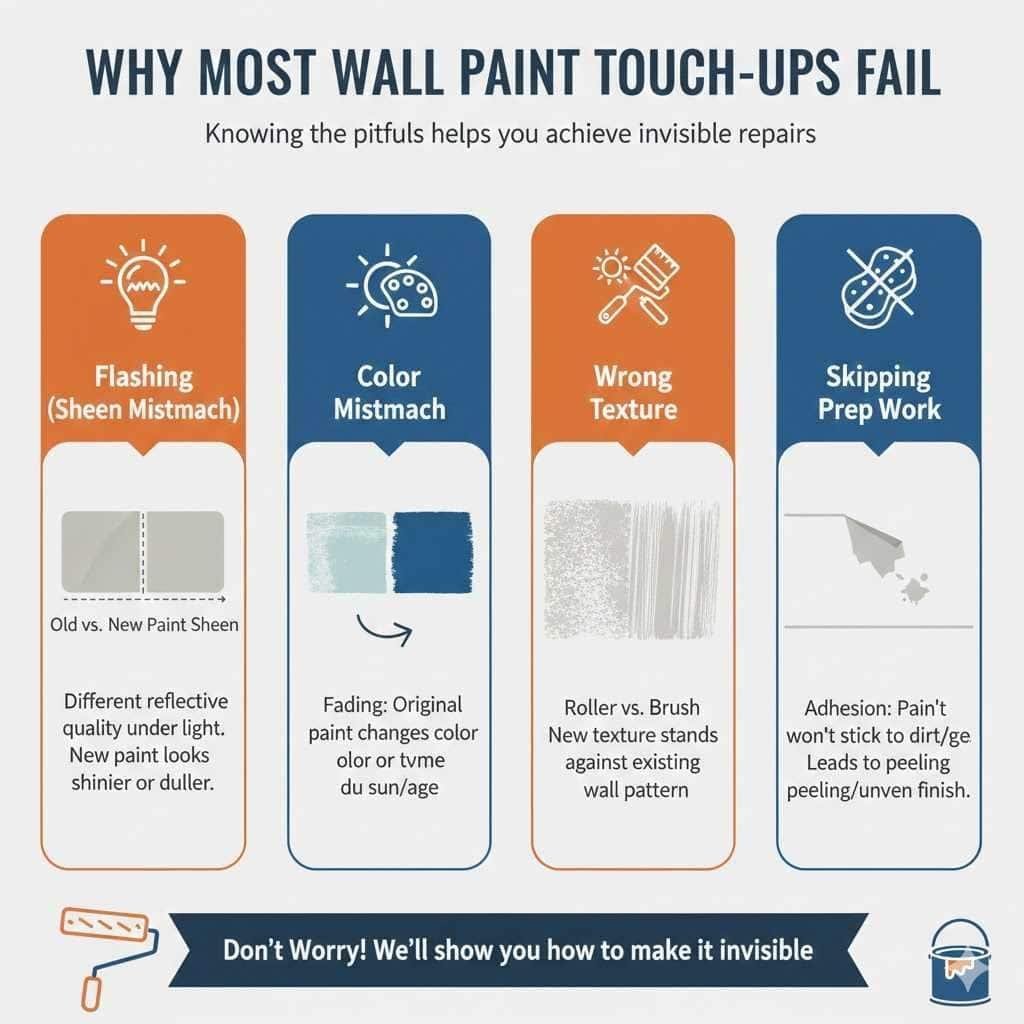
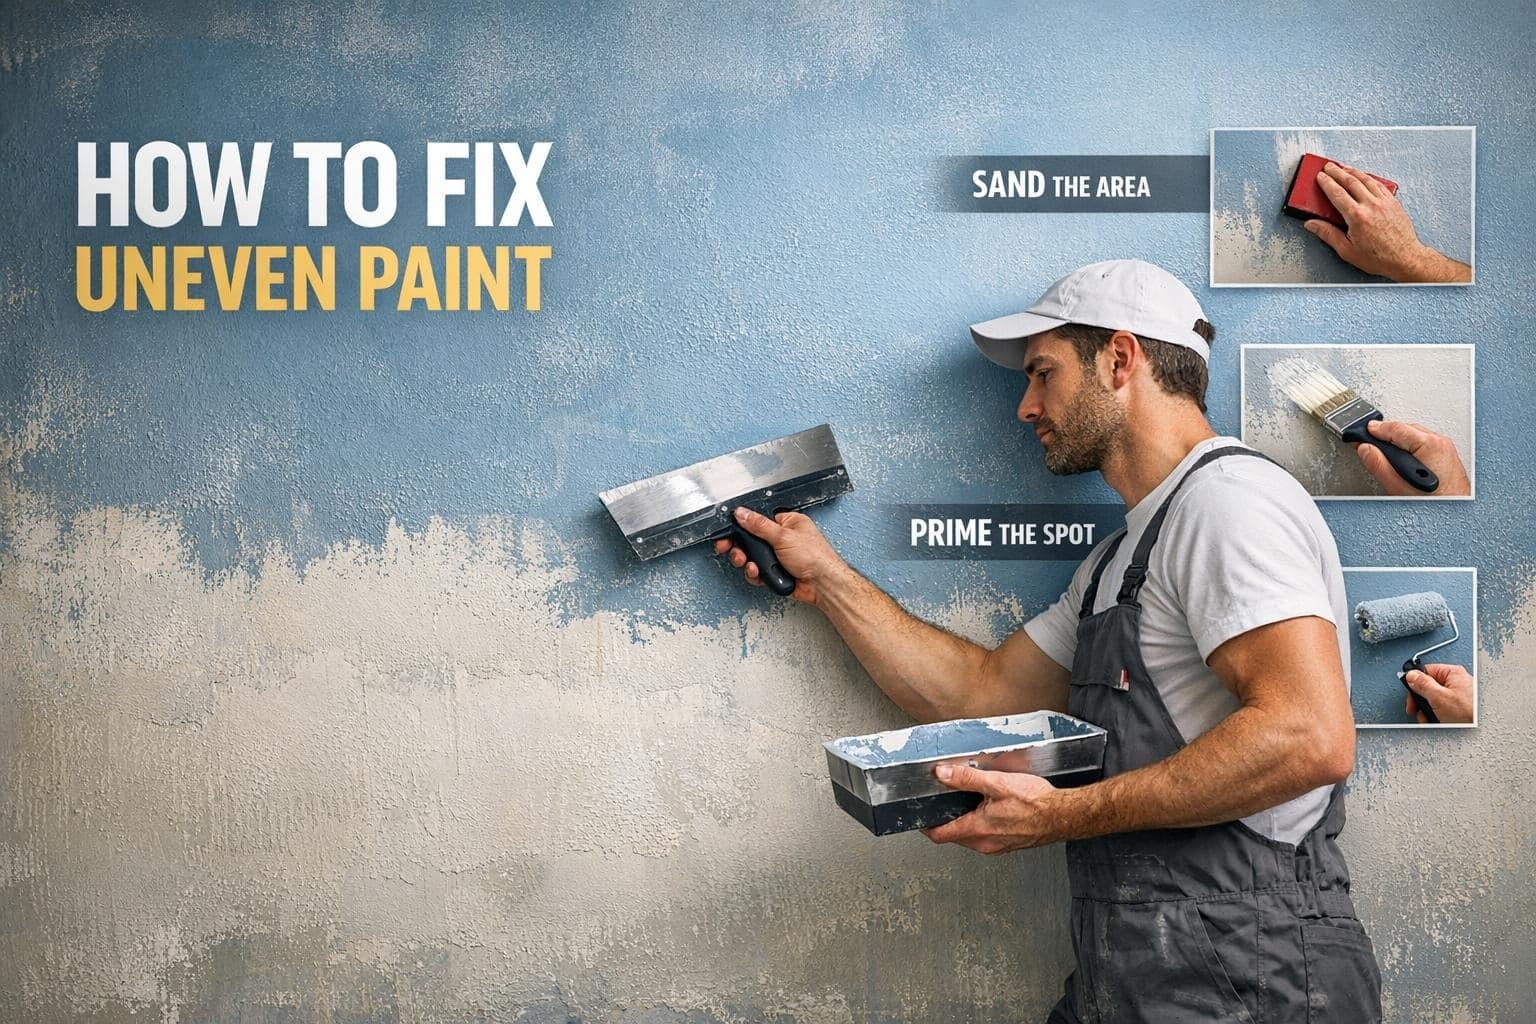
Even experienced DIYers make mistakes when repairing scratched walls. The good news? Most of them are easy to avoid once you know what to watch for. Before you pick up that paintbrush, make sure you aren’t setting yourself up for more work.
1. Skipping the Cleaning Step
Dust, grease, and fingerprints prevent paint from sticking properly. Always wipe the damaged area with a damp microfiber cloth and let it dry completely before making repairs.
2. Applying Too Much Spackle
Many people assume that more filler creates a stronger repair. It doesn’t. Thick layers take longer to dry, shrink unevenly, and require extra sanding.
Better approach: Apply several thin layers if needed.
3. Forgetting to Sand
Even the best filler leaves slight imperfections. If you skip sanding, those bumps will remain visible after painting.
Use fine-grit (220-grit) sandpaper and smooth the repair gently.
4. Using the Wrong Paint Finish
This mistake surprises many homeowners. Even if the paint color matches perfectly, the wrong sheen reflects light differently.
For example:
- Flat paint hides imperfections.
- Eggshell offers a soft glow.
- Satin reflects more light.
- Semi-gloss creates a noticeable shine.
Always match both the color and the finish.
5. Rushing Between Coats
Fresh paint needs time to dry.
Adding another coat too soon can cause:
- Streaks
- Peeling
- Uneven texture
- Sticky surfaces
Patience pays off here.
Pro Maintenance Tips to Keep Your Walls Scratch-Free
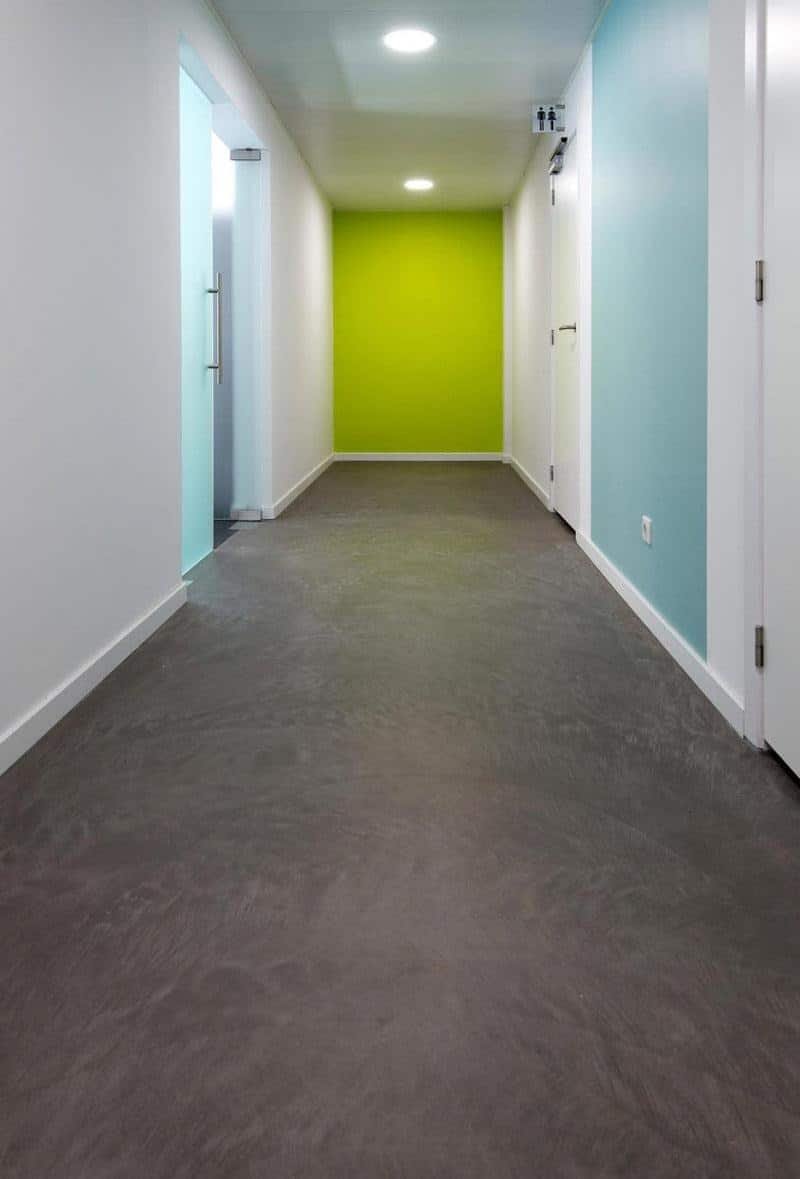
After repairing your wall, a little maintenance goes a long way. I started following these habits after repainting my living room, and I’ve noticed far fewer scratches ever since.
Weekly Care
- Dust walls with a microfiber cloth.
- Wipe fingerprints quickly.
- Check high-traffic areas for new marks.
Monthly Maintenance
- Inspect corners and hallways.
- Tighten loose doorstops.
- Replace worn furniture pads.
Long-Term Protection
- Keep leftover paint for touch-ups.
- Label paint cans with the room name and finish.
- Store paint in a cool, dry place.
- Touch up small scratches before they grow larger.
A five-minute repair today can prevent a five-hour repaint next year.
When Should You Repaint the Entire Wall?
Sometimes a touch-up simply won’t deliver the results you want.
Consider repainting the entire wall if:
- The wall has dozens of scratches.
- The existing paint has faded significantly.
- The repair remains visible from multiple angles.
- You no longer have matching paint.
- Large drywall sections need repair.
Repainting may sound like more work, but it often creates the cleanest and most consistent finish.
Frequently Asked Questions
Can I fix wall scratches without repainting?
Yes. Light scuffs and superficial marks often disappear after cleaning. If the paint hasn’t chipped away, you may not need to repaint at all.
Can toothpaste fix paint scratches?
People mention toothpaste online quite often, but I wouldn’t recommend it.
Toothpaste works as a mild abrasive on some surfaces, but it can damage painted walls or leave dull spots. Stick with proper wall repair products instead.
How long should I wait before painting over spackle?
Most lightweight spackles dry within 30 minutes to 2 hours, depending on the product and layer thickness.
Always follow the manufacturer’s instructions.
Why does my touch-up paint look darker?
Fresh paint often appears darker until it dries completely.
If it still looks different after drying, you may have:
- Used the wrong sheen
- Applied paint too heavily
- Used paint from a different batch
- Matched the wrong color
Can I repair scratches on textured walls myself?
Absolutely.
It takes a little more patience than repairing smooth walls, but with lightweight spackle, texture tools, and matching paint, most homeowners can achieve excellent results.
What’s the fastest way to fix a small scratch?
For tiny paint scratches:
- Clean the area.
- Let it dry.
- Apply matching touch-up paint.
- Allow it to dry.
- Add a second coat if necessary.
Many small repairs take less than 20 minutes of hands-on work.
Quick Repair Checklist
Before you call the project finished, make sure you’ve completed every step.
Cleaned the damaged area
Sanded rough edges
Filled deeper scratches
Sanded the filler smooth
Applied primer if drywall showed
Used matching paint color
Matched the paint finish
Feathered the paint into surrounding areas
Allowed enough drying time
Checked the repair in natural daylight
If you checked every box, your wall should look almost brand new.
Final Thoughts
Paint scratches might seem like a big deal when you first notice them, but they’re usually one of the easiest home repairs you’ll ever tackle. With the right tools, a little patience, and the techniques you’ve learned here, you can restore your walls without hiring a professional.
The biggest lesson I’ve learned over the years is this: don’t rush the process. Clean first, repair carefully, and blend your paint well. Those extra few minutes make the difference between a repair that screams, “Someone fixed me!” and one that quietly disappears into the wall.
So, the next time you spot a scratch from a chair, an energetic pet, or that one friend who insists they’re “being careful” while moving furniture, don’t stress. Grab your repair kit, follow these steps, and enjoy the satisfaction of making the damage vanish.
After all, a well-maintained wall doesn’t just improve your home’s appearance—it gives you the confidence to tackle the next DIY project with ease. Happy repairing!