How to Fix Paint Chips on Wall: A Step-by-Step Guide for a Smooth, Like-New Finish
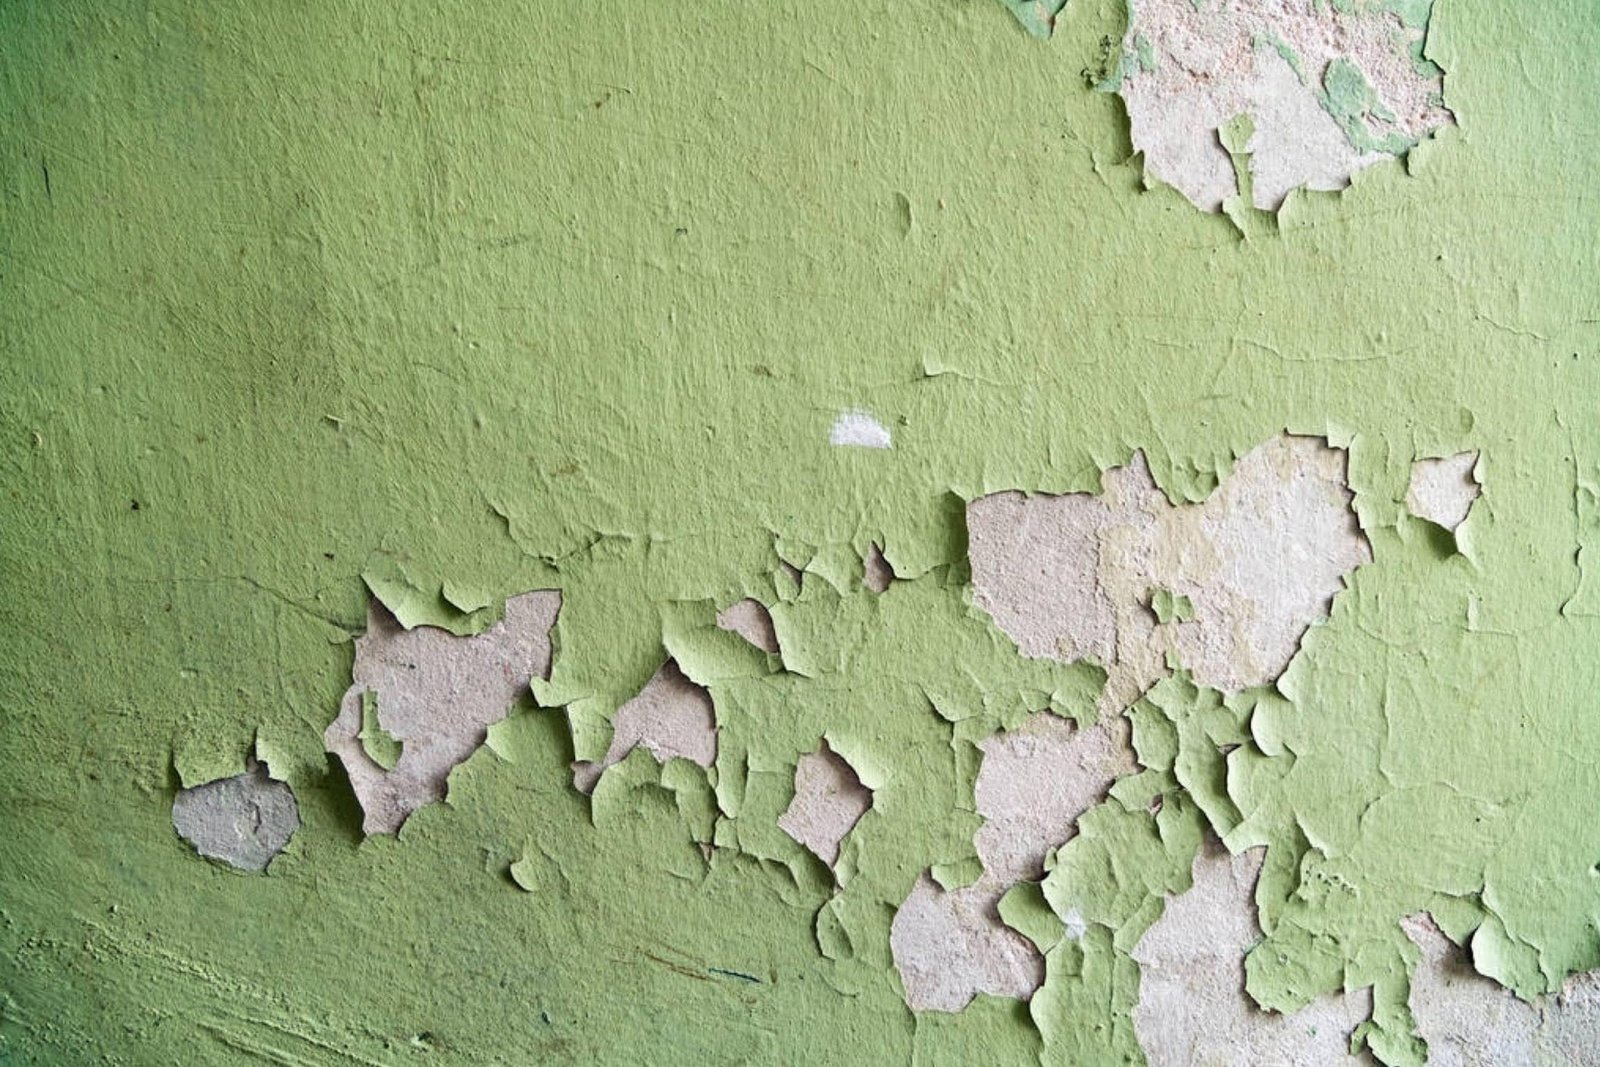
Nothing ruins the look of a freshly painted room faster than a chipped wall. One tiny chip somehow grabs all your attention every time you walk past it. Funny how our brains completely ignore a perfectly painted wall but instantly zoom in on that one annoying blemish, right?
The good news? Learning how to fix paint chips on a wall isn’t difficult. I’ve repaired everything from tiny nail-hole chips to hand-sized patches caused by moving furniture, and trust me, most repairs take less time than choosing something to watch on Netflix.
Whether you’re preparing your home for guests, selling your house, or simply tired of staring at those ugly spots, this guide will help you restore your walls without calling a professional.
Table of Contents
Why Paint Chips Happen in the First Place
Before you repair chipped paint, it helps to understand why it happened. If you solve the cause, you reduce the chance of seeing the same problem again.
Common reasons include:
- Furniture rubbing against walls
- Poor surface preparation before painting
- Moisture damage
- Low-quality paint
- Tape pulling paint away
- Nails and wall anchors
- Normal wear and tear
Ever wondered why one room chips constantly while another stays perfect for years? The answer usually comes down to preparation. Paint sticks much better to a clean, primed surface.
Tools You’ll Need Before You Start
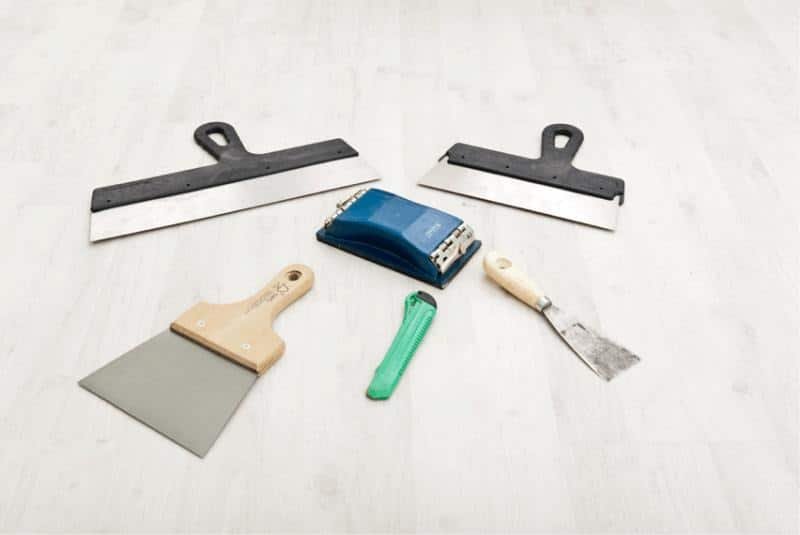
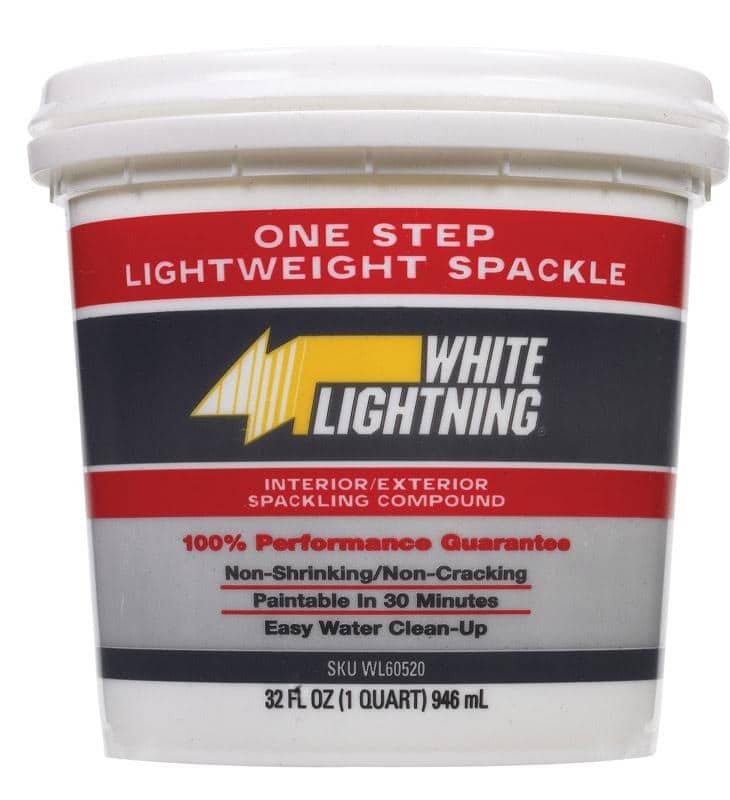
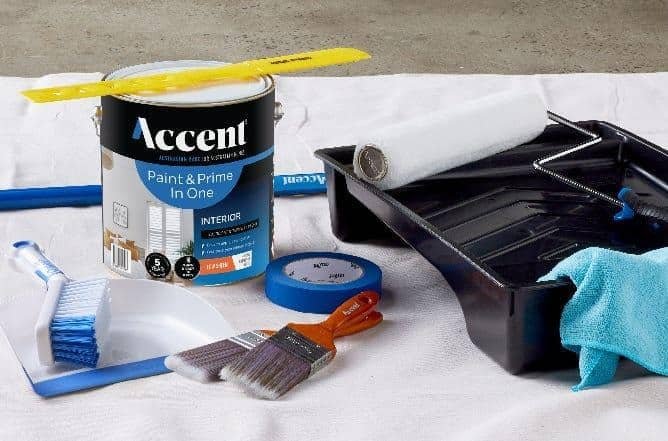
You don’t need an expensive toolbox to repair paint chips.
Gather these supplies:
- Putty knife
- Lightweight spackle
- Fine-grit sandpaper (180–220 grit)
- Paint scraper
- Primer
- Matching wall paint
- Small paintbrush
- Mini roller (optional)
- Damp microfiber cloth
- Painter’s tape (optional)
Pro Tip: If you still have leftover paint from the original project, congratulations—you just saved yourself a color-matching headache.
10 Easy Ideas to Fix Paint Chips on Wall
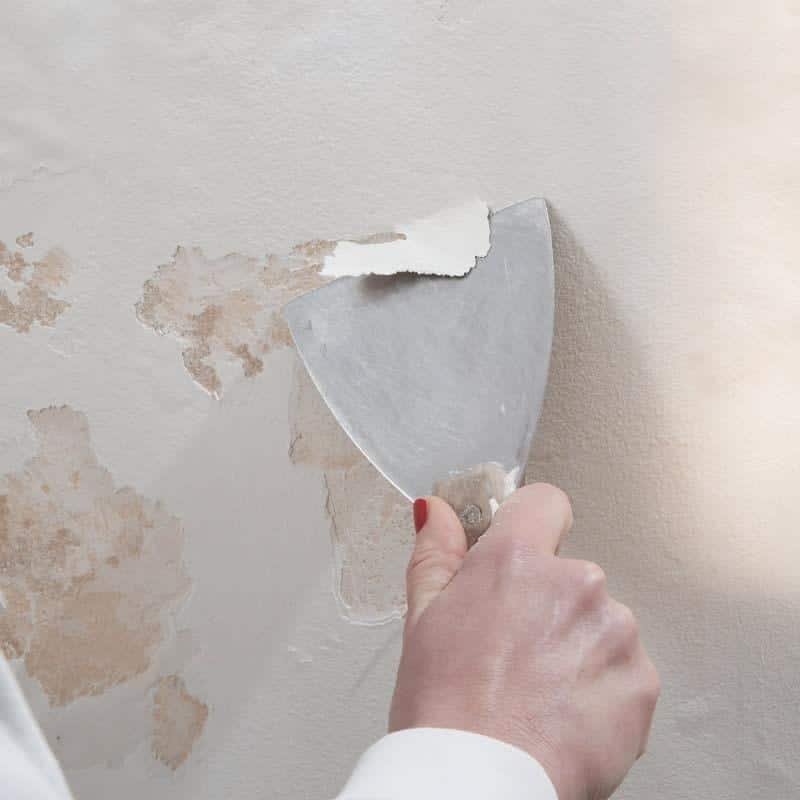
Idea 1: Remove Every Loose Piece of Paint First
Skipping this step almost guarantees another chip later. Loose paint keeps peeling because it no longer bonds to the wall underneath.
Take a paint scraper or putty knife and gently remove every loose edge. Stop scraping once you reach solid paint that refuses to lift.
Styling & Repair Tips
- Remove every flaky edge.
- Keep the scraper at a low angle.
- Avoid gouging the drywall.
- Wipe away dust afterward.
Bonus Tip: Don’t worry if the damaged area looks larger after scraping. A slightly bigger repair blends much better than leaving loose paint behind.
Idea 2: Clean the Damaged Area Thoroughly
Dust, grease, and fingerprints prevent fillers and paint from sticking properly.
Use warm water with a drop of dish soap and wipe the damaged area clean. Let the surface dry completely before moving on.
Cleaning Tips
- Remove grease first.
- Use a lint-free cloth.
- Allow complete drying.
- Avoid soaking drywall.
Pro Tip: Clean walls always produce smoother repairs. FYI, this tiny step often makes the biggest difference.
Idea 3: Fill the Chip with Lightweight Spackle
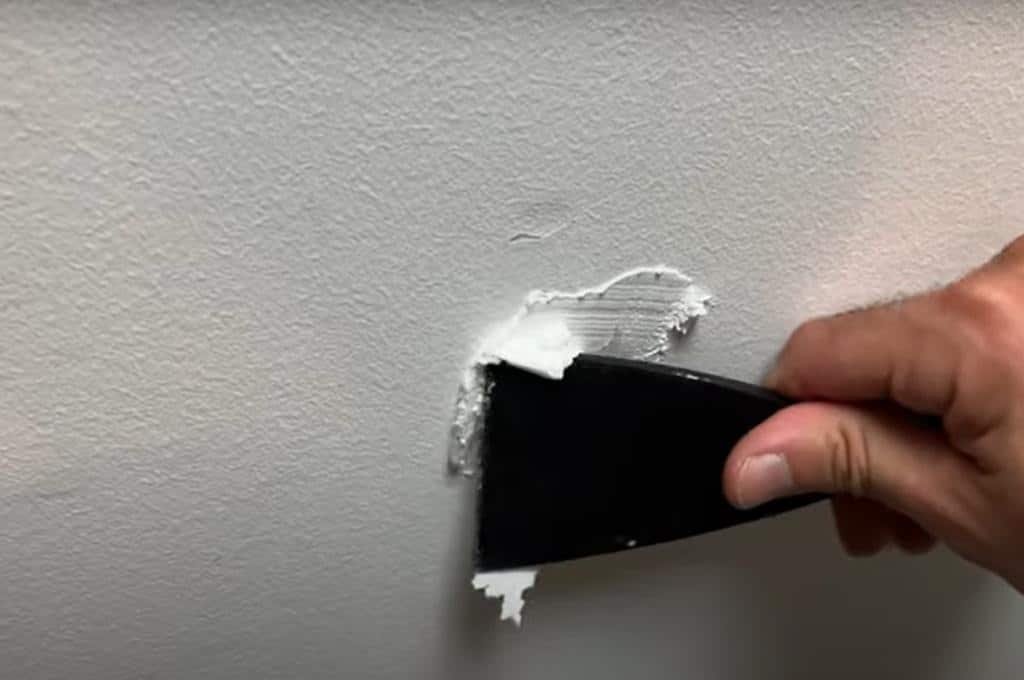
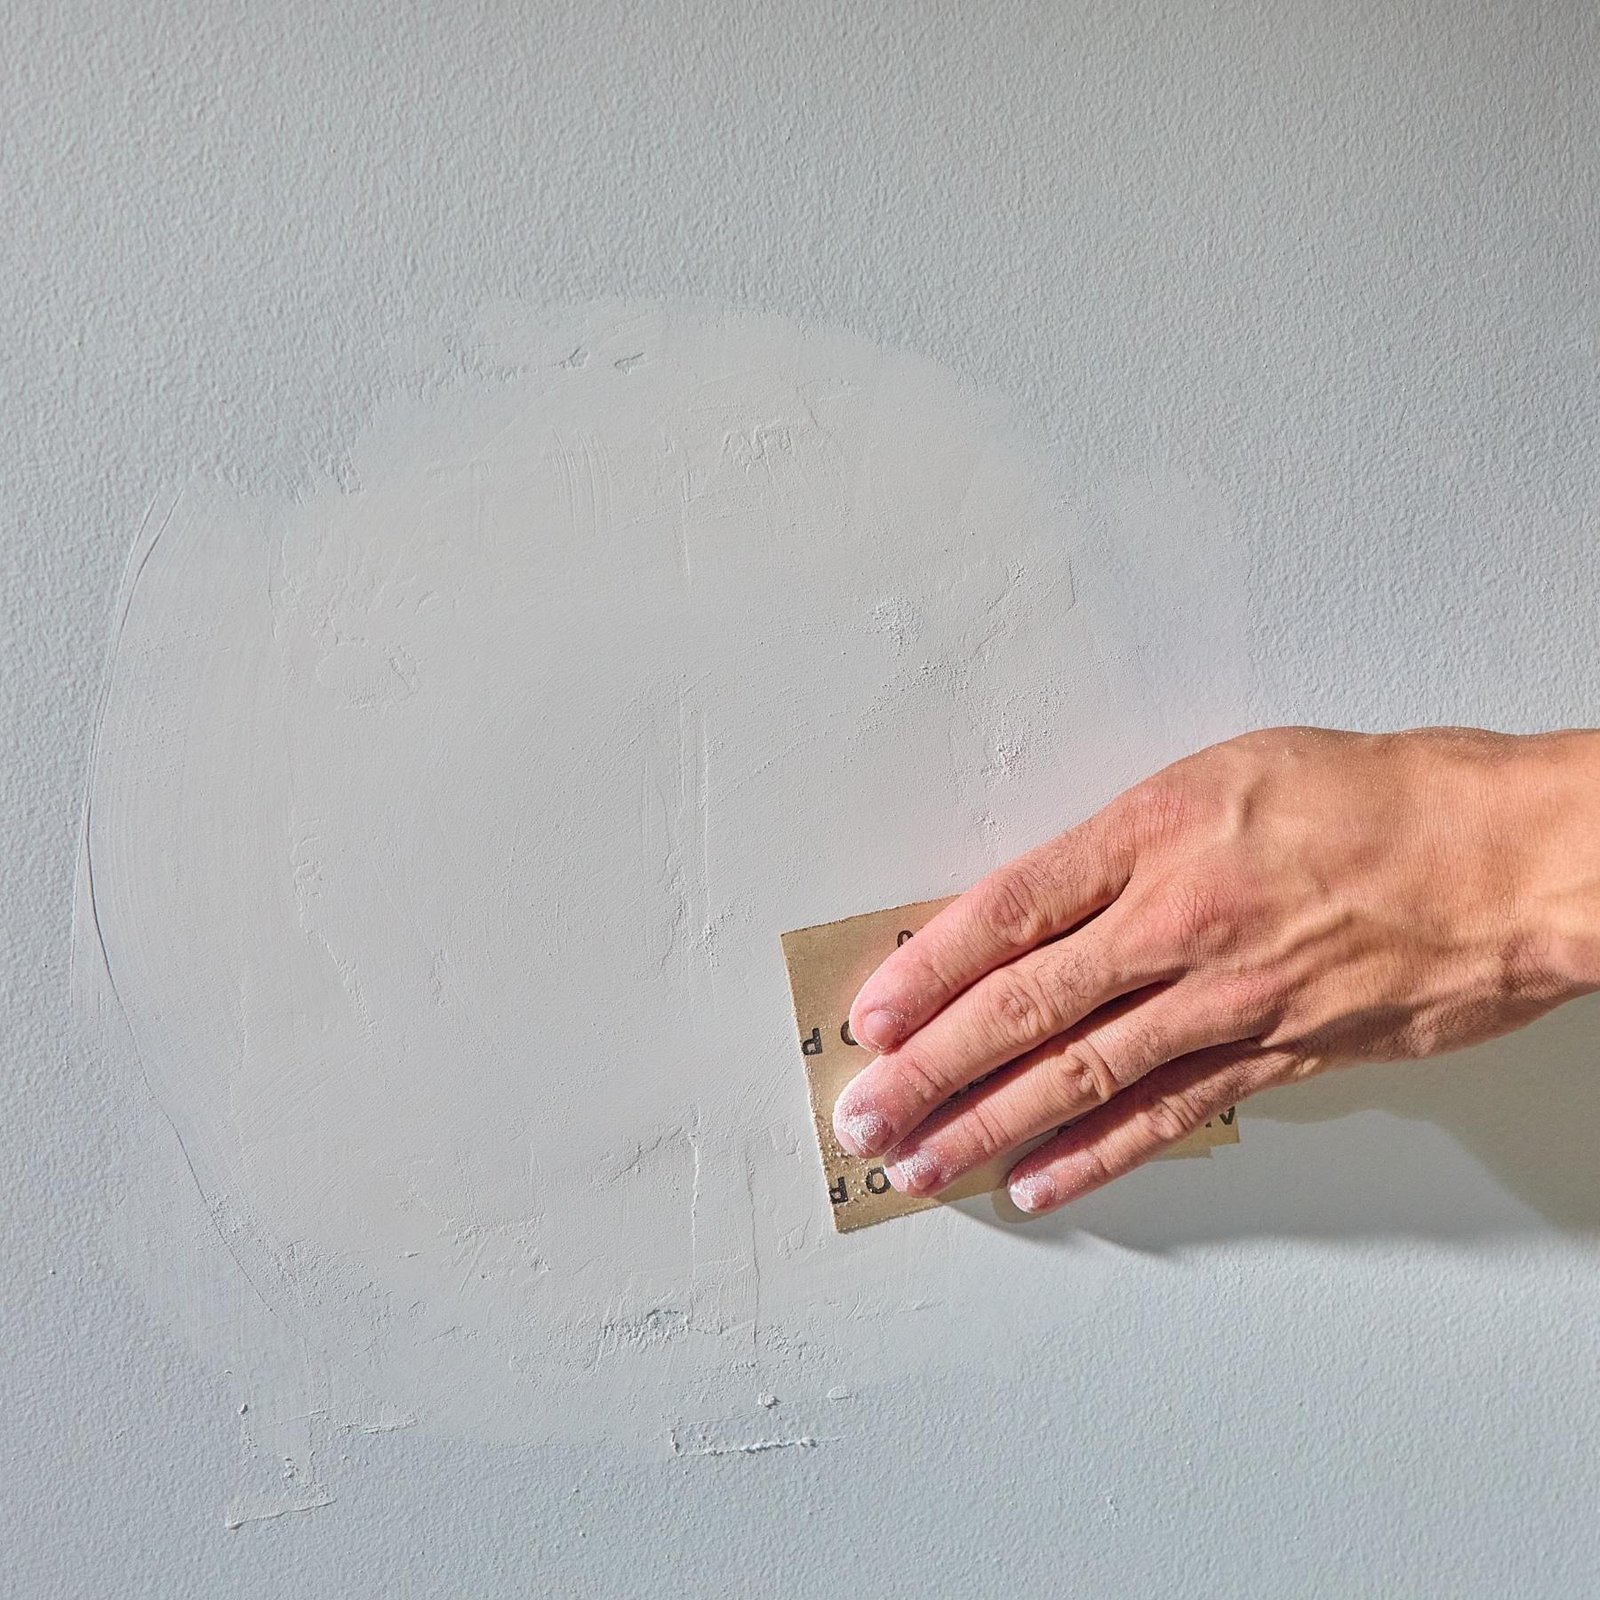
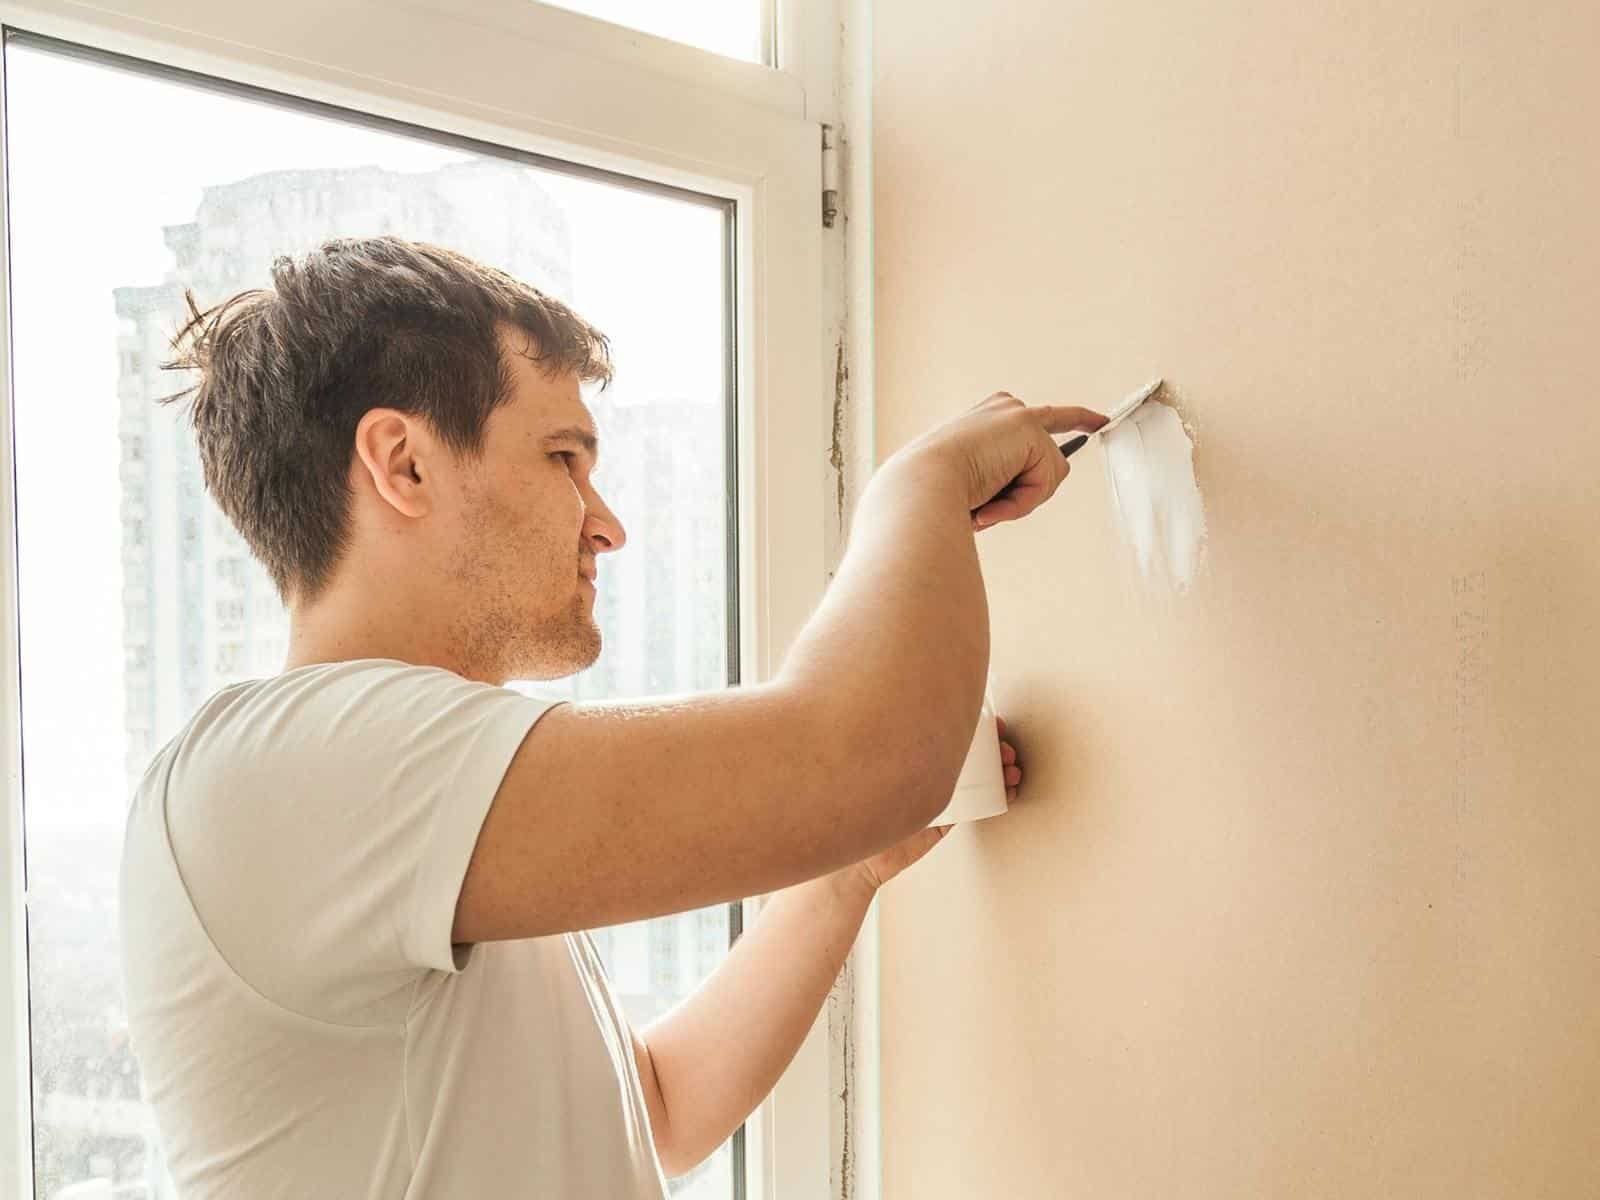
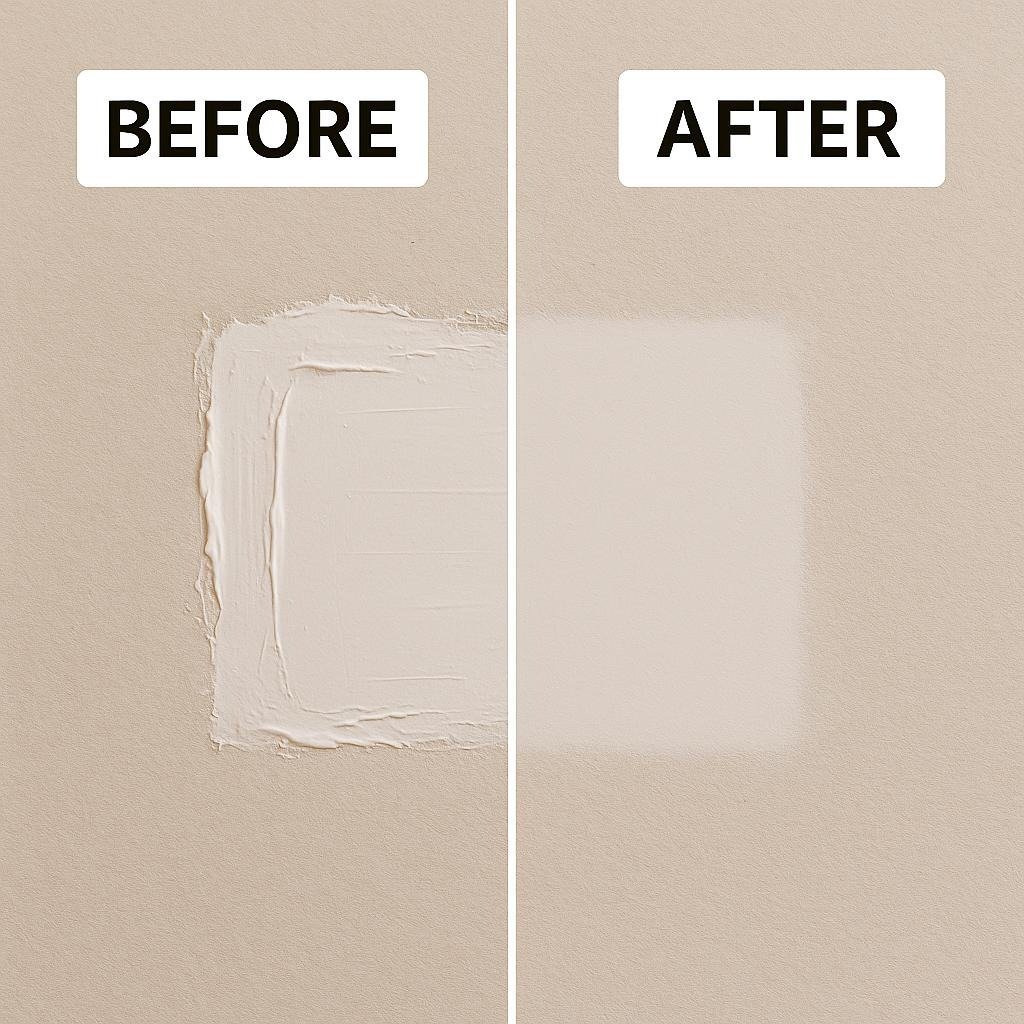
Small paint chips need only a thin layer of filler.
Spread lightweight spackle across the damaged area with a putty knife. Press firmly so it fills every small gap.
Application Tips
- Use thin layers.
- Smooth the edges.
- Remove excess immediately.
- Allow full drying.
Additional Tip: Resist the temptation to use too much filler. Bigger blobs only create more sanding later…and nobody enjoys unnecessary sanding.
Idea 4: Sand Until the Surface Feels Invisible
A repair should disappear both visually and by touch.
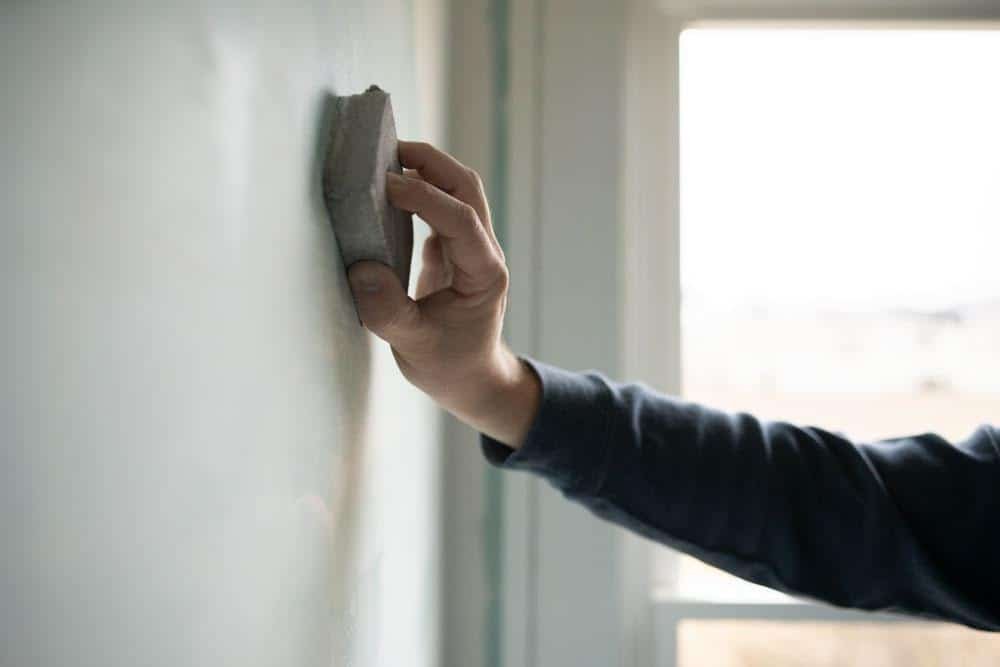
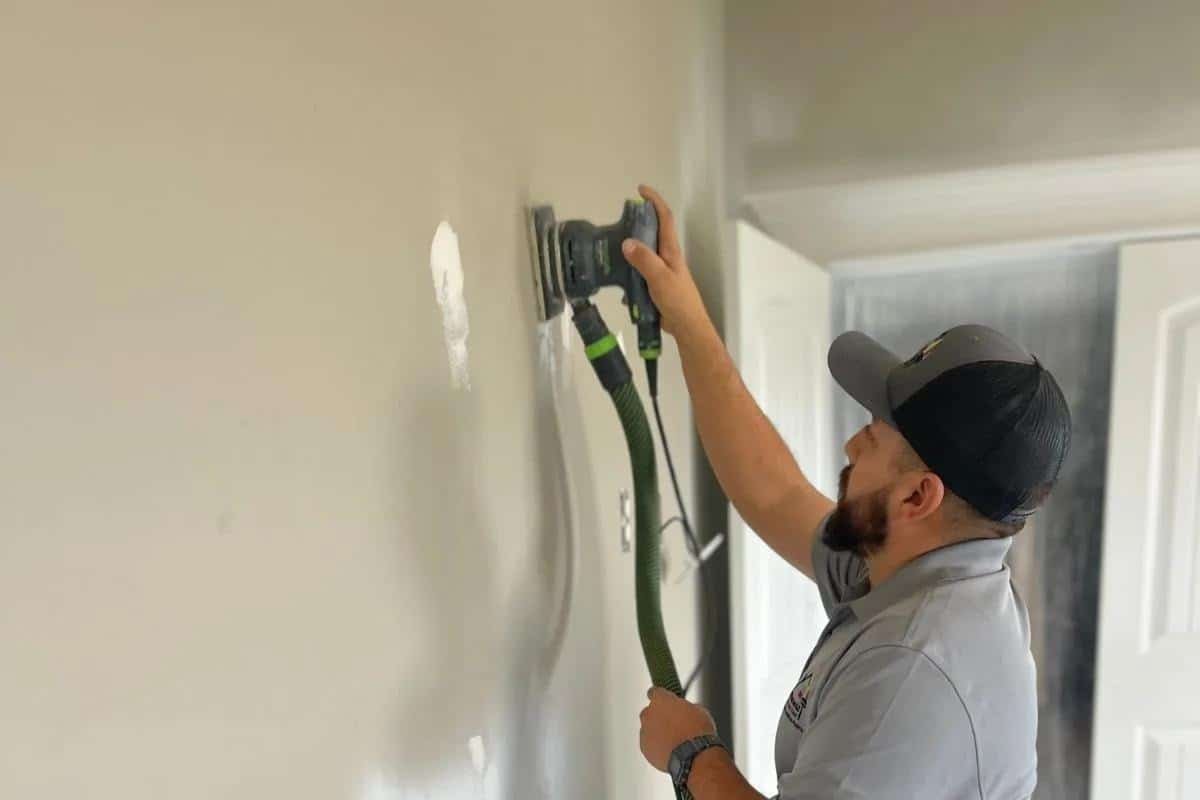
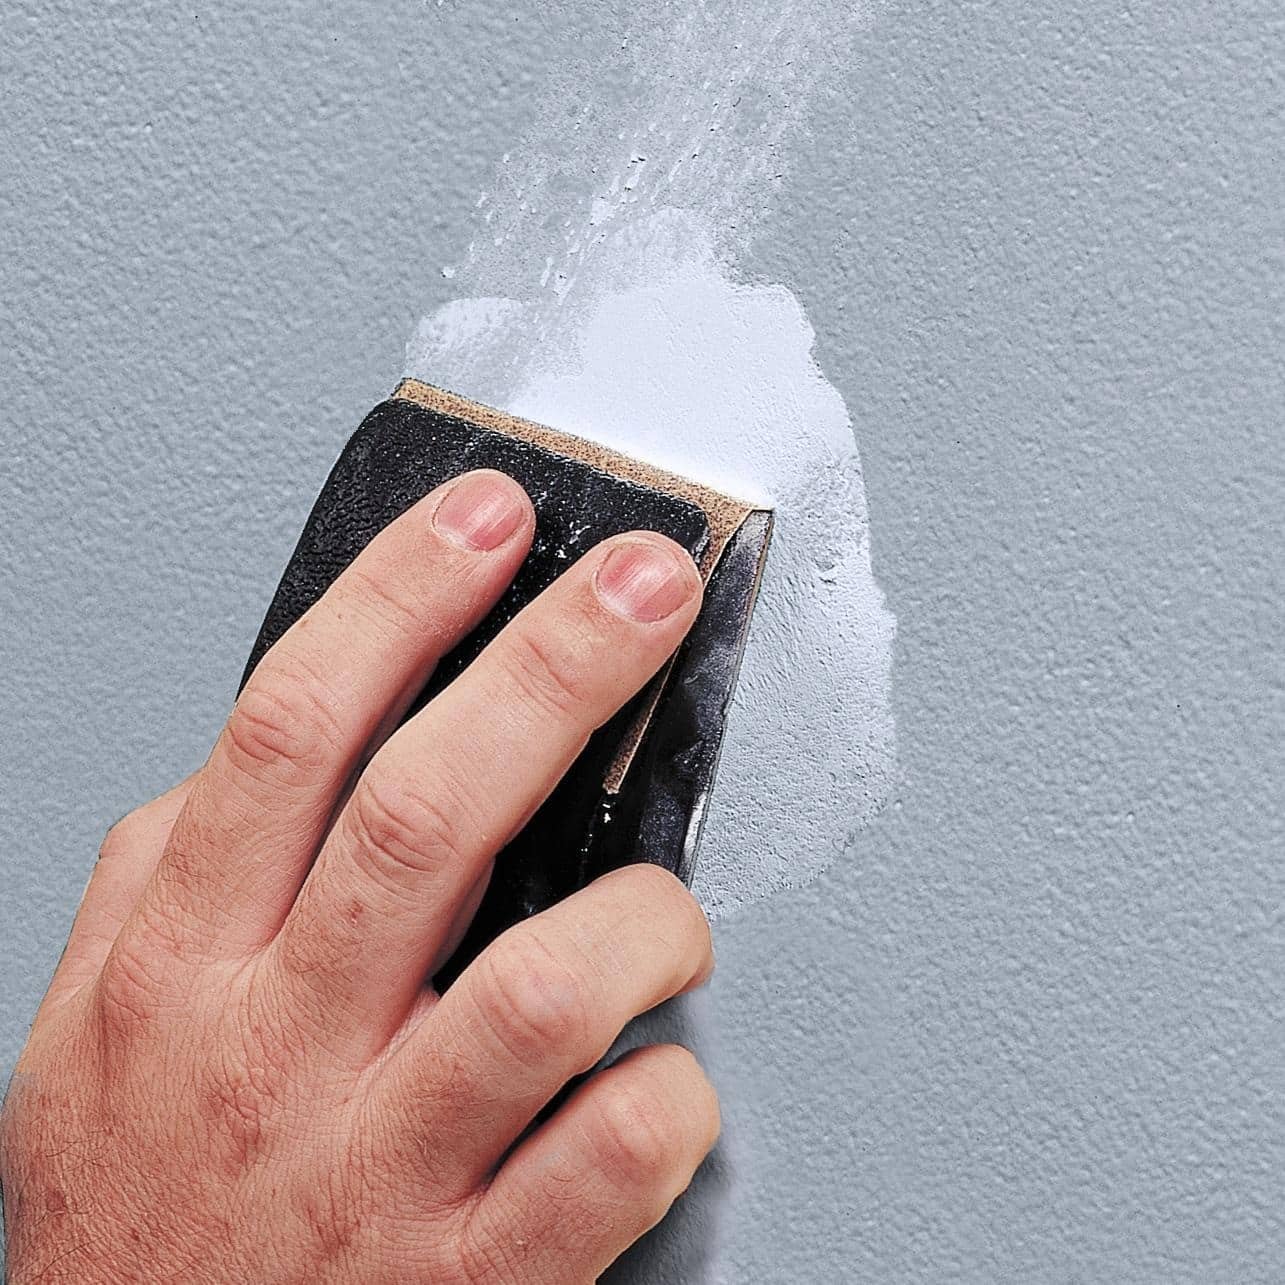
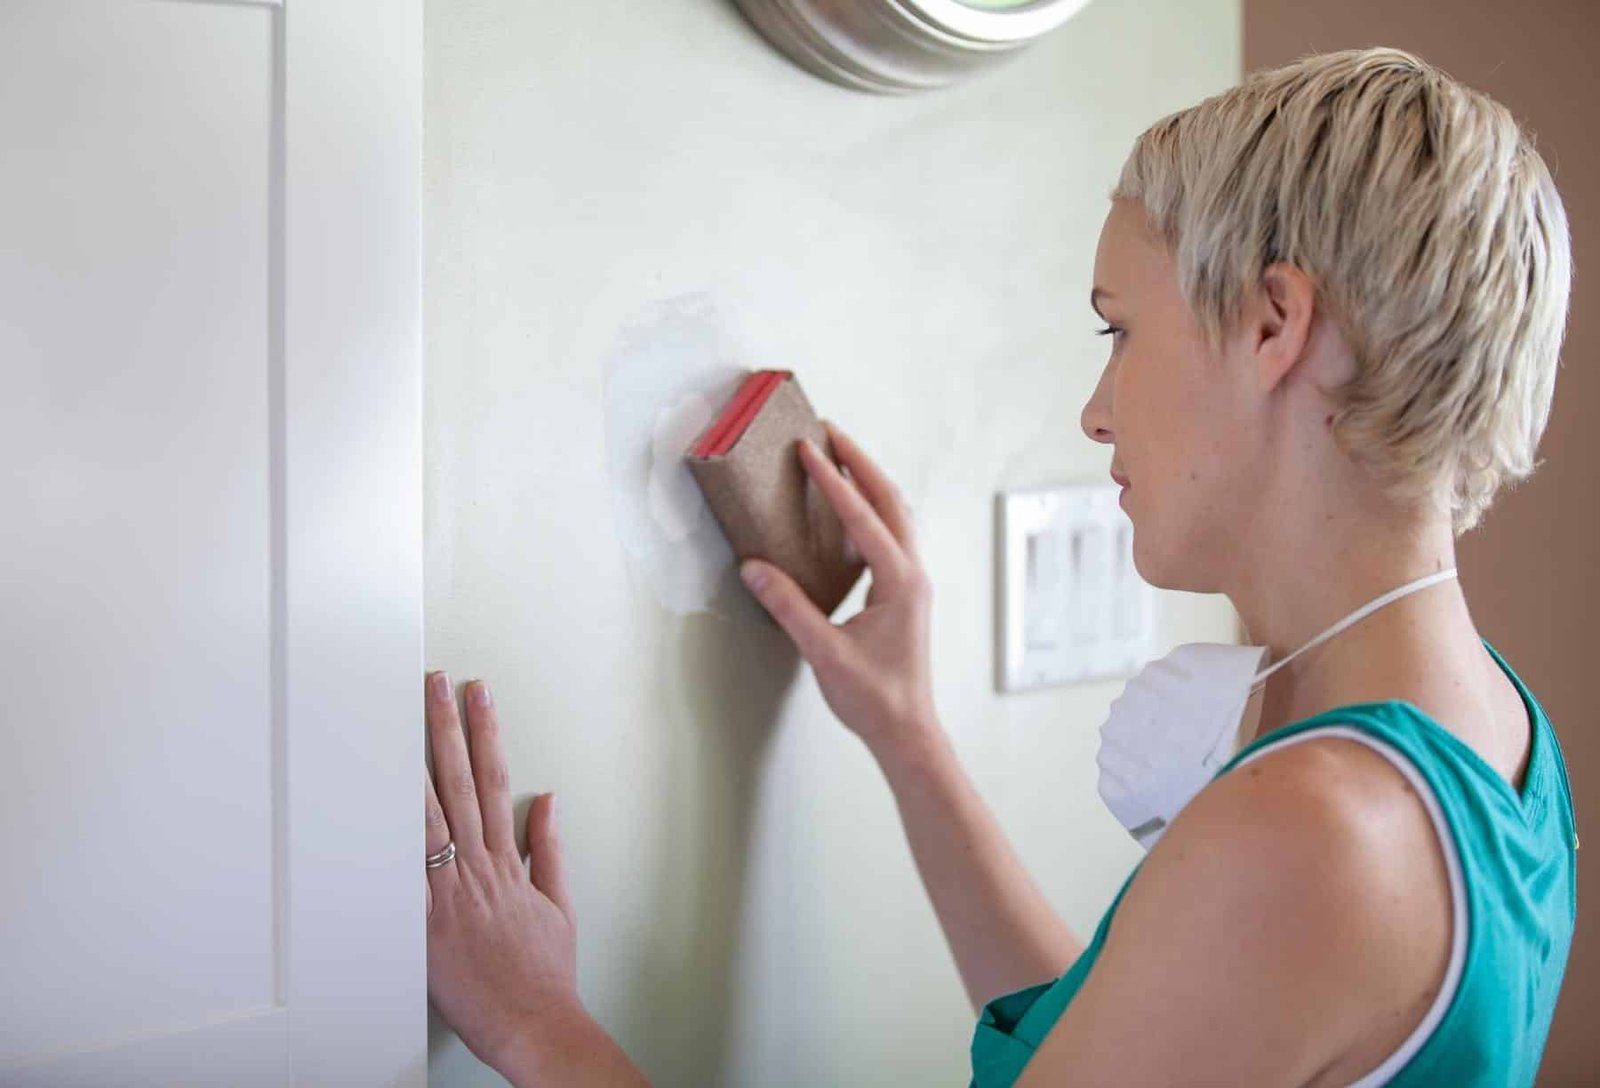
After the filler dries, sand gently with fine-grit sandpaper. Run your hand across the repair. If you feel a bump, keep sanding lightly.
Sanding Tips
- Use circular motions.
- Check often with your fingertips.
- Remove sanding dust afterward.
- Avoid sanding surrounding paint too aggressively.
Bonus Tip: Shine a flashlight across the wall. Side lighting quickly reveals bumps you might otherwise miss.
Idea 5: Prime Before Painting
Many DIY repairs fail because people skip primer.
Fresh drywall filler absorbs paint differently than the surrounding wall. Primer seals the patch and creates an even finish.
Priming Tips
- Use stain-blocking primer if needed.
- Cover only the repaired area.
- Let primer dry fully.
- Lightly sand if necessary.
Pro Tip: Primer helps prevent flashing, where repaired spots look shinier or duller than the rest of the wall.
Idea 6: Match the Paint Carefully
Even a perfect repair stands out if the color doesn’t match.
If you have leftover paint, you’re in great shape. Otherwise, remove a small paint chip and visit a paint store for color matching.
Paint Matching Tips
- Match both color and finish.
- Stir old paint well.
- Test first in an unseen spot.
- Paint during daylight.
Additional Tip: IMO, matching the paint finish matters just as much as matching the color.
Idea 7: Feather the Paint Edges
Instead of painting only the exact repair, blend outward into the surrounding wall.
This creates a seamless transition that hides the repair.
Painting Tips
- Use light strokes.
- Blend outward gradually.
- Avoid thick coats.
- Let coats dry between applications.
Bonus Tip: A mini roller often blends flat wall paint better than a brush.
Idea 8: Apply Two Thin Coats Instead of One Thick Coat
Patience wins this round.
Thin coats dry evenly, hide brush marks, and produce a smoother finish than one heavy application.
Best Practices
- Wait between coats.
- Don’t overload the brush.
- Maintain even pressure.
- Inspect after drying.
Pro Tip: Thick paint loves creating drips. Thin coats simply behave better.
Idea 9: Repair Larger Chips with Joint Compound
Some paint chips expose large sections of drywall.
In those cases, joint compound creates a flatter repair over wider areas than lightweight spackle.
Large Repair Tips
- Apply several thin layers.
- Sand between coats.
- Prime afterward.
- Paint the entire section if needed.
Additional Tip: Large repairs usually disappear better if you repaint the whole wall rather than only the patched section.
Idea 10: Prevent Future Paint Chips
The best repair is the one you never need to repeat.
Simple habits protect your freshly painted walls for years.
Prevention Tips
- Install door stoppers.
- Use furniture pads.
- Repair moisture leaks quickly.
- Choose high-quality paint.
- Clean walls gently.
Bonus Tip: Keep a small container of leftover paint labeled with the room name and date. Future touch-ups become ridiculously easy.
Common Mistakes to Avoid
Even experienced DIYers make these mistakes occasionally.
Avoid:
- Painting over loose paint
- Skipping primer
- Using coarse sandpaper
- Applying thick filler
- Ignoring moisture issues
- Painting before repairs fully dry
- Using the wrong paint finish
Ever rushed a repair only to redo it later? Yeah…most of us learn that lesson exactly once.
When Should You Repaint the Entire Wall?
Sometimes touch-ups simply aren’t enough.
Consider repainting the entire wall if:
- Multiple chips appear everywhere.
- Paint has faded significantly.
- Color matching proves impossible.
- Water damage affected large sections.
- Previous paint repairs look patchy.
Although repainting requires more work, the finished result often looks dramatically better than multiple scattered touch-ups.
Frequently Asked Questions
Can I paint directly over chipped paint?
No. Always remove loose paint, repair the surface, sand, and prime first.
What filler works best for paint chips?
Lightweight spackle works perfectly for most small repairs, while joint compound handles larger damaged areas.
Why does my repair still show after painting?
Usually one of these caused it:
- No primer
- Uneven sanding
- Incorrect paint sheen
- Poor color match
Can I fix paint chips without repainting?
Very tiny chips sometimes disappear with matching touch-up paint alone, but most repairs look much better after filling and sanding.
How long should I wait before painting over spackle?
Follow the manufacturer’s instructions, but most lightweight spackle dries within 30 minutes to a few hours, depending on thickness and room conditions.
Final Thoughts
Knowing how to fix paint chips on a wall saves money, improves your home’s appearance, and helps your paint last much longer. Most repairs require only a few inexpensive tools and a little patience.
The biggest secret isn’t fancy equipment or expensive products. Careful preparation, smooth sanding, proper priming, and thin paint coats produce repairs that blend almost perfectly into the surrounding wall.
So the next time you notice that annoying paint chip catching your eye every single time you enter the room, don’t ignore it. Grab your putty knife, spend half an hour fixing it, and enjoy a wall that looks fresh again. Your future self will definitely appreciate it.