How to Paint Holographic Texture: Create Eye-Catching Iridescent Effects Like a Pro
Ever looked at a painting that shimmered with different colors every time you moved? Pretty cool, right? That magical rainbow-like finish is called a holographic texture, and while it may look complicated, you don’t need superhero-level painting skills to create it.
I remember trying holographic paint for the first time. I honestly expected instant magic. Instead, I ended up with a glittery silver blob that looked more like a craft project gone rogue than futuristic artwork. After experimenting with different paints, mediums, and layering techniques, I finally figured out what actually works.
The good news? You don’t need expensive equipment or years of experience. With the right materials, a little patience, and a few clever tricks, you can create beautiful holographic textures on canvas, wood, resin art, home décor, and even furniture.
Let’s make your artwork shine—literally.
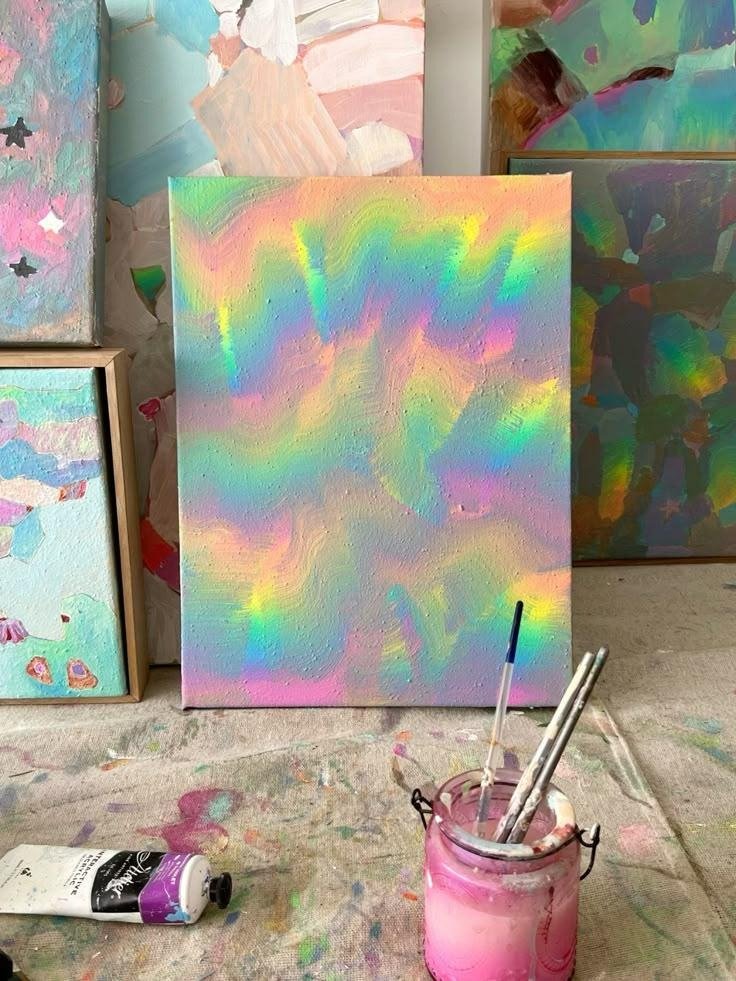
Table of Contents
What Is a Holographic Texture?
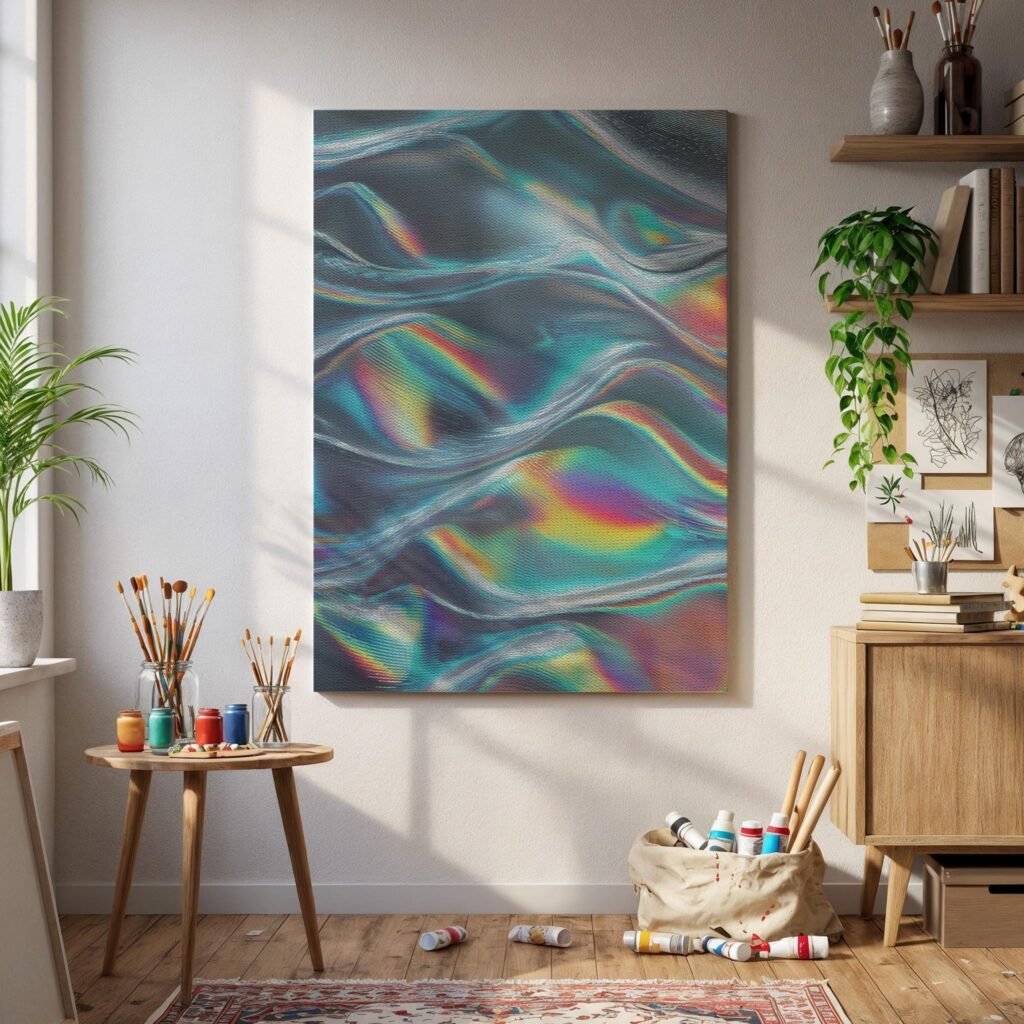
A holographic texture creates the illusion that colors shift depending on the viewing angle and lighting. Unlike ordinary metallic paint, holographic finishes display multiple colors at once.
You’ll often notice shades like:
- Blue
- Purple
- Pink
- Green
- Gold
- Silver
The effect comes from light reflecting through iridescent pigments, interference powders, holographic films, or specialty paints.
Think of it this way: metallic paint reflects one color. Holographic paint reflects an entire rainbow.
Why Paint a Holographic Texture?
Besides looking absolutely awesome (that’s a perfectly valid reason), holographic textures add incredible depth to almost any project.
They work beautifully on:
- Canvas paintings
- Abstract art
- Resin art
- Furniture accents
- Decorative signs
- Wall art
- Sculptures
- Plant pots
- Mixed-media projects
- Cosplay props
The best part? Even simple artwork suddenly looks expensive once the holographic effect catches the light.
Materials You’ll Need
Having the right supplies makes a massive difference.
Essential Materials
- Black acrylic paint
- White acrylic paint
- Gloss gel medium
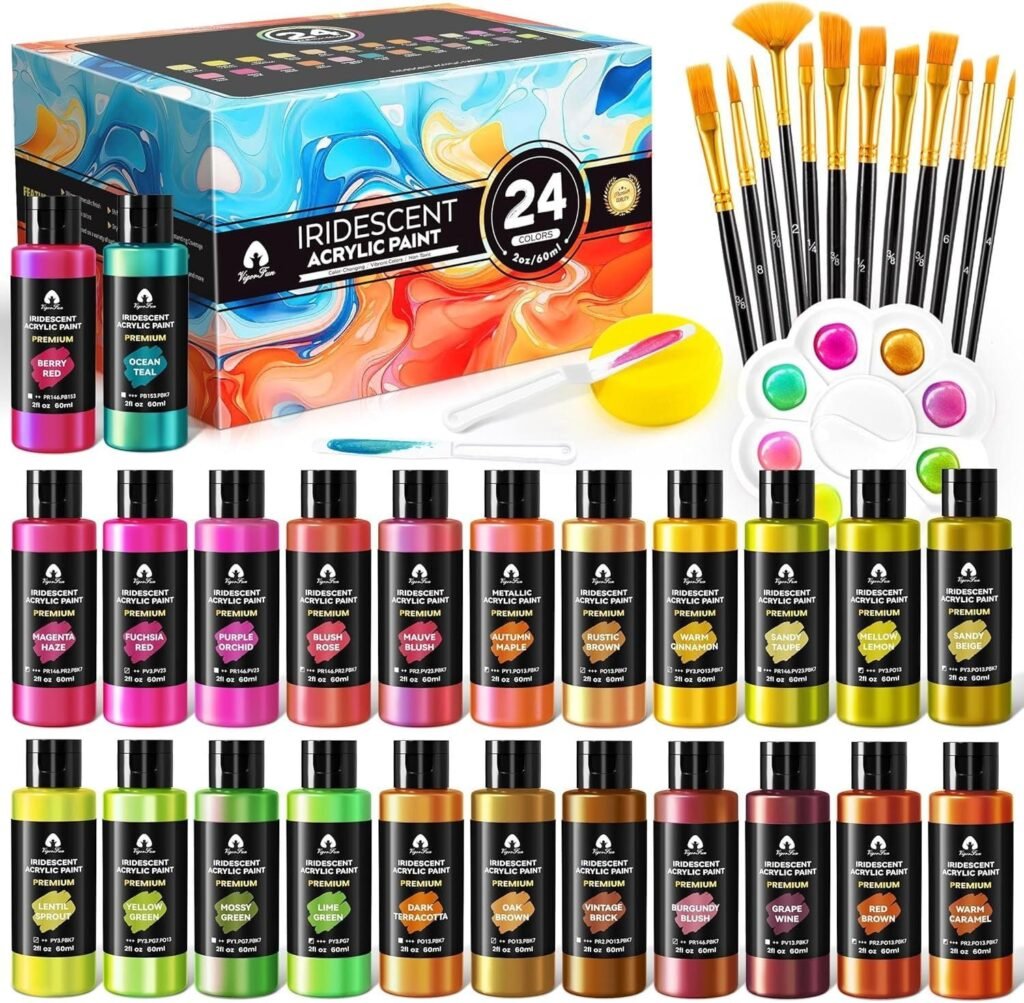
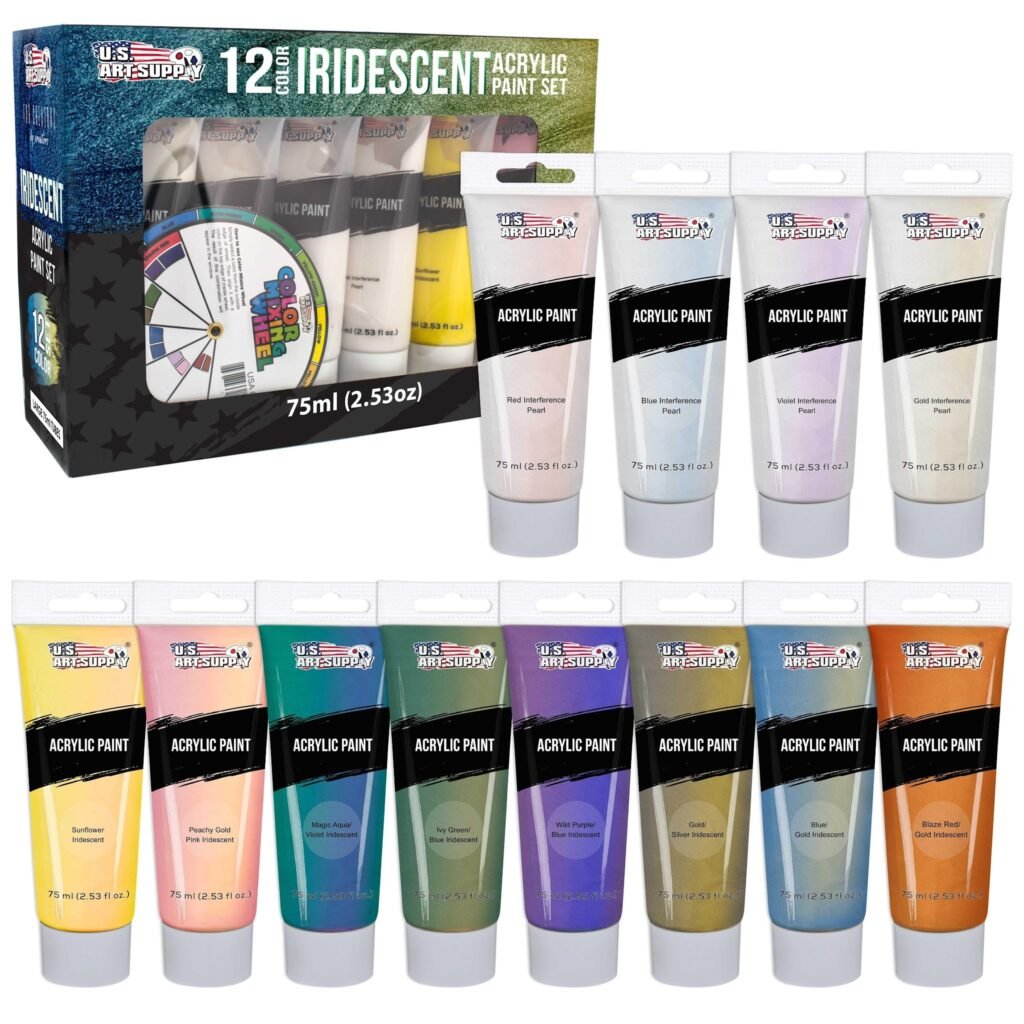
- Iridescent acrylic paints
- Interference paints
- Holographic pigment powder
- Palette knives
- Soft synthetic brushes
- Foam brushes
- Texture paste
- Canvas or wood panel
- Spray bottle with water
- Gloss varnish
Optional Supplies
These aren’t mandatory, but they definitely make life easier.
- Silicone tools
- Sponge brushes
- Metallic acrylic paints
- Fine glitter
- Pearl mica powder
- Resin (for advanced projects)
- Masking tape
- Airbrush (optional)
FYI: Don’t worry if you don’t own everything. You can create amazing holographic textures using just acrylic paint, gloss medium, and one iridescent color.
Understanding the Science Behind the Shine
Ever wondered why holographic artwork changes color?
It all comes down to light reflection.
Tiny pigment particles bend and reflect light differently depending on the angle. As you move around the painting, those particles reveal different colors.
That’s exactly why the artwork seems to “move” even though it stays perfectly still.
Pretty clever, isn’t it?
Choosing the Best Base Color
One mistake many beginners make involves painting directly onto a white canvas.
Sure, it works…
But it doesn’t look nearly as dramatic.
Black Base
Best for:
- Maximum color shifting
- Deep contrast
- Galaxy art
- Futuristic designs
White Base
Best for:
- Soft pearl effects
- Pastel holographic finishes
- Minimalist artwork
Colored Base
Dark blues, purples, and navy backgrounds also create beautiful holographic effects.
Personally, I almost always start with matte black acrylic paint because the iridescent colors practically glow against it.
Preparing Your Surface
Good preparation saves a lot of frustration later.
Step 1
Clean the surface thoroughly.
Dust and grease ruin smooth paint application.
Step 2
Apply primer if you’re painting on wood, MDF, or furniture.
Canvas usually comes pre-primed.
Step 3
Paint the base color evenly.
Allow it to dry completely before adding holographic layers.
Don’t rush this part. Wet base paint mixes into holographic colors and reduces the shimmer. Trust me—I learned that lesson the messy way.
Technique 1: Layering Iridescent Acrylic Paint
This is one of the easiest ways to create holographic texture.
Step 1
Paint your entire surface black.
Allow it to dry fully.
Step 2
Load a soft brush with iridescent acrylic paint.
Avoid soaking the brush.
Step 3
Brush very thin layers across the surface.
Don’t press hard.
Light pressure creates better reflections.
Step 4
Allow every coat to dry.
Repeat with multiple thin layers rather than one thick coat.
The result becomes much richer.
Why This Works
Each transparent layer reflects light differently.
Eventually, the colors stack together to create a beautiful holographic illusion.
Styling & Combination Tips
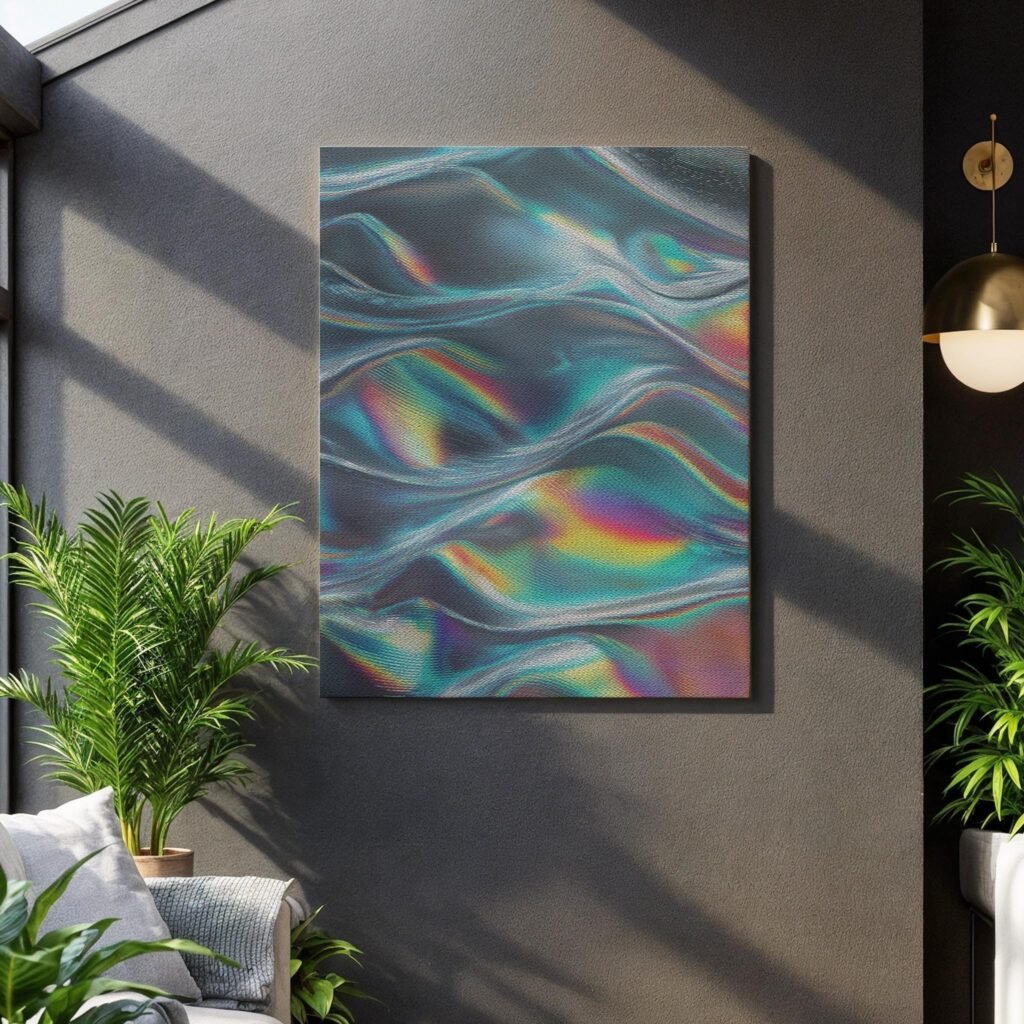
- Pair black backgrounds with blue and violet iridescent paints for a galaxy-inspired look.
- Blend silver metallic paint underneath to increase brightness.
- Mix pearl white highlights into raised areas for extra depth.
- Use long, smooth brush strokes instead of scrubbing the paint.
- Finish with a high-gloss varnish to amplify the color shift.
Pro Tip
Rotate your canvas while painting.
Looking at the artwork from different angles helps you spot uneven reflections before the paint dries. It’s a small habit that makes a surprisingly big difference.
Technique 2: Using Texture Paste for a 3D Holographic Finish
Flat holographic paint looks beautiful, but adding texture takes it to another level. Raised surfaces catch light from multiple angles, making the color shift appear even more dramatic. If you enjoy abstract art, this technique quickly becomes addictive because every ridge and peak reflects light differently.
Start by spreading texture paste with a palette knife. Create sweeping curves, waves, geometric lines, or random peaks—there’s no single “correct” pattern. Let the paste dry completely before adding any paint. Patience pays off here because damp paste can crack under fresh layers.
Styling & Combination Tips
- Use swirling motions for ocean-inspired artwork.
- Create geometric ridges for modern wall art.
- Leave some smooth areas to increase contrast.
- Apply holographic paint only on the raised sections for extra dimension.
- Combine iridescent colors with metallic silver accents for a striking finish.
Bonus Tip
Less texture often looks more elegant than covering the entire canvas. A few carefully placed raised areas usually create a stronger holographic effect than an overly busy surface. Sometimes, your palette knife knows when to stop—even if your excitement doesn’t. :
Technique 3: Create a Rainbow Shift with Interference Paint
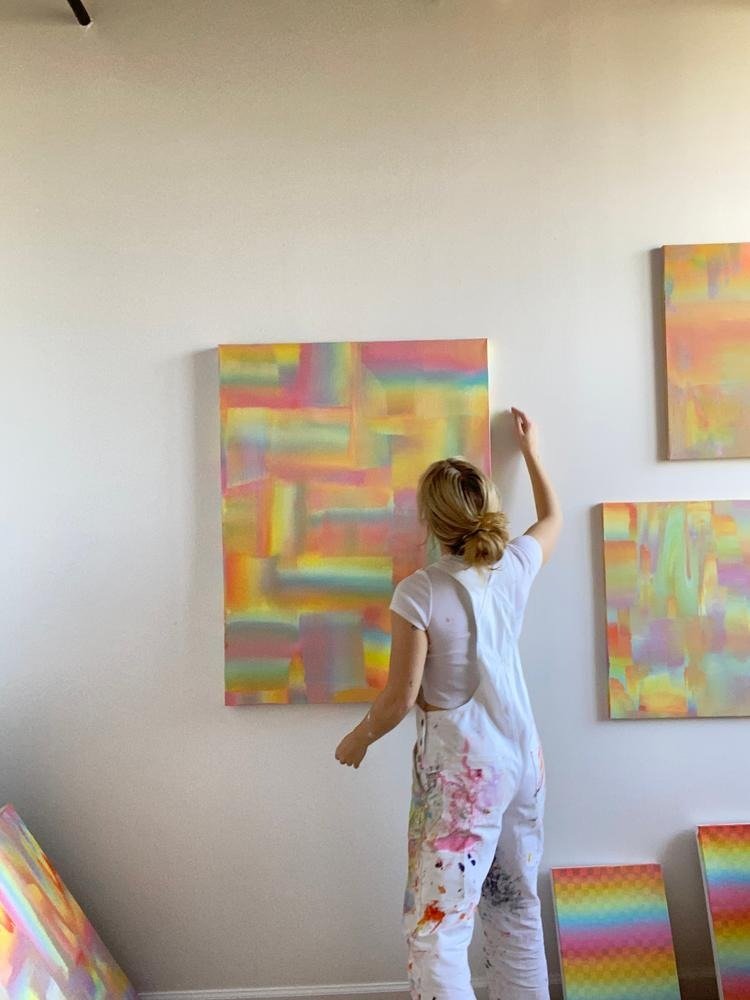
If you’ve never used interference paint, you’re in for a treat. It looks almost transparent in the bottle but transforms into vibrant shifting colors over dark surfaces. The first time I tried it, I thought I had bought an empty bottle. Then I brushed it over black paint, and suddenly it came alive.
Start with a fully dry black or deep navy background. Dip a soft brush into the interference paint and apply light, even strokes. Build the effect with several thin coats instead of one heavy layer. The colors become richer with each application, and the finish stays smooth.
Styling & Combination Tips
- Apply blue interference paint over black for a space-inspired effect.
- Layer purple and green interference paints for dramatic color shifts.
- Blend edges gently with a clean, dry brush.
- Leave small areas unpainted to create natural contrast.
- Seal everything with a gloss varnish for maximum shine.
Bonus Tip
Move a flashlight across the surface while the paint dries. You’ll quickly spot streaks or uneven coverage before they become permanent.
Technique 4: Mix Holographic Pigment Powder with Acrylic Medium
Pigment powders offer one of the strongest holographic effects you can create. They’re highly concentrated, so a tiny amount goes a long way. Ever wondered why professional artists achieve such intense color shifts? This trick explains a big part of it.
Mix a small scoop of holographic pigment powder into gloss gel medium or acrylic pouring medium. Stir slowly until the mixture looks completely smooth. Brush or pour the mixture over your prepared surface and let it level naturally.
Styling & Combination Tips
- Use a palette knife for bold abstract textures.
- Add metallic silver beneath the pigment layer to increase brightness.
- Experiment with blue, pink, and violet pigments for a cosmic finish.
- Apply thin coats to avoid cloudy patches.
- Test mixtures on scrap cardboard before painting your final piece.
Pro Tip
Wear gloves and work carefully. Pigment powder loves floating around your workspace like it owns the place. Cleaning glitter-like pigments from every corner isn’t exactly anyone’s dream afternoon.
Technique 5: Dry Brushing for Subtle Holographic Highlights
Sometimes less really does look better. Dry brushing creates delicate holographic accents without covering your entire artwork. It works especially well on textured canvases, sculptures, and decorative home décor.
Remove most of the paint from your brush using a paper towel. Lightly sweep the brush across raised areas, allowing the paint to catch only the highest points. The result looks natural and layered rather than overly shiny.
Styling & Combination Tips
- Highlight texture paste ridges.
- Add shimmer to tree bark or stone textures.
- Combine with matte backgrounds for stronger contrast.
- Build color slowly instead of applying heavy coats.
- Use wide, soft brushes for smooth transitions.
Additional Tip
Keep your brush almost dry. If you can see wet paint dripping, you’ve already gone too far.
Technique 6: Blend Multiple Iridescent Colors
One holographic color looks impressive. Two or three carefully blended colors look even better.
Choose shades that naturally transition into one another, such as blue, violet, pink, or teal. Blend while the paint remains slightly wet using soft circular motions. Avoid overmixing because muddy colors reduce the holographic effect.
Styling & Combination Tips
- Blend cool colors for galaxy art.
- Pair pink with gold for fantasy-inspired paintings.
- Create gentle gradients instead of harsh color changes.
- Keep a clean brush nearby for smoothing transitions.
- Step back every few minutes to evaluate the overall balance.
Bonus Tip
Rotate your artwork under different lighting while blending. A combination that looks perfect in daylight may appear completely different under warm indoor lighting.
Common Mistakes That Reduce the Holographic Effect
Even experienced artists make mistakes. The difference is that they recognize them quickly and fix them before the project goes off track.
Here are the most common problems:
- Applying paint too thickly
- Skipping the dark base coat
- Using matte varnish instead of gloss
- Overblending iridescent colors
- Painting before previous layers dry
- Using poor-quality holographic pigments
- Ignoring lighting during the painting process
Most holographic finishes fail because artists rush. Slow, thin layers almost always produce better results.
Choosing the Best Lighting
Light changes everything.
A holographic painting that looks average under dim lighting can look breathtaking in bright natural sunlight.
Best Lighting Options
- Natural daylight
- LED daylight bulbs
- Gallery spotlights
- Adjustable desk lamps
Avoid overly yellow lighting whenever possible because it reduces visible color shifts.
Best Surfaces for Holographic Painting
Not every surface performs equally well. Smooth materials usually reflect light better than rough ones.
| Surface | Performance |
| Canvas | Excellent |
| Wood panels | Excellent |
| Glass (primed) | Very Good |
| Plastic | Very Good |
| Metal | Excellent |
| Ceramic | Good |
| Paper | Fair |
| Fabric | Good with fabric medium |
Personally, I prefer smooth wood panels because they create crisp reflections and support heavier texture paste without flexing.
Should You Use a Brush, Sponge, or Palette Knife?
Each tool creates a unique finish.
Brushes
Best for:
- Thin layers
- Smooth blending
- Fine details
Sponge
Best for:
- Soft transitions
- Cloud effects
- Organic textures
Palette Knife
Best for:
- Heavy texture
- Abstract artwork
- Bold highlights
Why choose only one? Many artists combine all three tools in a single painting to create more interesting surfaces.
Protecting Your Finished Artwork
After spending hours creating beautiful holographic textures, don’t leave them unprotected. Dust, moisture, and scratches can dull the finish over time.
Wait until every layer dries completely before sealing the artwork.
Recommended Finishes
- Gloss acrylic varnish
- High-gloss spray sealer
- Resin coating (for advanced artists)
- UV-resistant clear coat for outdoor projects
Avoid matte sealers because they reduce the reflective quality that makes holographic artwork so eye-catching.
Creative Project Ideas
Need inspiration? Here are a few fun ways to use your new skills:
- Abstract galaxy paintings
- Ocean-inspired wall art
- Decorative trays
- Resin coasters
- Plant pots
- Picture frames
- Wooden signs
- Journal covers
- Phone case art
- Mixed-media canvases
IMO, abstract artwork offers the most freedom because every brushstroke adds personality without worrying about perfect realism.
Troubleshooting Common Problems
My holographic paint looks dull.
Use a darker base coat and apply additional thin layers.
The colors don’t shift.
Move the artwork into brighter lighting or switch to higher-quality interference paints.
My texture cracked.
Allow texture paste to dry completely before painting.
The surface looks cloudy.
Apply thinner coats and avoid overmixing pigment powders.
My finish isn’t glossy.
Add a quality gloss varnish after the paint fully cures.
Frequently Asked Questions
Can beginners paint holographic textures?
Absolutely. Start with iridescent acrylic paints before experimenting with pigment powders and resin.
Do I need expensive supplies?
No. A few quality acrylic paints, gloss medium, and a black canvas can produce impressive results.
Can I paint holographic effects on furniture?
Yes. Just prepare the surface properly and finish with a durable protective topcoat.
How long does holographic paint take to dry?
Most acrylic layers dry within 20–40 minutes, although thicker textures and varnishes require much longer.
Advanced Decorative Combinations to Elevate Your Artwork
Once you’ve mastered the basics, it’s time to experiment. Holographic textures become even more impressive when you combine them with other painting techniques. You don’t need to use every effect at once, though. Sometimes, one well-placed holographic highlight creates a stronger impact than covering the entire canvas.
Here are a few combinations that consistently produce beautiful results.
Pair Holographic Paint with Metallic Accents
Metallic paints and holographic finishes complement each other perfectly because they reflect light differently.
Try these combinations:
- Silver + Blue holographic for futuristic artwork
- Gold + Pink holographic for elegant décor
- Copper + Violet holographic for warm abstract paintings
- Black + Rainbow holographic for dramatic contrast
- White pearl + Iridescent finish for soft, dreamy artwork
Bonus Tip
Use metallic paint as your first highlight layer, then lightly brush holographic paint over the top. The added depth makes the surface sparkle from multiple angles.
Add Dimension with Mixed Media
Holographic paint doesn’t have to work alone. Mixed-media elements can make your artwork look more dynamic and unique.
Consider adding:
- Modeling paste
- Crackle medium
- Gold leaf
- Silver leaf
- Glass beads
- Fine glitter (sparingly)
- Fabric pieces
- Stencils
- Resin details
The goal isn’t to use everything at once. Instead, choose one or two materials that support your overall design. Too many textures can compete for attention and make the artwork feel cluttered.
Pro Tip
Create one main focal point and let the holographic finish guide the viewer’s eye toward it.
How to Care for Holographic Paintings
You’ve invested time and creativity into your artwork, so it’s worth protecting.
A little maintenance goes a long way.
Keep Your Artwork Looking New
- Dust gently with a soft microfiber cloth.
- Avoid direct sunlight for extended periods.
- Keep moisture away unless the artwork has a waterproof finish.
- Handle textured surfaces carefully to prevent damage.
- Store paintings upright when not displaying them.
I also avoid harsh household cleaners because they can dull the glossy finish. A dry microfiber cloth usually handles dust just fine.
Creative Holographic Texture Ideas for Different Art Styles
Need inspiration for your next project? These ideas work well whether you’re creating home décor or gallery-style artwork.
Galaxy Art
Layer black, navy, purple, and blue with interference paints to create deep space effects.
Ocean-Inspired Canvas
Blend teal, turquoise, and pearl white with holographic highlights to mimic sunlight reflecting on water.
Geometric Modern Art
Use masking tape to create sharp lines before applying holographic layers.
Fantasy Landscapes
Paint mountains, skies, or magical forests, then add shimmering accents to clouds, rivers, or stars.
Resin-Inspired Abstracts
Combine flowing paint pours with holographic pigments to create luxurious finishes.
Expert Tips for Professional Results
Small adjustments often separate good artwork from great artwork.
Keep these tips in mind during every project:
- Work in thin layers instead of thick coats.
- Let each layer dry completely.
- Choose quality paints over cheaper alternatives.
- Use gloss products whenever possible.
- Test new color combinations on scrap material first.
- View your artwork under different lighting conditions.
- Step back every few minutes to evaluate the composition.
- Don’t rush the finishing process.
One lesson I’ve learned is that patience almost always wins. The temptation to “just add one more layer” can be strong, but knowing when to stop often produces the most polished result.
Quick Checklist Before You Start Painting
Here’s a handy checklist you can save for your next project.
✔ Materials Ready
- Black acrylic paint
- Iridescent paint
- Gloss medium
- Texture paste
- Palette knife
- Soft brushes
- Canvas or wood panel
- Gloss varnish
✔ Workspace Ready
- Good lighting
- Clean surface
- Protective covering
- Water container
- Paper towels
- Disposable gloves (optional)
✔ Painting Process
- Prepare the surface.
- Apply the base coat.
- Let it dry.
- Build texture if desired.
- Add holographic layers.
- Blend carefully.
- Allow full drying time.
- Apply gloss varnish.
Following a simple routine helps prevent mistakes and keeps the creative process enjoyable.
Frequently Asked Questions
Can I make holographic paint at home?
You can create a similar effect by mixing interference pigments or holographic pigment powder with a clear acrylic medium. While homemade mixtures may not match every commercial product, they can produce impressive results at a lower cost.
Does holographic paint work on dark walls?
Yes. In fact, dark surfaces usually produce the strongest holographic effect because they create more contrast with the reflective pigments.
Can I use holographic paint outdoors?
You can, but only if you finish the project with a UV-resistant exterior-grade clear coat. Without protection, sunlight and weather can gradually reduce the brilliance of the finish.
What’s the difference between iridescent and holographic paint?
Iridescent paint typically shifts between a few colors depending on the angle, while holographic finishes often display a broader rainbow spectrum and stronger light reflections.
Is holographic paint suitable for beginners?
Absolutely. Start with ready-made iridescent acrylic paints before experimenting with pigment powders, texture pastes, or resin. You’ll build confidence quickly without feeling overwhelmed.
Common Myths About Holographic Painting
Let’s clear up a few misconceptions.
Myth 1: You Need Expensive Supplies
Not true. A basic set of quality acrylic paints, one iridescent color, and gloss medium can create stunning effects.
Myth 2: More Glitter Equals Better Results
Actually, too much glitter often hides the holographic color shift. Balance usually produces a cleaner finish.
Myth 3: Thick Paint Creates More Shine
Heavy layers can reduce transparency and make colors appear dull. Thin, even coats almost always look better.
Myth 4: Only Professionals Can Create Holographic Art
Everyone starts somewhere. Practice, patience, and experimentation matter far more than years of experience.
Final Thoughts
Learning how to paint holographic texture is one of the most rewarding skills you can add to your creative toolkit. The shifting colors, reflective surfaces, and endless design possibilities make every project feel fresh and exciting.
Remember the fundamentals: start with a dark base, build thin layers, use quality iridescent or holographic products, and finish with a glossy protective coat. Those simple steps will dramatically improve your results.
Most importantly, don’t worry about making every painting perfect. Some of my favorite pieces came from experimenting with new techniques instead of following strict rules. Art should feel fun, not stressful.
So grab your brushes, play with a few shimmering colors, and let the light do the rest. Who knows? Your next canvas might become the one everyone asks about—and you’ll get to smile and say, “Yep, I painted that.”
Key Takeaways
- Holographic textures rely on light-reflective pigments to create shifting rainbow effects.
- A black or dark-colored base produces the strongest color contrast.
- Thin layers outperform thick coats for clarity and shine.
- Texture paste adds depth and enhances light reflection.
- Gloss varnish protects the artwork while boosting its brilliance.
- Experimenting with metallic paints, pigment powders, and mixed media creates unique finishes.
- Patience and proper drying time lead to professional-looking results.
With these techniques and tips, you’re ready to create stunning holographic artwork that catches the light—and everyone’s attention. Happy painting!