How to Make a Paint Marker: A Simple DIY Guide for Creative Projects
Painting is fun. Drawing is fun. But combining both into a DIY paint marker? Now that’s where things get really interesting.
If you’ve ever reached for a paint marker only to discover it’s completely dried out (because apparently they enjoy giving up right before an important project), you’re not alone. I ran into the same problem while decorating a wooden picture frame. Instead of rushing to the store, I wondered, “Can I make one myself?” The answer turned out to be a happy yes.
The best part? You don’t need expensive supplies or professional equipment. With a few simple materials and a little patience, you can create a homemade paint marker that works surprisingly well for crafts, wood, glass, rocks, cardboard, and many other DIY projects.
Whether you’re a craft lover, artist, or weekend DIY enthusiast, this guide will show you exactly how to make a paint marker step by step.
Table of Contents
What Is a Paint Marker?
A paint marker looks similar to a regular marker, but instead of ink, it contains paint. The paint flows through a felt nib, allowing you to create bold, opaque lines on many different surfaces.
Unlike standard markers, paint markers work on:
- Wood
- Glass
- Metal
- Ceramic
- Plastic
- Canvas
- Stone
- Paper
- Cardboard
One reason I enjoy using paint markers is their versatility. They let me switch from decorating flower pots to labeling storage jars without changing tools.
Why Make Your Own Paint Marker?
Ever wondered why so many DIY enthusiasts refill old paint markers instead of buying new ones?
Because it saves money—and honestly, it’s pretty satisfying.
Making your own paint marker offers several benefits.
You can save money.
Instead of throwing away dried markers, you can refill them multiple times.
You choose your own colors.
Want metallic bronze?
Need pastel sage green?
Prefer neon orange?
Simply mix your favorite paint color.
You control the paint quality.
Some inexpensive markers produce thin, streaky lines. When you make your own, you choose a paint that provides better coverage.
You reduce waste.
Reusing marker bodies helps keep plastic out of the trash. Every little bit helps.
FYI: Once I started refilling my own markers, I realized how many perfectly good marker bodies people throw away every year.
Materials You’ll Need
The supply list stays refreshingly short.
You’ll need:
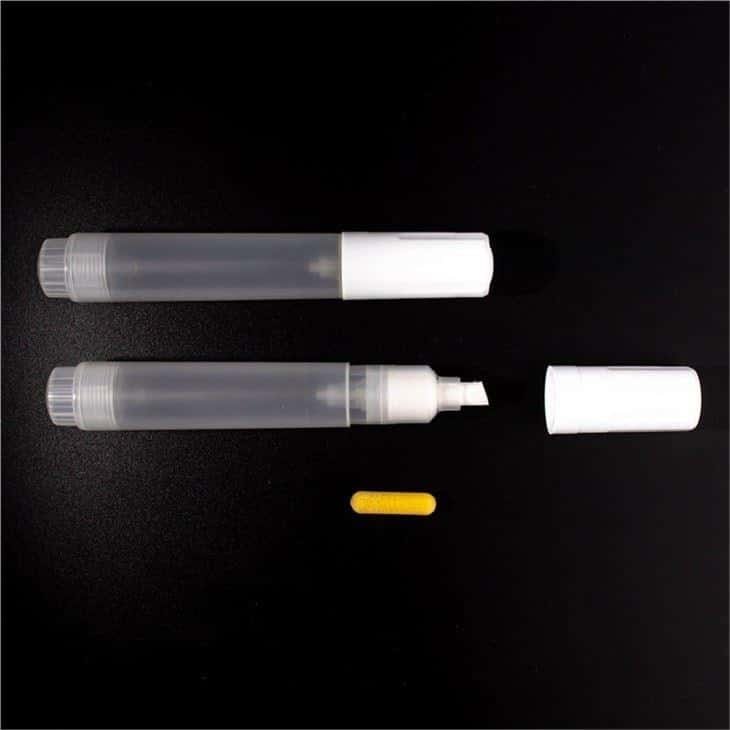
- An empty refillable paint marker
- Acrylic paint
- Acrylic paint medium or flow improver
- Small funnel or syringe
- Mixing cup
- Craft stick
- Gloves
- Paper towels
- Small measuring spoon
- Water (if needed)
Optional Supplies
These make the process easier.
- Small mixing bottle
- Fine paint strainer
- Stainless steel mixing balls
- Dropper bottle
- Replacement nibs
Choosing the Right Paint
Not every paint works inside a marker.
That’s probably the biggest mistake beginners make.
Best Option: Acrylic Paint
Acrylic paint offers:
- Excellent coverage
- Fast drying
- Strong adhesion
- Hundreds of available colors
- Easy cleanup
Most importantly, acrylic paint mixes well with flow medium.
Paints to Avoid
Avoid using:
- Thick wall paint
- Latex house paint
- Puffy fabric paint
- Oil paint
- Heavy chalk paint
- Glitter paint with large particles
These paints usually clog the nib very quickly.
Trust me—you don’t want to spend twenty minutes unclogging a marker because the paint looked “close enough.”
Understanding Paint Consistency
The paint should feel similar to heavy cream.
Too thick?
The nib won’t release paint.
Too thin?
The paint may leak everywhere.
Aim for a smooth consistency that flows easily without becoming watery.
A good starting ratio is:
- 3 parts acrylic paint
- 1 part acrylic flow medium
Mix thoroughly before filling the marker.
Step-by-Step: How to Make a Paint Marker
Step 1 – Clean the Marker Body
If you’re reusing an old marker, clean it first.
Remove:
- Old paint
- Dried residue
- Dust
- Ink buildup
Rinse every removable part with warm water.
Allow everything to dry completely before reassembly.
Skipping this step often causes clogs later.
Step 2 – Prepare the Paint Mixture
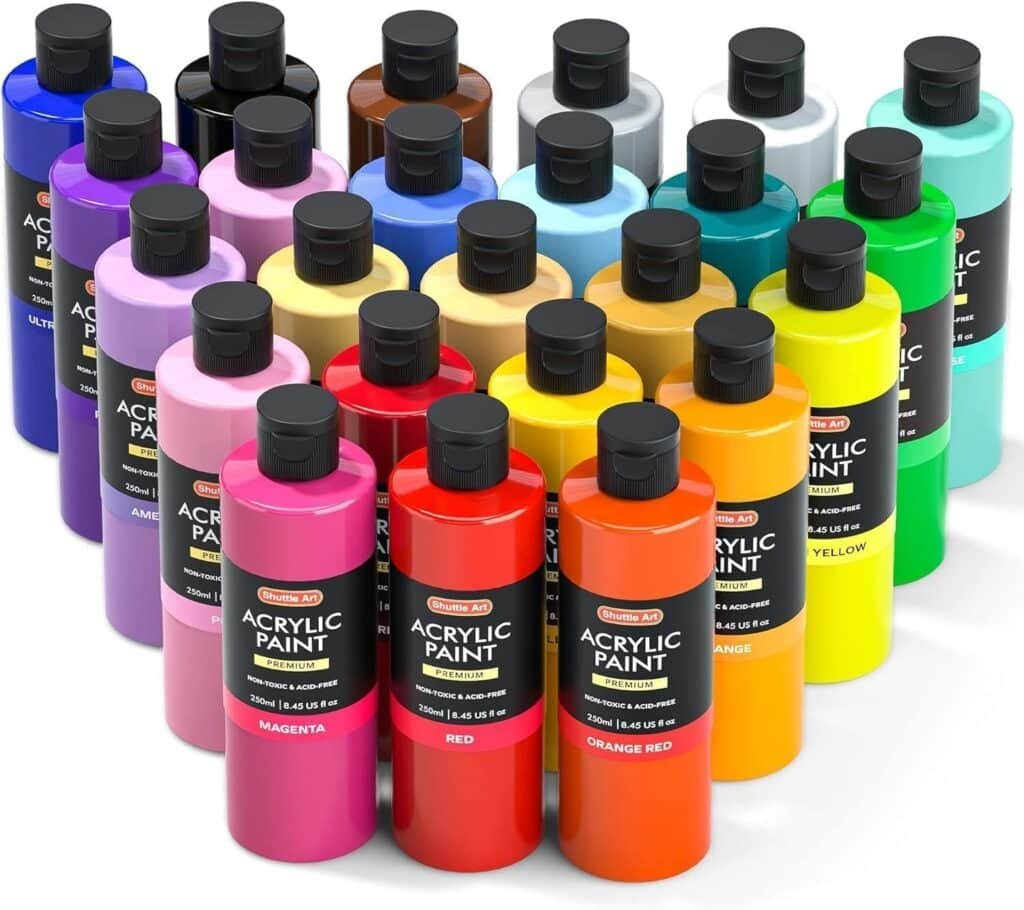
Pour your acrylic paint into a small mixing cup.
Add a little flow medium.
Mix slowly until the paint becomes silky and smooth.
Avoid whipping air into the mixture because bubbles can interrupt paint flow.
A wooden craft stick works perfectly for stirring.
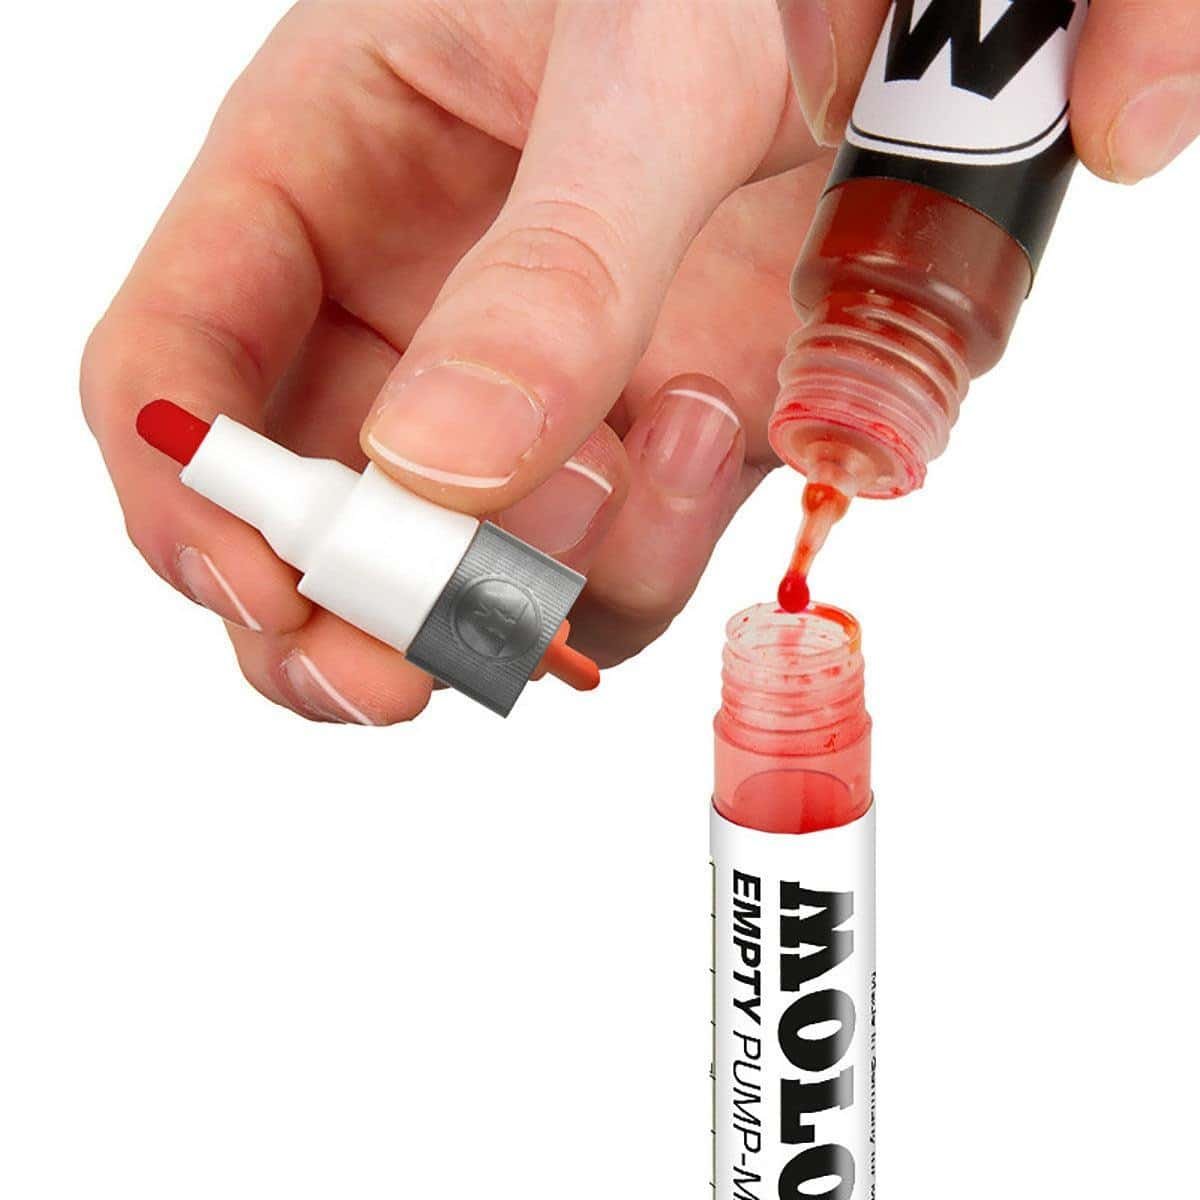
Step 3 – Fill the Marker
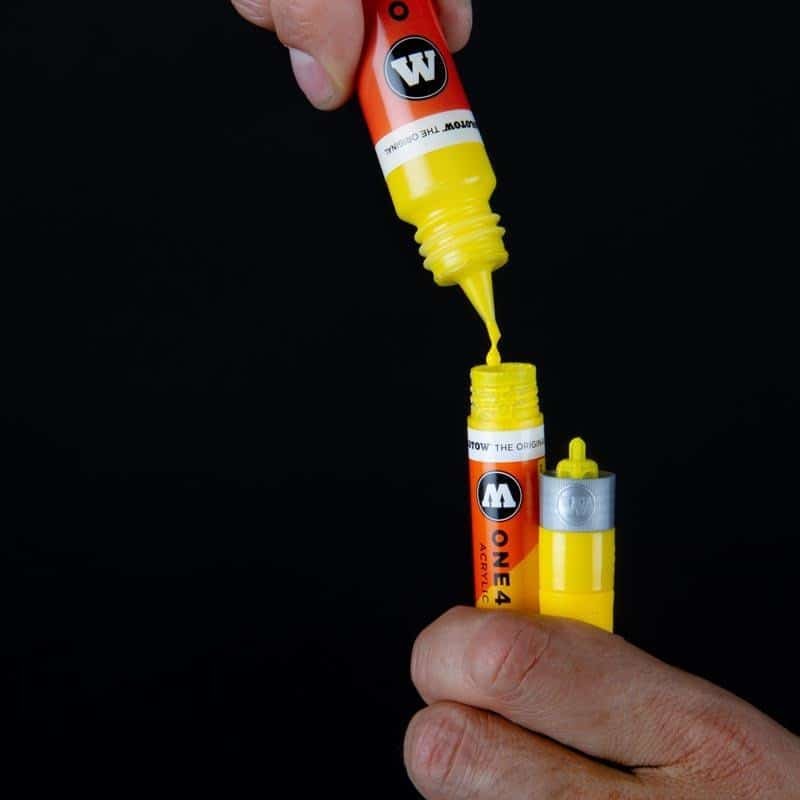
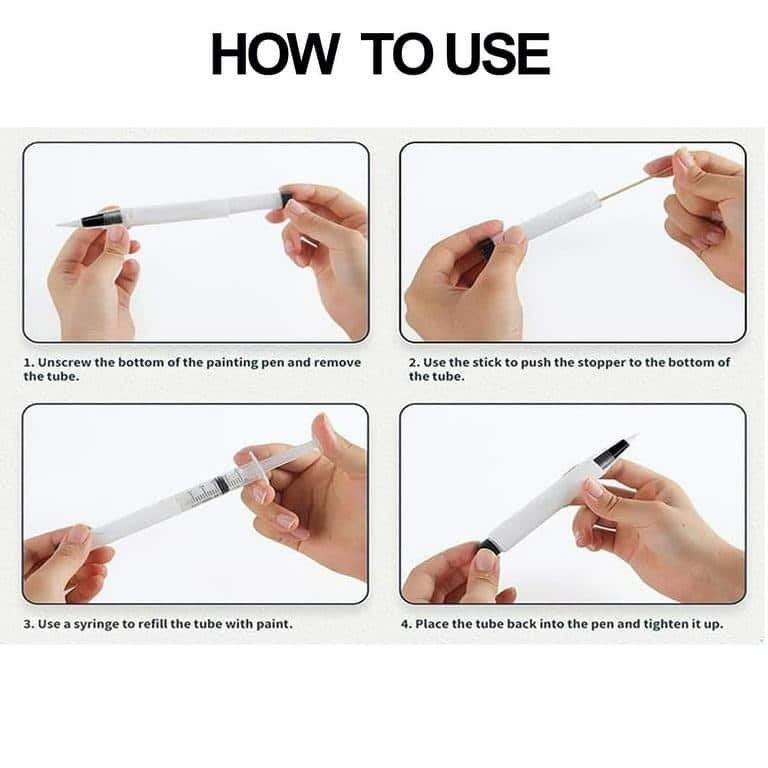
Use either:
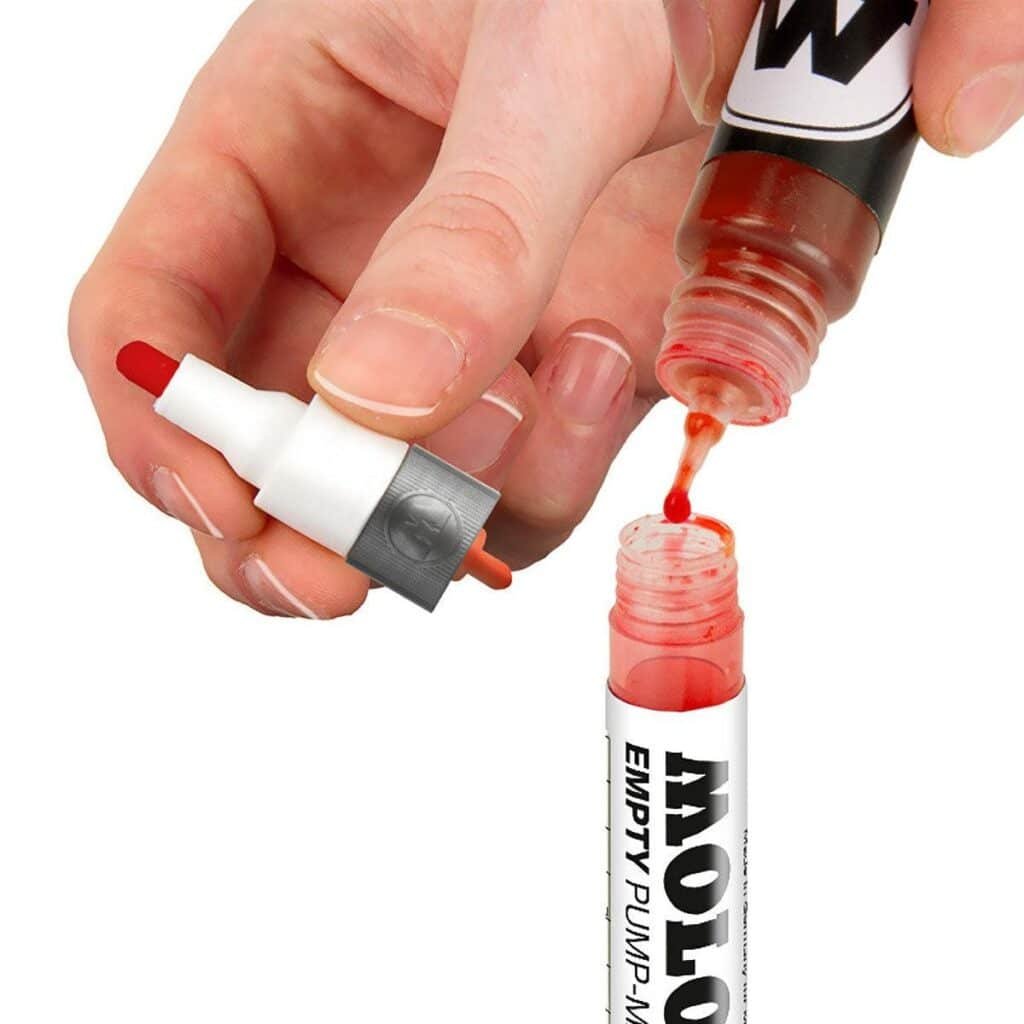
- A syringe
- A small funnel
- A dropper
Slowly transfer the paint into the marker body.
Don’t fill it completely.
Leave about 10–15% empty space so the paint can move freely when shaken.
Step 4 – Add Mixing Balls
This step isn’t required, but I highly recommend it.
Small stainless steel mixing balls help:
- Blend pigments
- Prevent settling
- Keep paint smooth
- Improve consistency
Whenever you shake the marker, the balls remix everything inside.
It’s such a tiny upgrade, but it makes a surprisingly big difference.
Step 5 – Reinstall the Nib
Insert the felt nib carefully.
Push it firmly into place without damaging the tip.
Double-check that:
- The nib sits evenly.
- The cap seals tightly.
- No paint leaks around the opening.
A properly installed nib ensures smooth paint flow and cleaner lines.

How to Prime Your Homemade Paint Marker
Priming simply means moving paint from the reservoir into the nib.
Here’s how:
- Close the cap.
- Shake the marker for about 30 seconds.
- Remove the cap.
- Press the nib gently onto scrap cardboard.
- Lift and repeat.
After several presses, you’ll notice paint slowly soaking into the tip.
Don’t force it.
Patience wins here.
Test Your Paint Marker
Before using your marker on your final project, test it on scrap material.
Check for:
- Smooth paint flow
- Even color coverage
- No dripping
- No skipping
- Comfortable grip
If the paint skips, add a tiny amount of flow medium.
If the paint drips, mix in a little more acrylic paint to thicken it.
Small adjustments usually solve the problem quickly.
Common Beginner Mistakes
Almost everyone makes at least one of these mistakes the first time around. I certainly did.
Avoid these common issues:
- Filling the marker completely full.
- Using paint that’s too thick.
- Forgetting to clean an old marker.
- Using paints with large glitter particles.
- Skipping the test on scrap material.
- Storing the marker without replacing the cap.
A few extra minutes of preparation can save a lot of frustration later.
Creative DIY Paint Marker Ideas
Now that you’ve made your homemade paint marker, it’s time for the fun part—actually using it! One thing I absolutely love about DIY paint markers is how customizable they are. You aren’t limited to the colors sitting on a store shelf. You get to experiment, mix shades, and create something that’s completely your own.
Below are five creative paint marker ideas, each designed for a different project or style. Every idea includes decorating tips and a bonus tip to help you achieve even better results.
Idea 1: Metallic Paint Marker for Home Decor
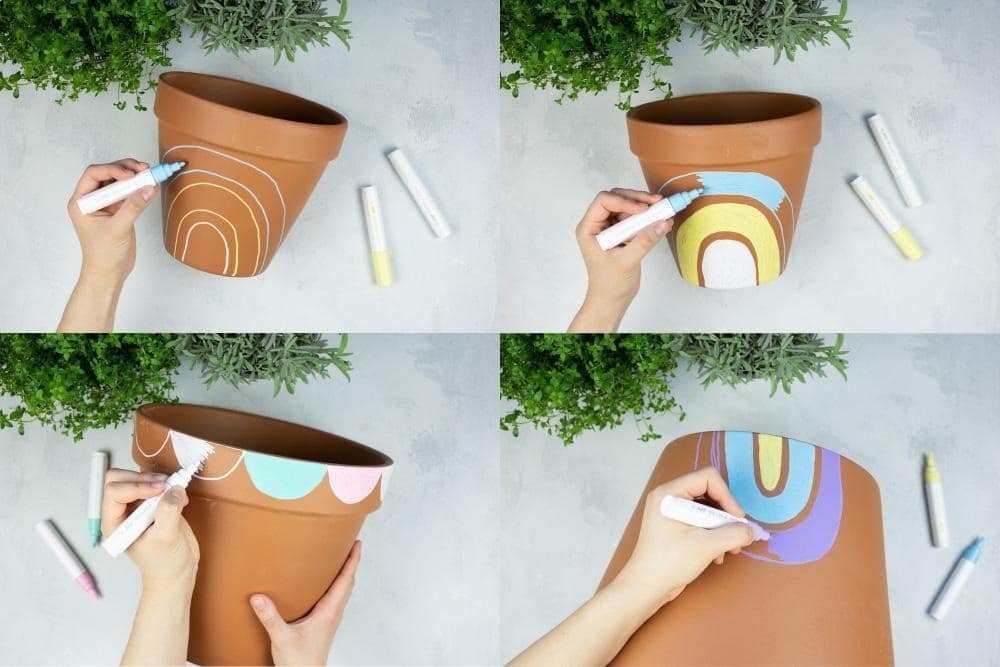
A metallic paint marker instantly gives ordinary crafts a premium look. I love using gold or silver paint on wooden signs because it creates an elegant finish without spending a fortune. Simply mix metallic acrylic paint with a small amount of acrylic flow medium and fill your refillable marker as you learned earlier. The smooth paint glides beautifully across wood, cardboard, and even painted furniture. Ever noticed how a little metallic detail can make an inexpensive project look surprisingly expensive?
Styling & Pairing Tips
- Pair gold paint with black, navy, or dark green backgrounds.
- Use silver on white or gray décor for a modern look.
- Copper looks fantastic on rustic wood projects.
- Seal finished projects with a clear acrylic sealer for added durability.
Bonus Tip: Shake the marker every couple of minutes while working. Metallic pigments settle faster than regular paint, and keeping them mixed ensures a bright, even finish.
Idea 2: White Paint Marker for Glass and Windows
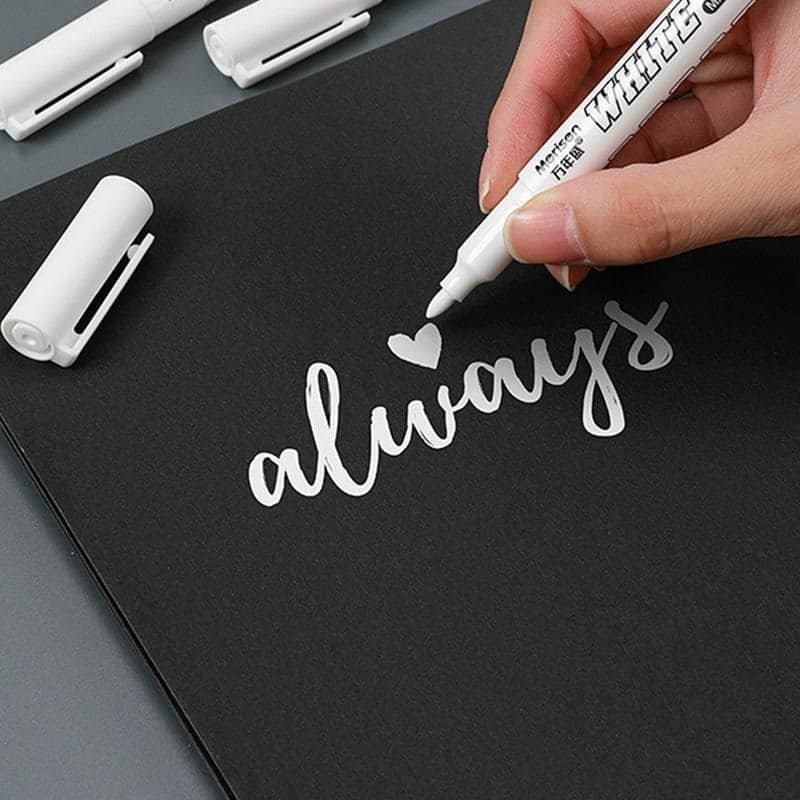
A homemade white paint marker works wonderfully for decorating glass jars, mirrors, windows, and candle holders. I often use one during holidays because it lets me add temporary designs without buying expensive specialty pens. The secret lies in thinning the paint just enough to flow smoothly while still covering the surface evenly. Trust me, seeing simple white botanical designs on clear glass feels oddly satisfying.
Styling & Pairing Tips
- Decorate mason jars with leafy vines or floral patterns.
- Add handwritten labels to kitchen storage jars.
- Pair white paint with frosted glass for a soft farmhouse style.
- Combine simple line art with fairy lights for cozy décor.
Bonus Tip: Clean glass with rubbing alcohol before drawing. Removing fingerprints helps the paint stick much better.
Idea 3: Chalk-Style Paint Marker
Love the look of chalkboards but hate dusty chalk? Same here. A chalk-style paint marker gives you crisp lettering without leaving chalk powder all over the place. Mix chalk-finish acrylic paint with a little flow medium until it reaches a smooth consistency. The result looks clean and professional while remaining easy to control. IMO, this option works especially well for kitchen signs and seasonal decorations.
Styling & Pairing Tips
- Use black chalkboard paint as your background.
- Write menu boards for family dinners.
- Create wedding signs with elegant calligraphy.
- Pair with wooden frames for farmhouse charm.
Bonus Tip: Practice lettering on paper before writing on your final project. Even experienced crafters warm up first.
Idea 4: Neon Paint Marker for Fun Crafts
Sometimes subtle colors just refuse to cooperate, especially if you’re making something playful. That’s when a neon paint marker saves the day. Bright acrylic paints mixed with flow medium create eye-catching markers perfect for school projects, party decorations, or kids’ crafts. Neon colors pop best on dark surfaces, making every design stand out immediately. Honestly, it’s almost impossible to ignore fluorescent pink. It practically screams, “Look at me!”
Styling & Pairing Tips
- Use black cardstock for maximum contrast.
- Decorate notebooks and journals.
- Personalize phone stands and pencil holders.
- Combine several neon colors for graffiti-inspired art.
Bonus Tip: Store neon markers horizontally to help keep the pigments evenly distributed inside the barrel.
Idea 5: Fine Detail Paint Marker for Small Designs
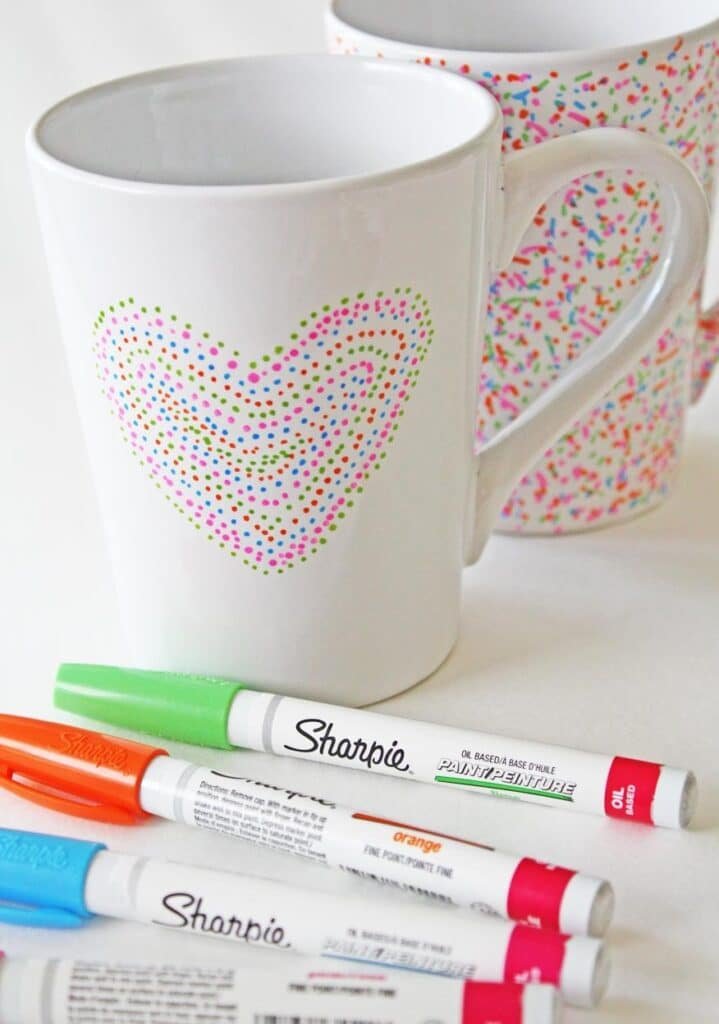
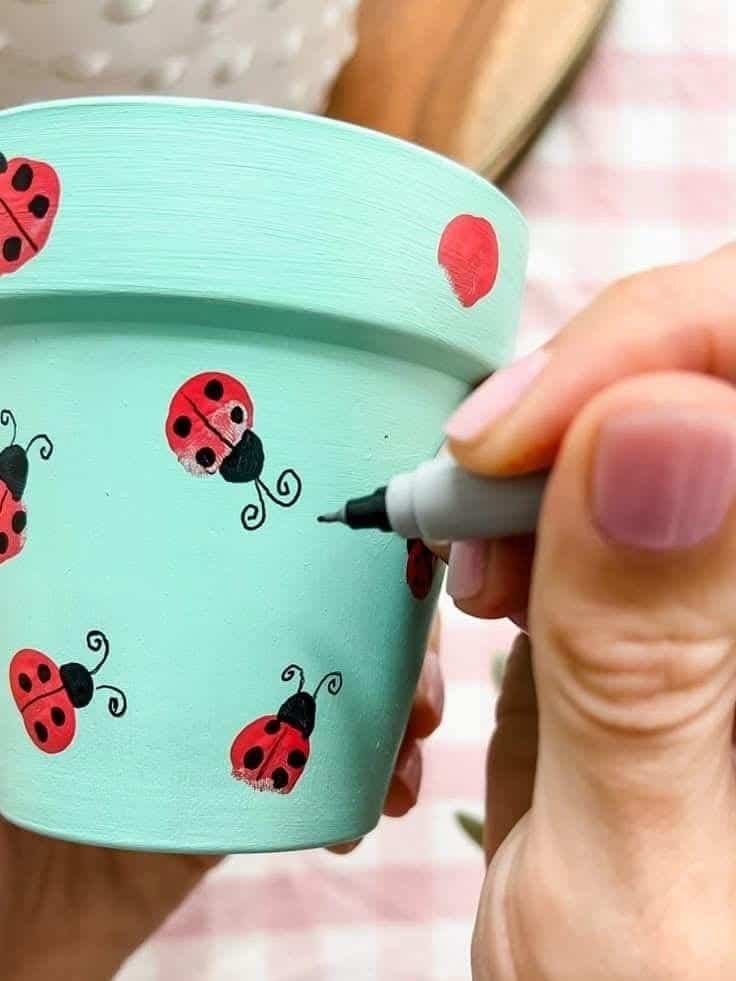
Sometimes large marker tips simply won’t cooperate. Tiny flowers, lettering, and intricate patterns require much more precision. If your marker allows interchangeable nibs, replace the standard tip with a fine-point nib before filling it. I enjoy using fine paint markers for rock painting because they make delicate outlines much easier to control. Ever tried drawing tiny leaves with a broad tip? It’s…an adventure you probably don’t want.
Styling & Pairing Tips
- Outline floral artwork before filling with color.
- Decorate ceramic mugs with delicate patterns.
- Personalize greeting cards with handwritten details.
- Use contrasting colors to make fine lines stand out.
Bonus Tip: Apply light pressure while drawing. Pressing too hard wears out the nib much faster and may cause paint blobs.
Best Surfaces for Homemade Paint Markers
One reason homemade paint markers have become so popular is their versatility. You can use them on many different materials around your home.
They work especially well on:
- Wood signs
- Canvas
- Flower pots
- Glass jars
- Ceramic mugs
- Smooth rocks
- Plastic storage bins
- Cardboard boxes
- Metal tins
- Picture frames
For the best results, always clean the surface before drawing. Dust, grease, and fingerprints can prevent the paint from adhering properly.
How to Store Your Homemade Paint Marker
A little maintenance goes a long way. Proper storage keeps your DIY paint marker working smoothly for future projects.
Follow these simple habits:
- Always replace the cap tightly after use.
- Store the marker horizontally whenever possible.
- Shake it before every use.
- Wipe the nib clean if paint starts to dry.
- Keep it away from direct sunlight and extreme heat.
These small steps help prevent clogged nibs and dried-out paint, so you can spend more time creating and less time troubleshooting.
Common Mistakes to Avoid When Making a Paint Marker
Making a homemade paint marker isn’t difficult, but a few simple mistakes can turn a fun project into a frustrating one. The good news? Most problems have easy fixes.
Let’s look at the mistakes I see most often.
Using Paint That’s Too Thick
Thick paint causes more problems than anything else.
If the paint doesn’t flow smoothly, the nib can’t deliver it evenly. Instead, you’ll notice skipping, blobs, or complete blockages.
Quick Fix
- Add a few drops of acrylic flow medium.
- Stir thoroughly.
- Test before adding more.
Remember, smooth paint creates smooth lines.
Overfilling the Marker
It feels tempting to fill the marker to the very top.
Don’t.
Paint needs room to move when you shake the marker. Filling it completely often leads to leaks around the nib.
Leave about 10–15% empty space inside the barrel.
Your work area—and your hands—will thank you.
Forgetting to Clean the Marker
Old paint dries quickly.
If you refill a dirty marker, dried paint mixes with fresh paint and clogs everything.
Always clean:
- The barrel
- The nib
- The cap
- The mixing chamber
A five-minute cleaning session saves a lot of frustration later.
Skipping the Test Surface
Have you ever started decorating your final project only to realize the marker barely writes?
Yeah…that isn’t a fun surprise.
Always test your marker on:
- Scrap wood
- Cardboard
- Thick paper
- Extra canvas
Testing helps you adjust the paint before working on your actual project.
How to Fix Common Paint Marker Problems
Even commercial paint markers run into problems occasionally.
Fortunately, homemade versions are usually easier to repair.
Problem: Paint Won’t Flow
Possible causes:
- Paint is too thick.
- Nib isn’t fully saturated.
- Air bubbles block the paint.
Solution
- Shake the marker well.
- Press the nib several times.
- Thin the paint slightly.
- Re-prime the nib.
Problem: Marker Leaks
Possible causes:
- Overfilled barrel
- Paint is too thin
- Loose nib
Solution
- Remove excess paint.
- Thicken the mixture slightly.
- Reinsert the nib securely.
Problem: Paint Skips
Possible causes:
- Dirty nib
- Dry paint buildup
- Uneven paint consistency
Solution
Clean the nib with warm water.
Allow it to dry completely before reinstalling it.
Problem: Nib Dries Out
Don’t throw it away just yet.
Soak the nib in warm water for several minutes.
If that doesn’t help, replace it with a new felt nib.
Replacement nibs cost far less than buying an entirely new marker.
How to Clean Your Homemade Paint Marker
Cleaning doesn’t take long, and it dramatically extends the marker’s life.
After Every Project
- Wipe the nib.
- Clean excess paint.
- Replace the cap immediately.
Every Few Weeks
If you use the marker frequently:
- Empty leftover paint.
- Rinse the barrel.
- Wash removable parts.
- Allow everything to dry.
- Refill with fresh paint.
Fresh paint always performs better than paint that’s been sitting for months.
Creative Projects to Try
Once you’ve mastered your homemade paint marker, you’ll probably start looking around the house thinking, “What can I decorate next?” That’s completely normal—I do the same thing!
Here are a few fun ideas:
Home Décor
- Wooden welcome signs
- Picture frames
- Decorative trays
- Storage boxes
- Plant pots
Holiday Decorations
- Christmas ornaments
- Halloween pumpkins
- Easter eggs
- Gift tags
- Party signs
Personalized Gifts
- Coffee mugs
- Water bottles
- Journals
- Phone stands
- Jewelry boxes
Kids’ Crafts
- Rock painting
- Cardboard robots
- Name signs
- School projects
- Treasure boxes
The possibilities really feel endless once you start experimenting with different colors and surfaces.
Frequently Asked Questions
Can I use regular acrylic paint?
Yes. Regular acrylic paint works best when you mix it with an acrylic flow medium. This creates a smoother consistency that moves easily through the nib.
How long does homemade paint last inside the marker?
If you store the marker properly, the paint usually stays usable for several weeks to a few months. Shake the marker before every use to remix the pigments.
Can I use homemade paint markers on fabric?
Yes, but choose fabric acrylic paint if you want the design to survive washing. Standard acrylic paint may crack or fade on flexible fabric.
Do I need a refillable marker?
Yes.
A refillable marker makes the entire process much easier. Disposable markers aren’t designed to open, refill, and reseal.
Can children use homemade paint markers?
Absolutely—but adults should supervise the mixing process. Paint, small parts, and craft tools aren’t suitable for very young children without assistance.
Which surfaces work best?
Some of the best options include:
- Wood
- Canvas
- Glass
- Ceramic
- Stone
- Cardboard
- Metal
- Plastic
Always test first if the surface has a glossy finish.
Expert Tips for Better Results
Small improvements often make the biggest difference.
Here are a few tricks I’ve picked up over time:
- Mix small batches instead of one large batch.
- Label every marker with its paint color.
- Keep extra nibs on hand.
- Shake before every use.
- Store markers horizontally whenever possible.
- Clean the nib immediately after long crafting sessions.
- Practice on scrap material before starting detailed artwork.
One habit that has saved me countless headaches is labeling each marker with both the color name and the date I filled it. It takes only a few seconds, but it makes it much easier to know when the paint might need refreshing.
Homemade vs. Store-Bought Paint Markers
Here’s a quick comparison to help you decide which option suits your projects.
| Feature | Homemade Paint Marker | Store-Bought Paint Marker |
| Cost | Low | Higher |
| Color Choices | Unlimited | Limited to available colors |
| Refillable | Yes | Some models only |
| Custom Paint Mixes | Yes | No |
| Eco-Friendly | Excellent | Moderate |
| Setup Time | A little longer | Ready to use |
If you enjoy DIY projects, homemade paint markers offer more flexibility and help reduce waste. If you need something immediately for a quick task, a store-bought marker may be more convenient. I like keeping both on hand so I’m ready for any project.
Final Thoughts
Making your own paint marker might seem like a small DIY project, but it opens the door to a surprising amount of creativity. With a refillable marker, quality acrylic paint, and a little patience, you can create a tool that’s customized to your favorite colors and crafting style.
The best part isn’t just saving money—it’s the satisfaction of creating something useful with your own hands. Whether you’re decorating wooden signs, personalizing gifts, painting rocks, or adding details to home décor, a homemade paint marker gives you the freedom to experiment without relying on expensive specialty supplies.
So why not give it a try? Mix your favorite color, refill a marker, and start creating. Your next DIY masterpiece might begin with a project that’s as simple as making your own paint marker. Happy crafting!