How to Spray Paint Your House Exterior: A Complete Step-by-Step Guide for a Professional Finish
Spray painting your home’s exterior can completely transform its appearance without spending a fortune on professional painters. I still remember the first time I swapped a roller for an airless paint sprayer. Honestly, I expected a disaster that would leave paint on everything except the walls. Surprisingly, the finish looked smoother than many roller jobs I’d seen.
If you’ve wondered whether you can spray paint your house yourself, the answer is yes—if you prepare properly and use the right technique. Rushing the prep work almost always leads to disappointing results, while careful planning makes the actual painting surprisingly enjoyable.
Let’s walk through everything you need to know before you pull the trigger on that sprayer.
Table of Contents
Why Spray Paint Your House Exterior?
Spray painting offers several advantages over traditional brushes and rollers. It covers large surfaces quickly and creates a smooth, even finish that looks professionally applied.
Here are a few reasons many homeowners prefer spraying:
- Covers large walls much faster
- Produces an even finish with fewer roller marks
- Reaches textured siding more effectively
- Applies paint consistently
- Reduces painting time on bigger projects
That doesn’t mean spraying always wins. If you skip masking or ignore the weather, you’ll quickly discover that paint has an amazing talent for traveling exactly where you don’t want it. Funny how that works.
Is Spray Painting Right for Every House?
Not always.
Sprayers perform best on:
- Vinyl siding
- Fiber cement siding
- Wood siding
- Brick
- Stucco
- Exterior trim
- Garage doors
- Fences
They work less effectively when:
- Your home sits extremely close to neighboring houses.
- Strong winds frequently blow through your area.
- You cannot properly mask nearby landscaping, windows, and vehicles.
Ask yourself this: Do you have enough space to control overspray? If the answer is yes, spraying becomes much easier.
Tools and Materials You’ll Need
Using quality equipment makes the project much smoother. Cheap tools often create more frustration than savings.
Essential Equipment
You’ll need:
- Airless paint sprayer
- Exterior acrylic paint
- Primer (if needed)
- Painter’s tape
- Masking plastic
- Drop cloths
- Extension ladder
- Pressure washer
- Paint strainers
- Stir sticks
- Paint buckets
- Respirator
- Safety glasses
- Gloves
- Extension cord (if required)
Pro Tip: Renting a professional-grade airless sprayer often costs less than buying a budget model, and the results usually look much better.
Choose the Right Paint
Not every exterior paint works well inside a sprayer.
Look for paints labeled:
- Exterior acrylic latex
- Weather-resistant
- UV-resistant
- Mildew-resistant
- Compatible with airless sprayers
Premium paint usually covers better, lasts longer, and saves time because you’ll often need fewer coats.
IMO, spending a little extra on paint beats repainting your house two years earlier than expected. 🙂
Pick the Perfect Weather
Weather can make or break your project.
The ideal conditions include:
- Temperature between 50°F and 85°F (10°C–29°C)
- Low humidity
- Cloudy or lightly sunny skies
- Wind below 10 mph
- No rain expected for at least 24 hours
Avoid painting when:
- The sun directly hits the wall.
- Heavy dew forms overnight.
- Rain appears in the forecast.
- Strong winds create overspray.
Ever noticed how paint dries differently on a hot afternoon than on a cool morning? Temperature affects drying speed more than many people realize.
Prepare the Exterior Thoroughly
Preparation takes the most time, but it also delivers the biggest payoff.
Step 1: Inspect the Surface
Walk around your house carefully.
Look for:
- Loose paint
- Cracks
- Rotten wood
- Mold
- Mildew
- Water damage
- Nail holes
Fix these problems before painting. Fresh paint cannot hide structural issues.
Step 2: Wash Everything
Clean surfaces help paint stick much better.
Wash away:
- Dirt
- Dust
- Cobwebs
- Pollen
- Mold
- Mildew
- Chalky paint residue
A pressure washer speeds up the process, but don’t blast old wood at full power. Too much pressure can damage siding faster than you’d expect.
Allow the house to dry completely before moving on.
Important: Wait 24–48 hours after washing so every surface dries thoroughly.
Step 3: Scrape Loose Paint
Grab a paint scraper and remove every loose section.
Don’t stop at the obvious peeling spots.
Continue scraping until you reach solid, firmly attached paint.
Then:
- Sand rough edges
- Feather transitions
- Remove sanding dust
A smooth surface creates a much cleaner final appearance.
Step 4: Repair Imperfections
Fill:
- Nail holes
- Small cracks
- Minor dents
- Surface gaps
Replace severely damaged wood instead of trying to cover it with paint.
After repairs dry, sand everything smooth.
You’ll appreciate this extra effort every time you look at your freshly painted house.
Protect Everything Around the House
One careless spray pass can coat nearby objects surprisingly fast.
Before painting, cover:
- Windows
- Doors
- Light fixtures
- Gutters
- Roof edges
- Air conditioning units
- Outdoor furniture
- Shrubs
- Flowers
- Walkways
- Vehicles
Use:
- Painter’s tape
- Plastic sheeting
- Drop cloths
Remember: Overspray travels farther than most beginners expect. Spending another hour masking can save several hours of cleanup later.
Test the Sprayer Before Painting
Never begin on your home’s siding.
Instead:
- Fill the sprayer.
- Prime the machine.
- Test the spray pattern on cardboard.
- Adjust the pressure.
- Check for even coverage.
A proper spray pattern should look even without heavy edges or large droplets.
If the paint spits or leaves streaks, clean the tip or adjust the pressure before continuing.
How to Spray Paint Your House Exterior
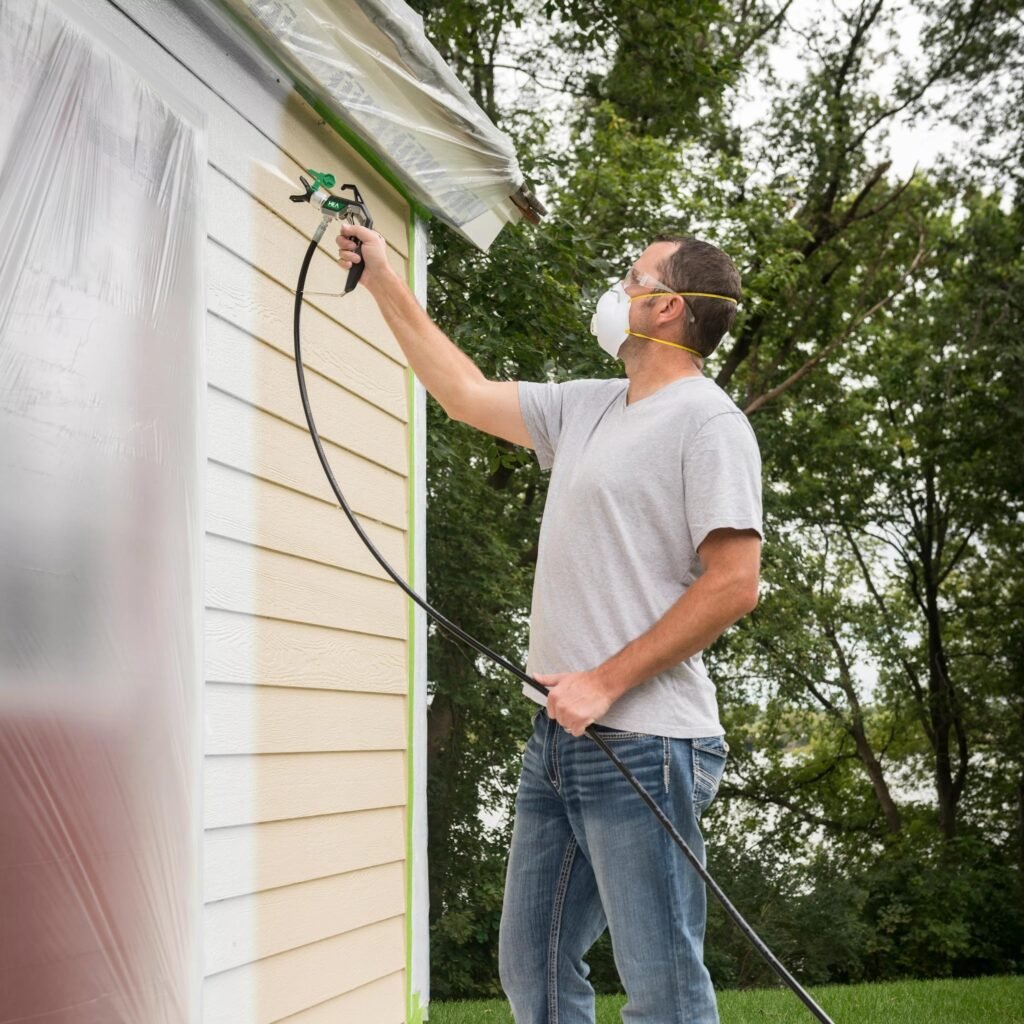
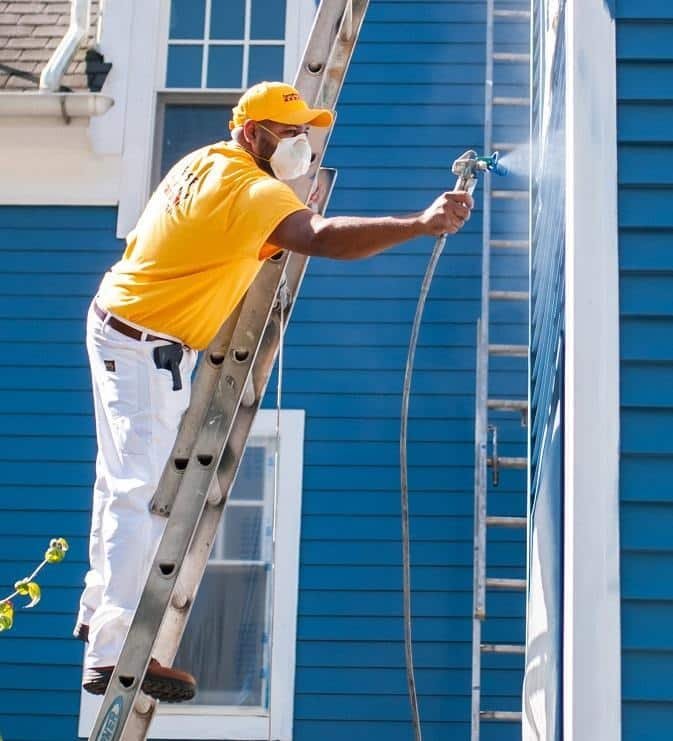
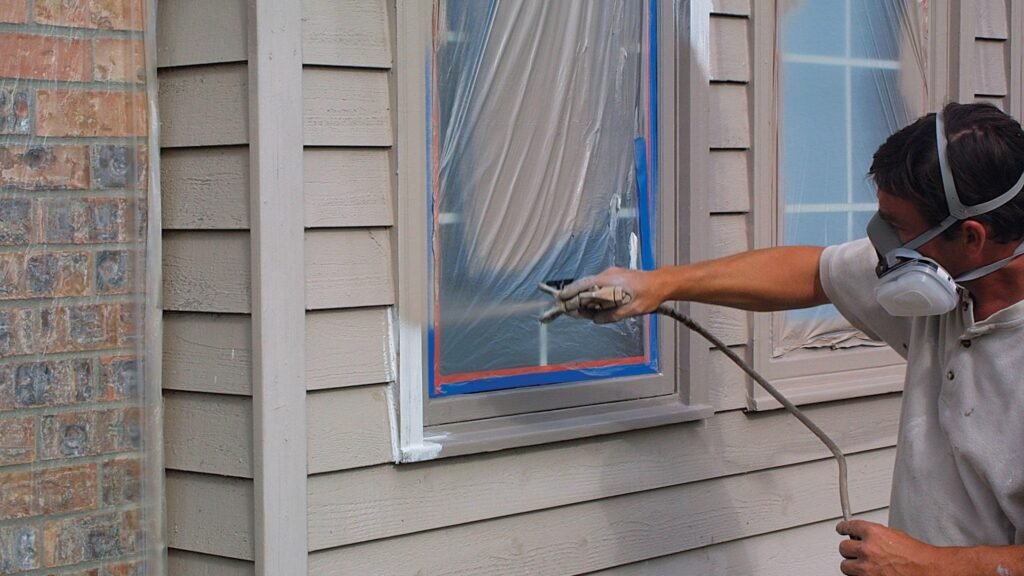
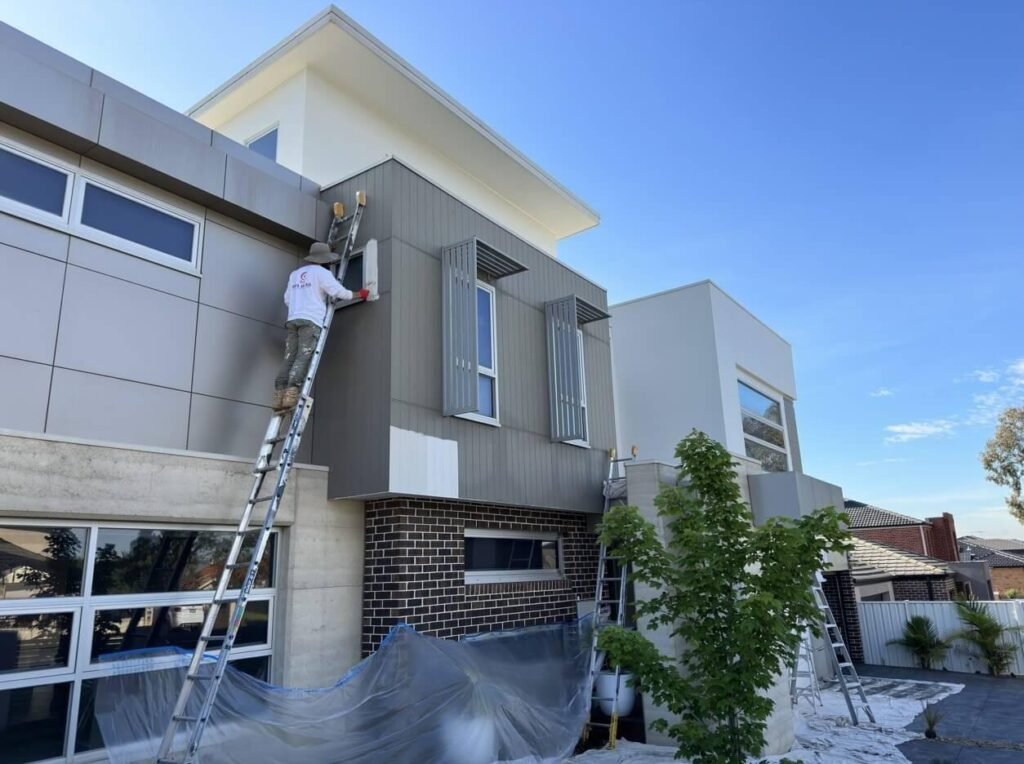
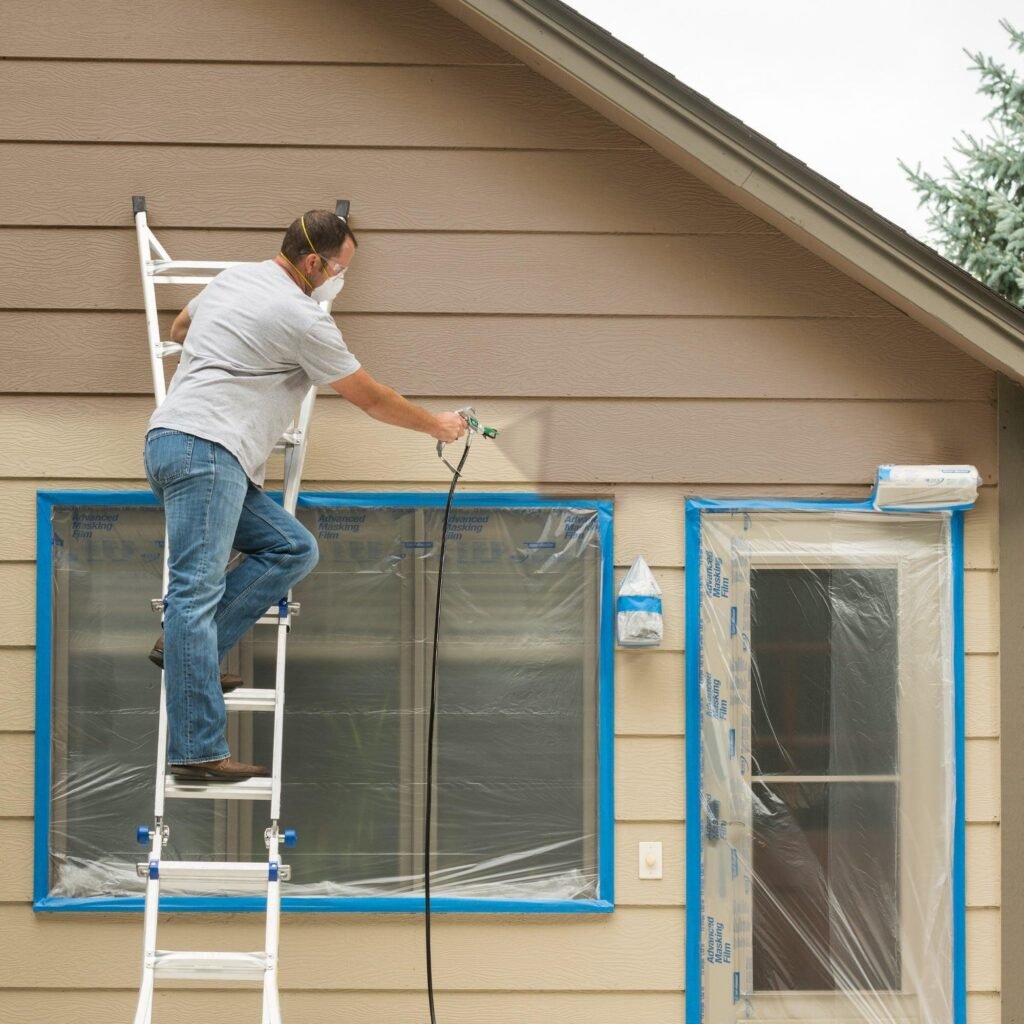
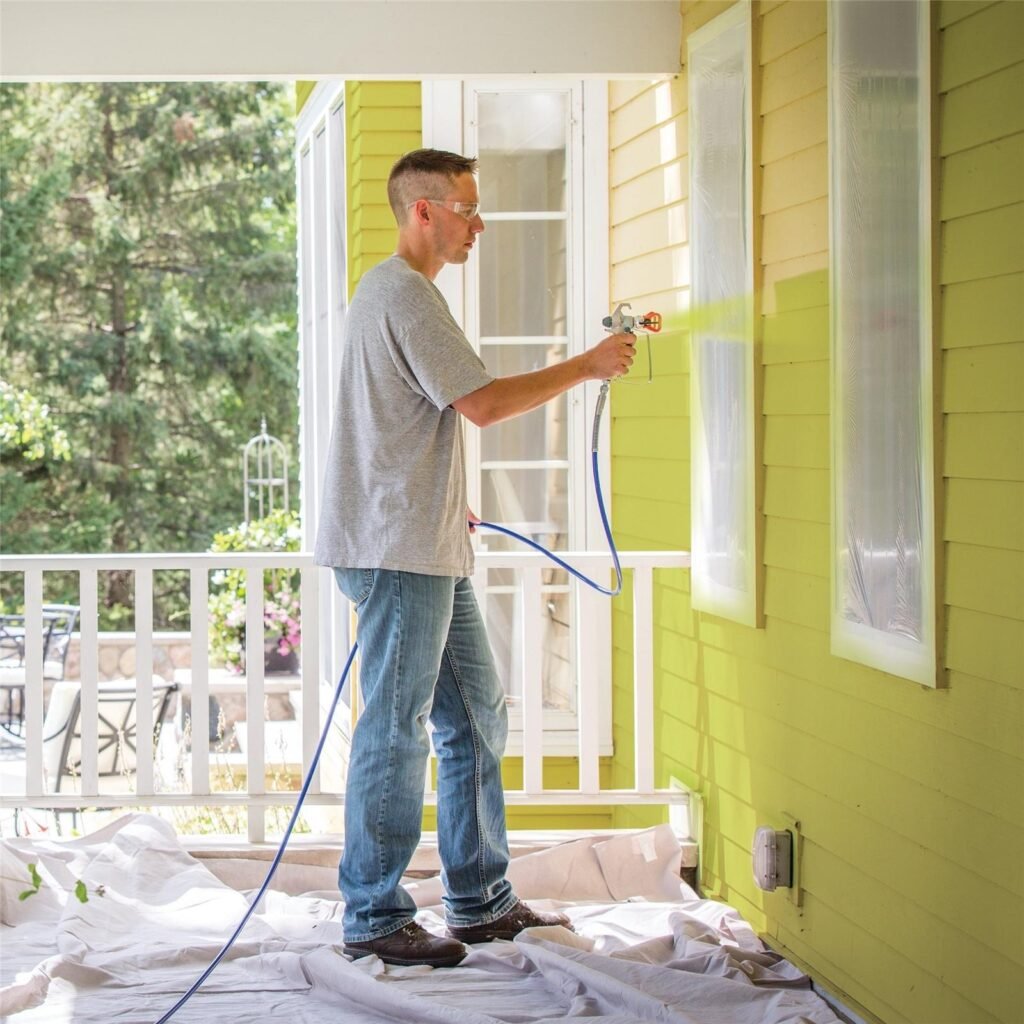
Now that your house is clean, repaired, masked, and ready to go, it’s finally time for the fun part—actually spraying the paint. Trust me, all that preparation starts to feel worth it the moment you watch a dull, faded wall transform into a fresh, vibrant surface.
The trick isn’t spraying quickly. The trick is spraying consistently. Ever noticed how professional painters make it look effortless? They follow a simple routine instead of trying to rush.
Start from the Top and Work Down
Always begin at the highest point of your house.
Gravity exists whether we like it or not, so any tiny drips naturally move downward. Starting at the roofline lets you catch those drips while you’re already working on the lower sections.
A good order looks like this:
- Roofline and fascia
- Upper walls
- Middle siding
- Lower siding
- Trim
- Doors and garage doors
Working in sections also helps you maintain a consistent wet edge, which prevents visible lap marks.
Hold the Sprayer Correctly
Believe it or not, your arm movement matters just as much as the paint itself.
Keep the Right Distance
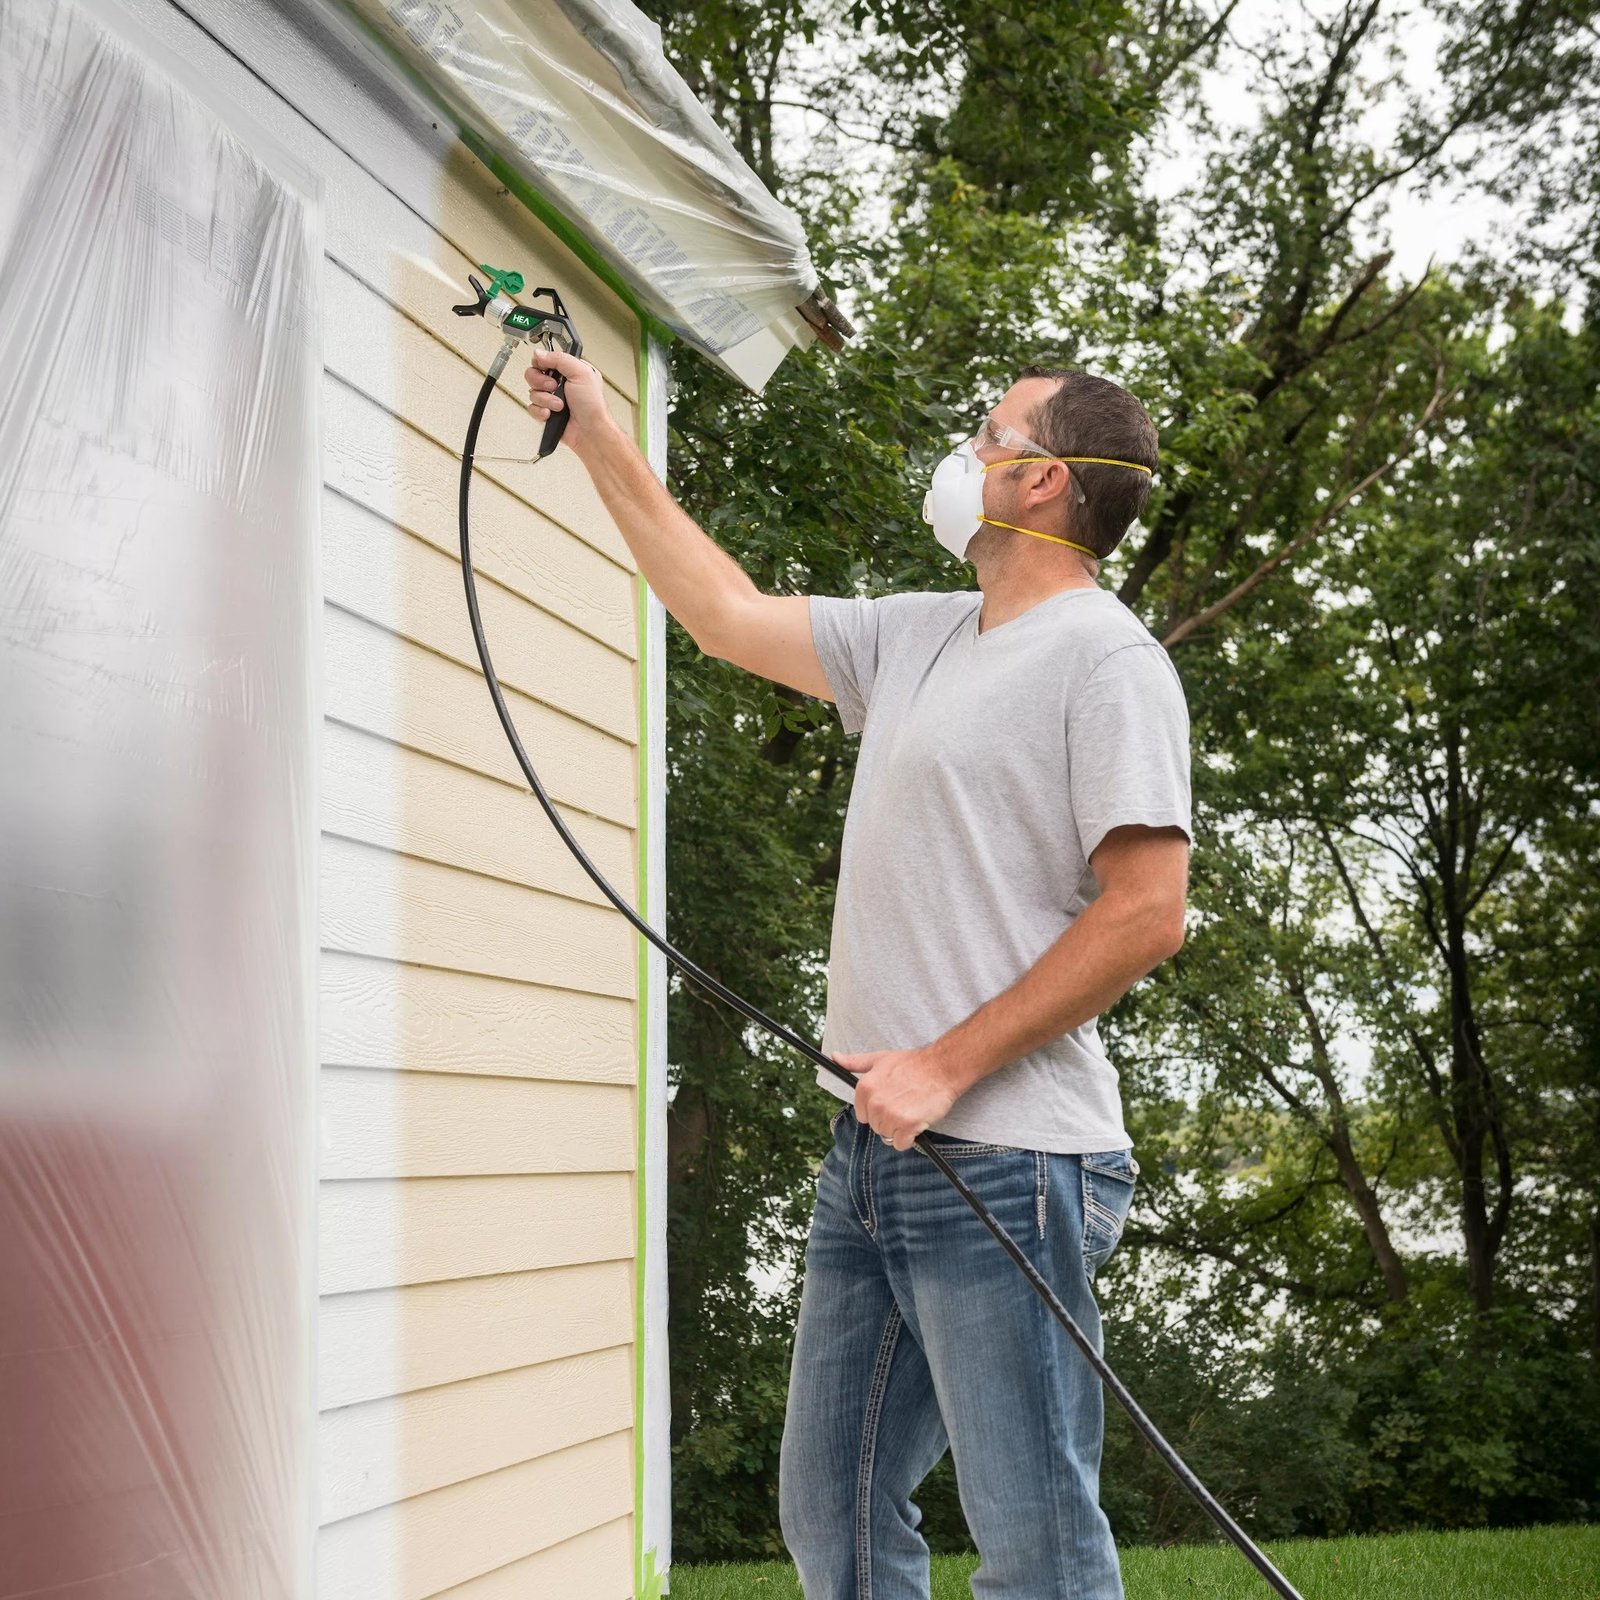
Hold the spray gun about 10–12 inches from the surface.
Too close?
You’ll create runs and heavy spots.
Too far away?
The paint starts drying before it reaches the wall, leaving a rough texture.
Keeping the distance steady gives you that smooth factory-like finish everyone loves.
Keep the Sprayer Parallel
Many beginners swing the sprayer in an arc.
Don’t.
Move your entire arm instead of bending your wrist.
That simple adjustment keeps the spray pattern even from one side to the other.
Think of it like this: the sprayer should stay parallel to the wall from start to finish.
Use Smooth, Overlapping Passes
Every spray pass should overlap the previous one by about 50%.
Why?
Because the center of the spray pattern contains the most paint, while the edges contain less.
A consistent overlap creates uniform coverage without stripes.
Picture mowing a lawn. You overlap slightly with every pass to avoid missing patches. Painting works exactly the same way.
Keep Moving
Don’t stop while pulling the trigger.
Instead:
- Start moving first.
- Pull the trigger.
- Continue moving steadily.
- Release the trigger after passing the edge.
This technique prevents heavy paint buildup at the beginning and end of every stroke.
Your goal is smooth movement—not speed.
Paint One Wall at a Time
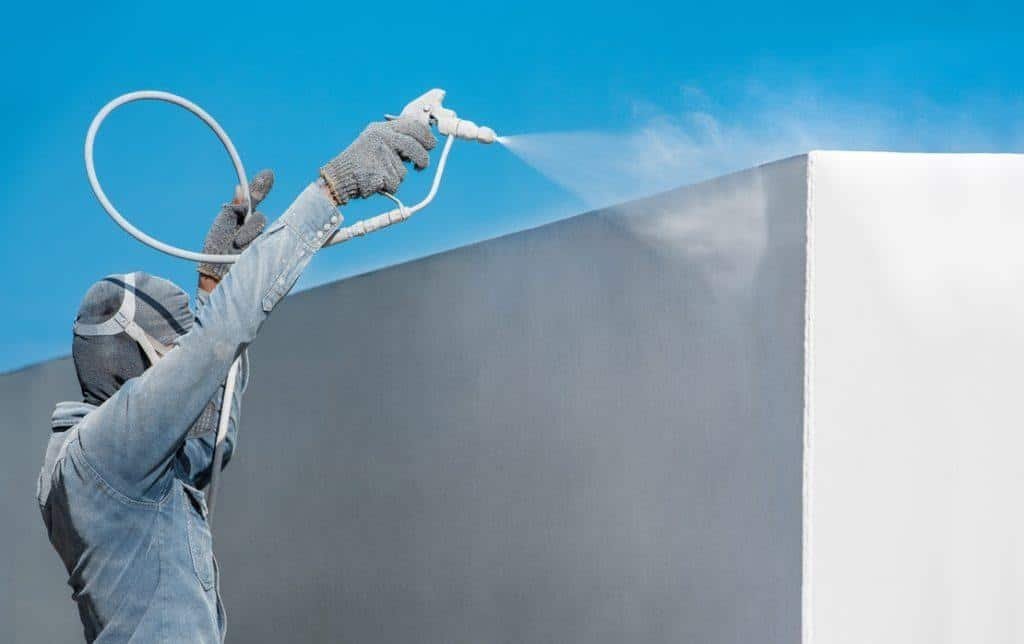
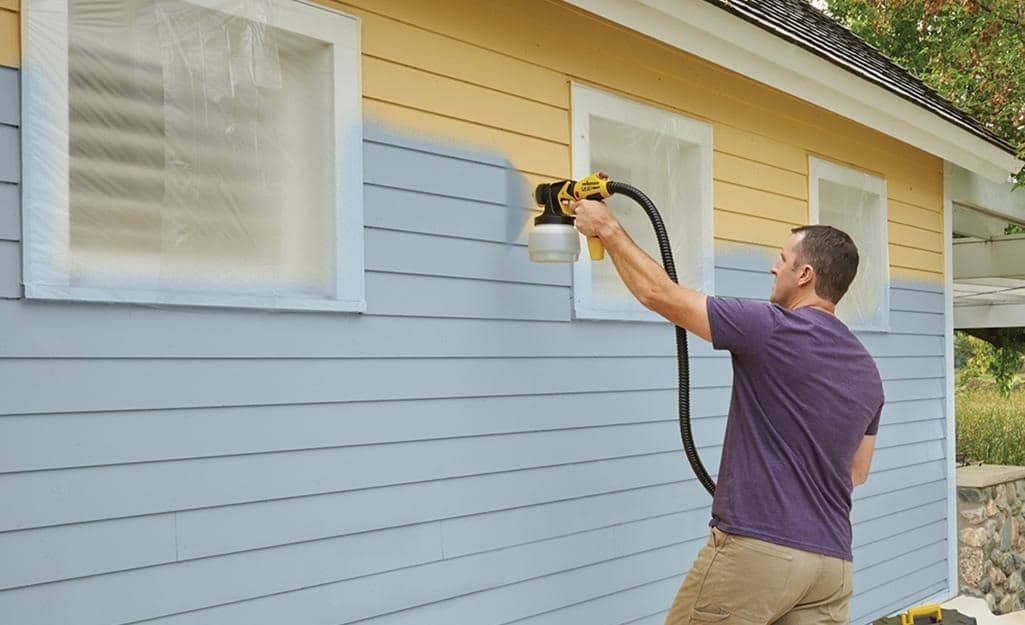
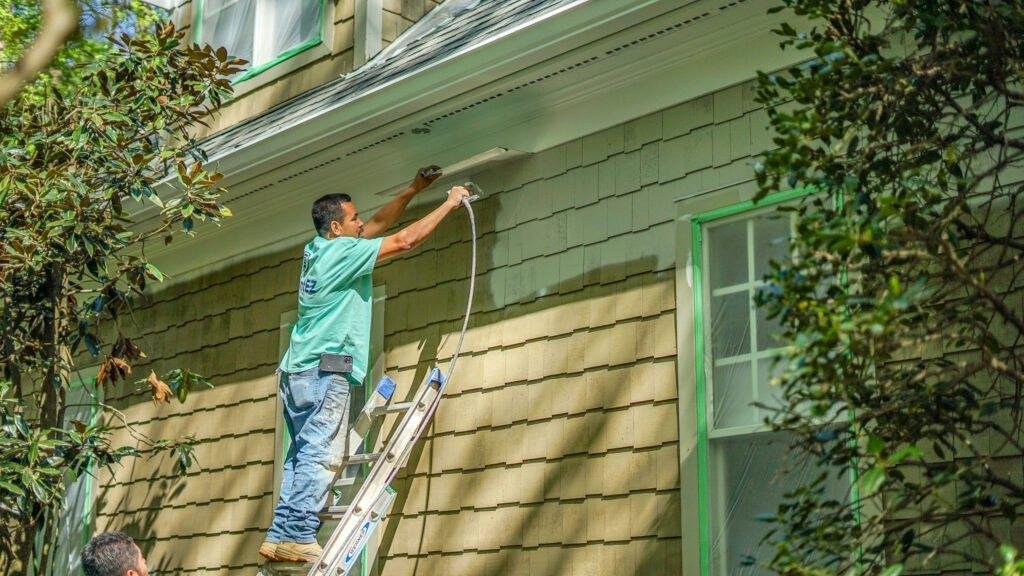
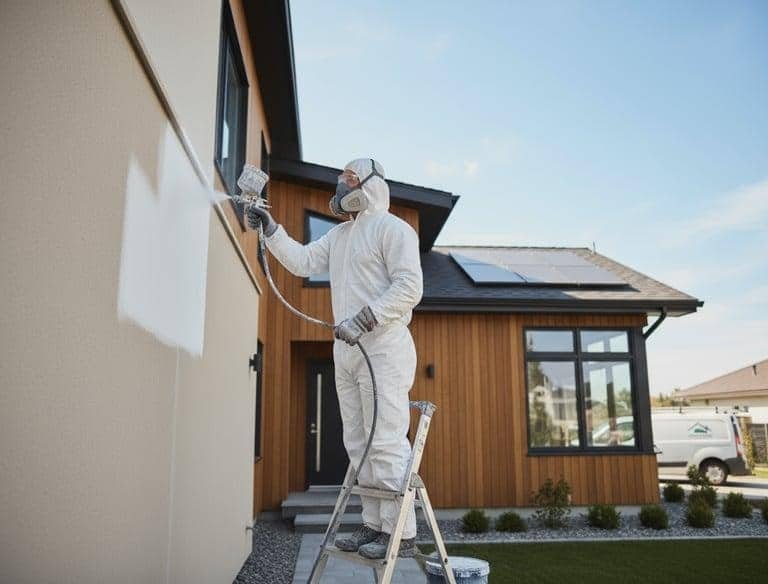
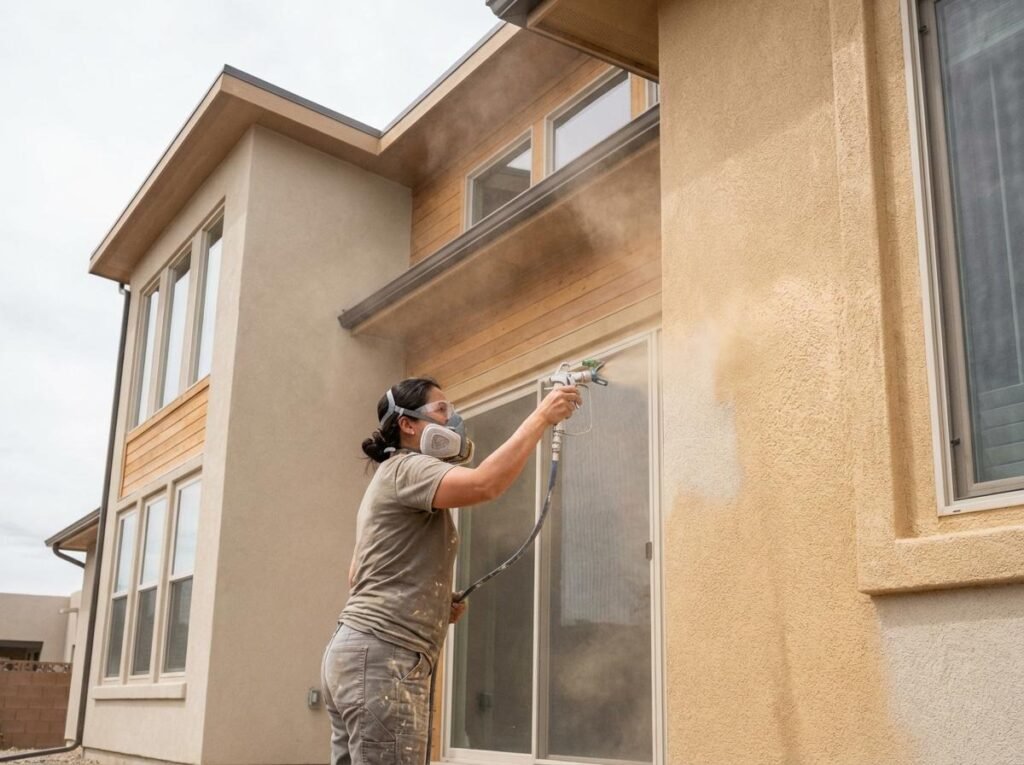
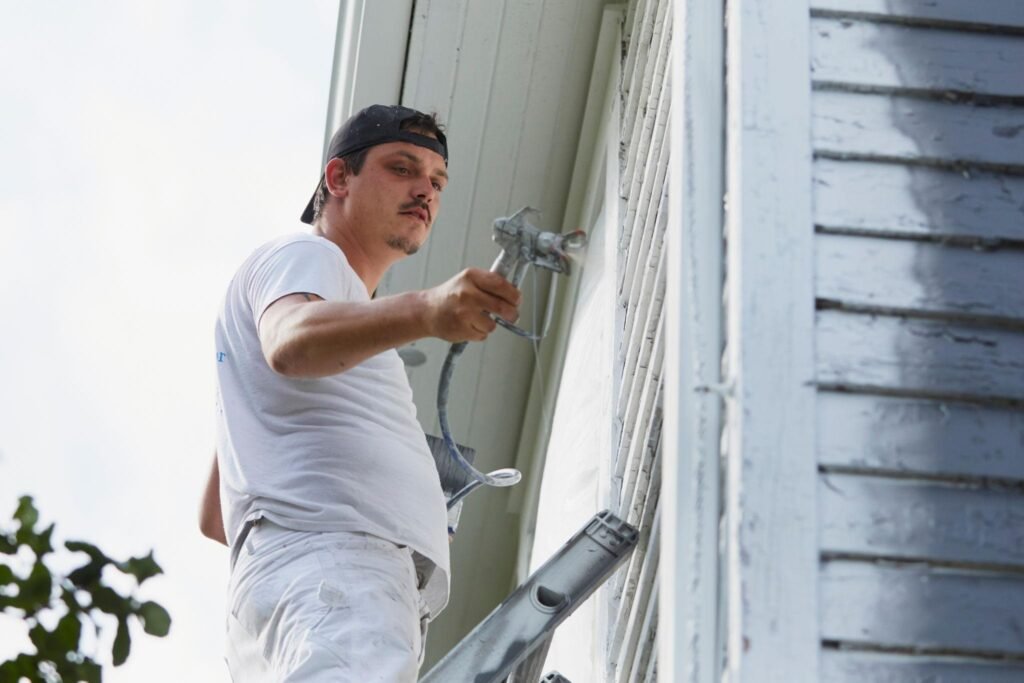
Resist the temptation to bounce from one wall to another.
Finish an entire wall before moving to the next.
This approach helps:
- Maintain color consistency
- Avoid dry overlap marks
- Keep a wet edge
- Produce a cleaner finish
FYI, sunlight changes throughout the day, so planning your painting order around shade often makes the job easier.
Spray Difficult Areas First
Some parts of your home require extra attention.
Paint these areas before the large flat surfaces:
- Corners
- Window trim
- Door trim
- Fascia boards
- Soffits
- Under eaves
- Around vents
- Decorative molding
After finishing these spots, spray the larger walls.
This method blends everything together much more naturally.
Spray Around Windows Carefully
Windows deserve patience.
Even if you’ve masked them well, avoid pointing the sprayer directly toward the glass for long periods.
Instead:
- Spray lightly around edges.
- Keep the gun moving.
- Maintain even distance.
- Watch for paint buildup near corners.
A lighter touch almost always produces cleaner results.
Painting Textured Surfaces
Textured siding, stucco, and brick need slightly different techniques.
Spray from multiple directions.
Try this pattern:
- Horizontal pass
- Vertical pass
- Light finishing pass
This method fills tiny grooves and textured areas without leaving missed spots.
Apply Thin Coats Instead of Heavy Ones
One thick coat might seem faster.
It rarely is.
Heavy coats often create:
- Runs
- Drips
- Sagging
- Longer drying times
- Uneven color
Instead, apply two light coats.
They dry faster, bond better, and look much smoother.
Honestly, patience usually wins every painting project. The paint doesn’t care about your weekend schedule. 🙂
Watch for Runs Immediately
Even experienced painters occasionally create a drip.
The difference?
They catch it early.
Walk backward every few minutes and inspect your work.
If you notice a run:
- Stop spraying.
- Use a clean brush to smooth it.
- Blend the area gently.
- Continue after fixing it.
Small corrections save major frustration later.
Maintain a Wet Edge
One of the biggest secrets to professional-looking results involves maintaining a wet edge.
That simply means spraying fresh paint next to paint that hasn’t dried yet.
Avoid:
- Painting random sections
- Jumping between walls
- Taking long breaks halfway through a wall
Working steadily creates a seamless finish.
Do You Need a Second Coat?
In most cases, yes.
A second coat provides:
- Better durability
- Richer color
- Improved weather resistance
- More uniform coverage
- Longer-lasting results
Wait until the first coat dries according to the paint manufacturer’s instructions.
Rushing this step can ruin an otherwise beautiful finish.
How Long Should You Wait?
Most exterior acrylic paints need:
- 2–4 hours before recoating
- 24 hours before light contact
- Several days for full curing
Humidity and temperature affect drying time, so always check the product label.
Common Spray Painting Mistakes
Even careful DIY painters make mistakes.
Fortunately, most of them are easy to avoid.
1. Painting in Wind
Wind creates overspray.
Overspray wastes paint and coats everything nearby.
If tree branches sway noticeably, postpone the project.
2. Skipping Surface Cleaning
Dirty siding prevents proper paint adhesion.
Paint sticks to clean surfaces—not dirt.
Always wash first.
3. Using Too Much Pressure
High pressure creates excessive overspray.
Start with moderate pressure and adjust gradually.
More pressure doesn’t automatically mean better coverage.
4. Holding the Gun Too Close
This mistake causes:
- Paint runs
- Thick spots
- Uneven finish
Maintain that 10–12 inch distance throughout every pass.
5. Forgetting to Strain Paint
Tiny debris clogs spray tips surprisingly fast.
Always strain paint before filling the sprayer.
It only takes a minute and prevents countless interruptions.
6. Ignoring Safety Equipment
Never skip protective gear.
Wear:
- Respirator
- Safety glasses
- Gloves
- Long sleeves
- Closed-toe shoes
Exterior paint contains particles you don’t want to inhale.
Your lungs will definitely appreciate the extra protection.
Clean the Sprayer Between Breaks
If you stop for lunch or take a longer break, don’t leave paint sitting inside the sprayer.
Instead:
- Follow the manufacturer’s pause instructions.
- Keep the spray tip clean.
- Prevent paint from drying inside the gun.
- Flush the equipment if you’ll stop for several hours.
A clogged sprayer can turn a productive afternoon into an unexpected repair session.
Check Your Work in Different Lighting
Before calling it finished, inspect the house from several angles.
Walk around the property during different times of the day.
Look for:
- Thin spots
- Missed areas
- Uneven sheen
- Drips
- Rough patches
Morning and evening light often reveal imperfections that midday sunshine hides.
Taking ten extra minutes for a final inspection can make the difference between a good paint job and a fantastic one.
How to Spray Paint Your House Exterior
You’ve made it to the final stage! By now, your house should have a fresh, even coat of paint that makes it look years newer. But don’t pack everything away just yet. The last few steps—cleaning your equipment, inspecting the finish, and maintaining the paint—help ensure your hard work lasts for years.
Let’s wrap everything up the right way.
Clean Your Paint Sprayer Immediately
Cleaning a paint sprayer isn’t the most exciting part of the project, but it’s one of the most important. Trust me, dried paint inside the sprayer can turn an expensive tool into an oversized paperweight.
As soon as you finish painting:
- Pour any leftover paint back into the original container.
- Flush the sprayer with water for latex paint or the recommended solvent for oil-based paint.
- Remove and clean the spray tip.
- Wash the filters thoroughly.
- Wipe the hose and spray gun.
- Allow every part to dry before storing it.
Never leave paint sitting inside the sprayer overnight. Even a few hours can make cleanup much more difficult.
Remove Masking Carefully
After the paint becomes dry to the touch, start removing your masking materials.
Work slowly and carefully.
Remove:
- Painter’s tape
- Plastic sheeting
- Drop cloths
- Protective coverings from plants
- Window masking
Pull painter’s tape at about a 45-degree angle. This simple trick helps create crisp paint lines and reduces the chance of peeling fresh paint.
Inspect the Entire House
Walk completely around your home before declaring victory.
Look closely for:
- Missed spots
- Uneven coverage
- Drips
- Overspray
- Thin areas
- Paint holidays (small unpainted spots)
A small brush works perfectly for tiny touch-ups.
Don’t rush this inspection. You’ll notice imperfections much more easily now than six months later.
How Long Does Exterior Spray Paint Last?
A quality exterior paint job usually lasts between 7 and 12 years, depending on several factors.
Those factors include:
- Climate
- Sun exposure
- Paint quality
- Surface preparation
- Maintenance
- Moisture levels
Homes that receive constant sunlight may require repainting sooner than homes with more shade.
The good news? Proper preparation usually extends the life of the paint more than adding an extra coat.
Tips to Make Your Paint Last Longer
A little maintenance goes a long way.
Keep Your Exterior Clean
Wash your siding once or twice each year.
Removing dirt, pollen, mildew, and bird droppings helps preserve the paint finish.
Trim Nearby Trees
Branches constantly rubbing against your siding slowly wear away paint.
Trim them back before they become a problem.
Your gutters will thank you too.
Check for Damage Every Year
Inspect your home’s exterior every spring.
Watch for:
- Cracked caulk
- Peeling paint
- Water stains
- Rotting trim
- Loose siding
Fixing small issues early prevents expensive repairs later.
Keep Gutters Clean
Overflowing gutters can send water down freshly painted walls.
That extra moisture shortens paint life.
Cleaning gutters a couple of times each year protects both your paint and your home.
DIY vs. Hiring a Professional
Many homeowners wonder whether they should tackle this project themselves.
Here’s a simple comparison.
| DIY Spray Painting | Professional Painting |
| Lower overall cost | Higher cost |
| Requires more time | Finished much faster |
| Great learning experience | Professional-quality finish |
| Full control over the project | Less physical effort |
| Requires equipment rental | Equipment included |
My opinion?
If your home is one or two stories tall and you’re comfortable using ladders and power tools, DIY spray painting can save a significant amount of money.
However, if your home has steep rooflines, extensive repairs, or difficult access, hiring professionals may be the safer choice.
Estimated DIY Costs
Your total cost depends on the size of your home, but here’s a rough estimate.
| Item | Estimated Cost |
| Exterior paint | $250–$700 |
| Primer | $100–$300 |
| Airless sprayer rental | $75–$150 per day |
| Painter’s tape and plastic | $40–$100 |
| Safety equipment | $40–$100 |
| Miscellaneous supplies | $50–$150 |
Overall, many homeowners spend $500–$1,500 on a DIY exterior spray painting project, while professional services often cost several thousand dollars.
Frequently Asked Questions
Can I Spray Paint My House Without a Primer?
Sometimes.
If the existing paint remains in excellent condition and you’re using a similar color, you may not need primer.
However, always use primer on:
- Bare wood
- New siding
- Repaired areas
- Stained surfaces
- Major color changes
Is Spray Painting Better Than Rolling?
Each method has strengths.
Spraying:
- Faster
- Smoother finish
- Better for textured surfaces
Rolling:
- Less overspray
- Easier for beginners
- Better in windy areas
Many professionals actually combine both methods by spraying first and back-rolling certain surfaces.
How Many Coats Should I Apply?
Most homes need two coats for the best durability and appearance.
Dark colors, repaired sections, and dramatic color changes sometimes require an additional coat.
Can I Paint Brick or Stucco?
Absolutely.
Both materials accept spray paint very well.
Just remember to use paint specifically designed for masonry surfaces.
What Happens If It Rains Too Soon?
Rain can wash away uncured paint.
Always check the weather forecast before starting.
If rain arrives before the paint cures, you’ll likely need to repaint the affected areas.
Expert Tips for a Professional Finish
Want your house to look like professionals handled the project? Keep these tips in mind:
- Buy premium exterior paint for better coverage and durability.
- Strain paint before filling the sprayer.
- Maintain a consistent spraying speed.
- Overlap each pass by about 50%.
- Paint during calm weather.
- Replace worn spray tips when necessary.
- Inspect your work often instead of waiting until the end.
- Clean your equipment immediately after use.
- Don’t skip preparation—it makes all the difference.
These habits may seem small, but together they create a finish that looks polished and lasts much longer.
Final Thoughts
Spray painting your house exterior might seem intimidating at first, but it’s a project that rewards patience and careful preparation. Once you learn the proper technique, you’ll appreciate how quickly an airless sprayer transforms large surfaces into a smooth, professional-looking finish.
Remember, preparation matters just as much as painting itself. Clean thoroughly, repair damaged areas, mask everything carefully, and apply thin, even coats. Those simple steps separate an average paint job from one that turns heads for years to come.
The first time I completed an exterior spray painting project, I kept walking outside just to admire the finished walls. Maybe that’s a little obsessive—but after all that work, I think we’ve earned the right to enjoy the view. Happy painting!