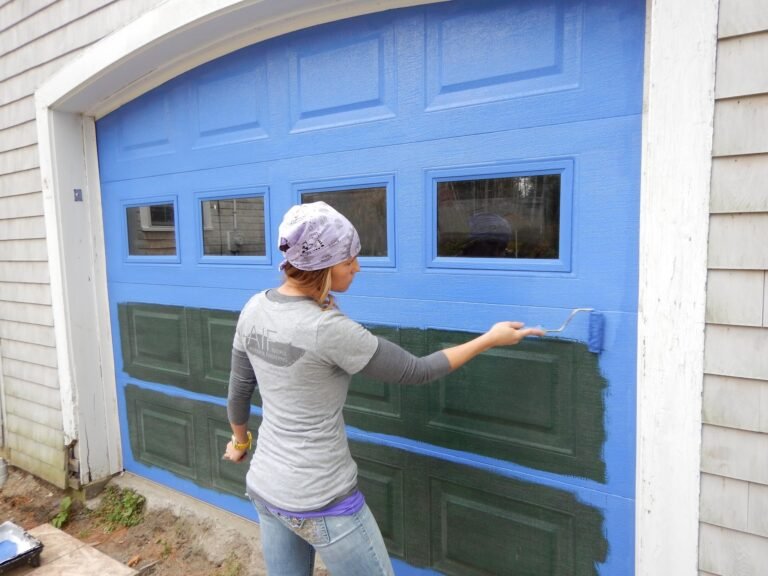
How to Apply Epoxy Wall Paint
Table of Contents
How to Apply Epoxy Wall Paint: A Beginner-Friendly Step-by-Step Guide for a Durable Finish
Ever looked at a dull wall and thought, “This could use a serious upgrade”? That’s exactly where epoxy wall paint shines. It creates a hard, glossy finish that resists stains, moisture, chemicals, and everyday wear. Whether you’re painting a garage, basement, workshop, commercial kitchen, or even a laundry room, epoxy paint delivers a finish that regular wall paint simply can’t match.
I’ve worked with epoxy paint a few times, and I’ll admit something—it looks intimidating until you actually start. Then you realize that good preparation does about 80% of the work. The rest comes down to patience…and resisting the urge to touch the wall every five minutes. 🙂
Let’s walk through exactly how to apply epoxy wall paint the right way.
Why Choose Epoxy Wall Paint?
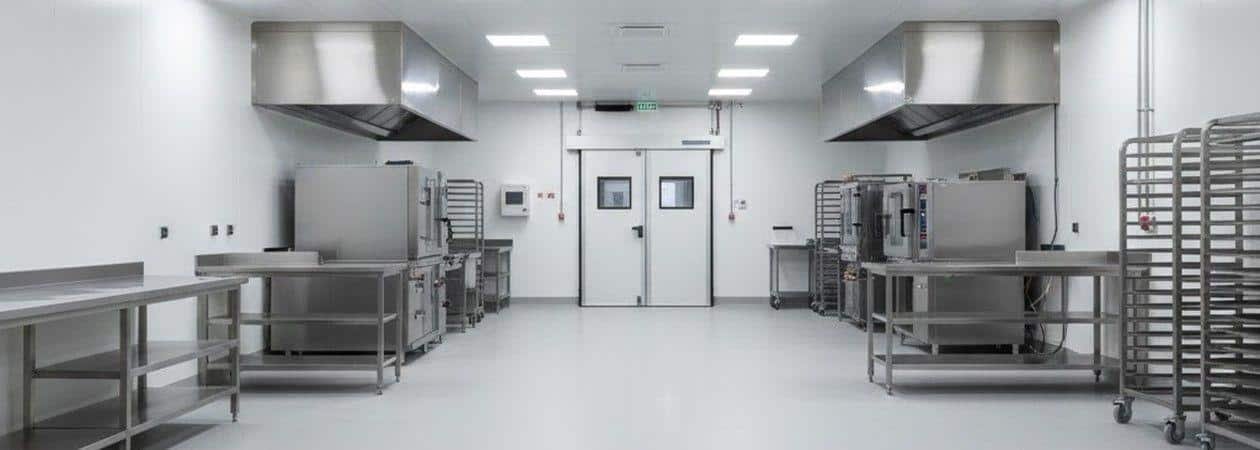
Epoxy wall paint isn’t just about appearance. It protects surfaces from moisture, scratches, grease, and chemicals while giving walls a smooth, professional finish.
It’s an excellent choice for:
- Garages
- Basements
- Workshops
- Commercial kitchens
- Laundry rooms
- Warehouses
- Industrial spaces
Ever wondered why hospitals and commercial kitchens often have glossy, easy-to-clean walls? Epoxy coatings make cleaning quick while standing up to constant use.
Gather Your Tools Before You Start
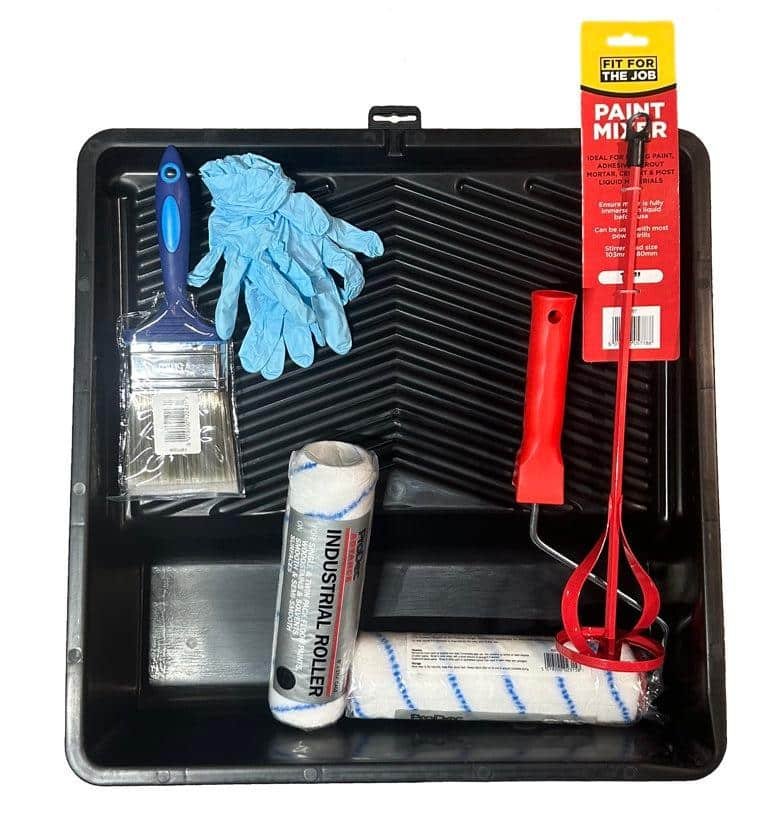
Nobody enjoys running to the hardware store halfway through a project.
Here’s everything you’ll need:
- Epoxy wall paint kit
- Paint roller with epoxy-compatible cover
- Angled paintbrush
- Paint tray
- Mixing bucket
- Stir stick or drill mixer
- Painter’s tape
- Drop cloths
- Sandpaper (120–220 grit)
- Wall cleaner or degreaser
- Filling compound for cracks
- Safety goggles
- Protective gloves
- Respirator mask if ventilation is limited
Preparation saves frustration later. Trust me on this one.
Step 1: Clean the Wall Thoroughly
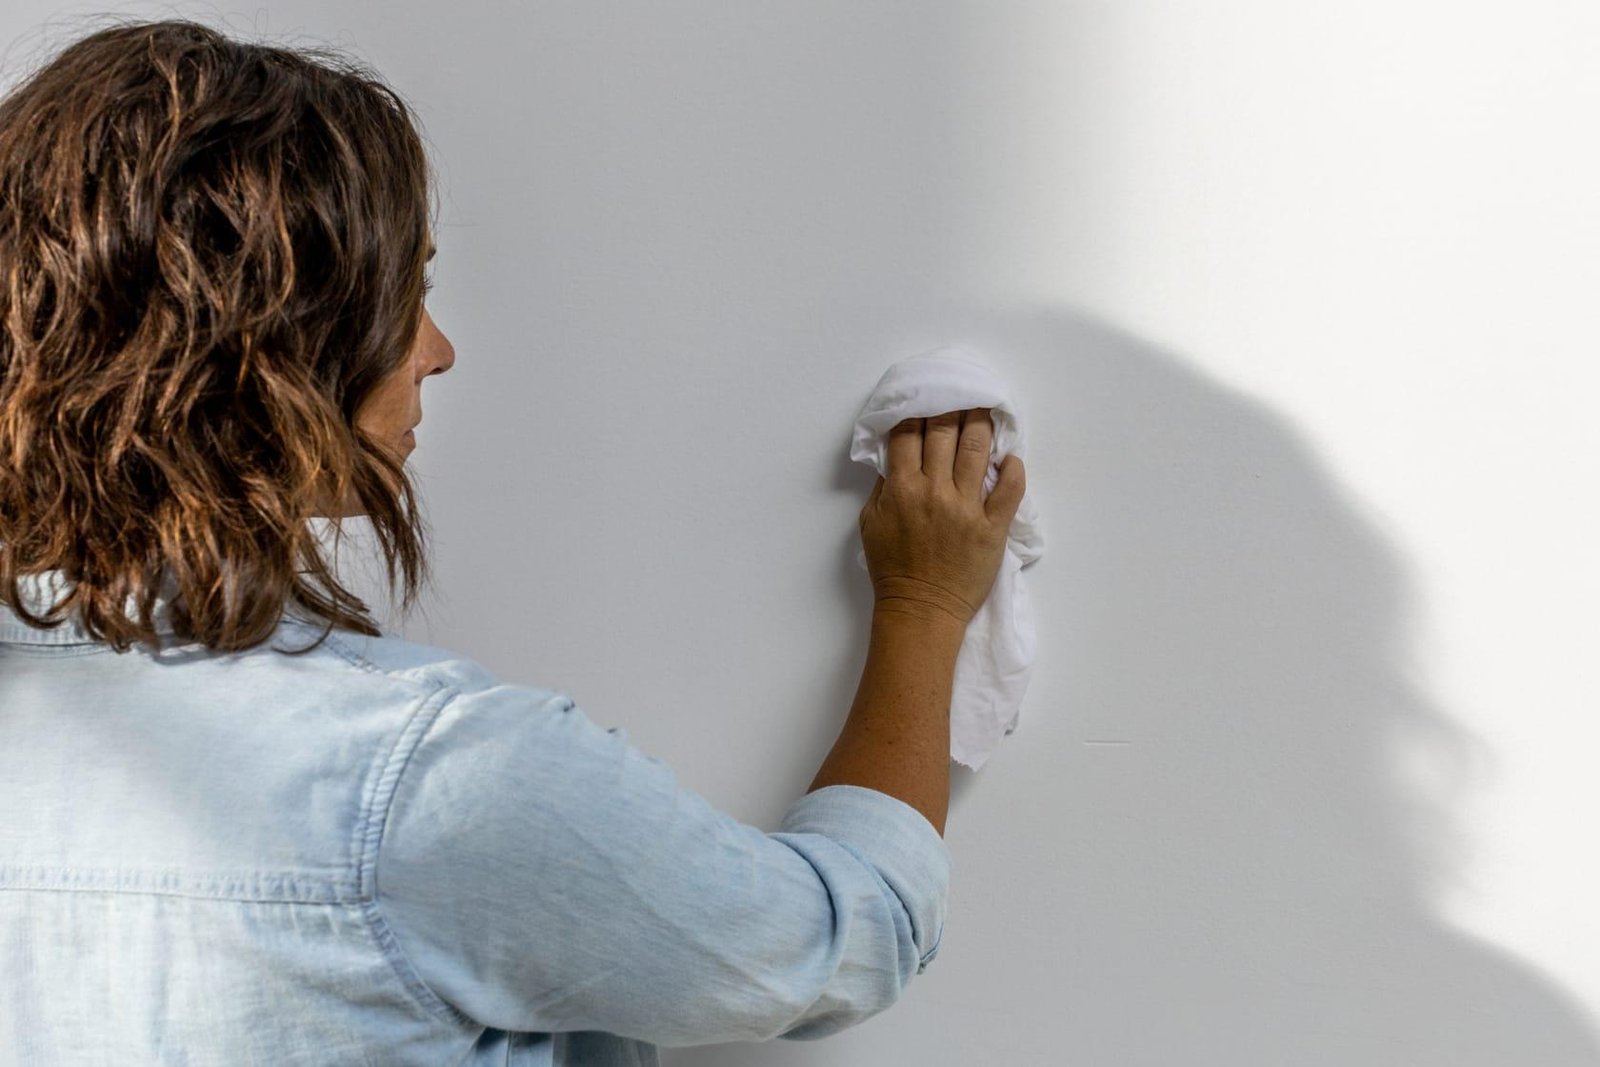
Epoxy sticks incredibly well—but only to clean surfaces.
Dust, grease, oil, soap residue, or old grime prevent proper adhesion. Even fingerprints can become a problem.
Wash the wall using a quality degreaser, rinse it with clean water, and allow everything to dry completely.
Cleaning Tips
- Remove grease completely.
- Vacuum sanding dust afterward.
- Let the wall dry for at least 24 hours if you washed heavily.
- Don’t skip corners and edges.
Bonus Tip: I usually wipe the wall one final time with a microfiber cloth before painting. You’d be surprised how much dust still appears.
Step 2: Repair Every Imperfection
Epoxy has a glossy finish, which means it highlights flaws instead of hiding them.
Fill every crack, dent, nail hole, or chip before painting.
Surface Repair Checklist
- Fill cracks with wall filler.
- Patch larger holes properly.
- Sand repairs smooth.
- Remove loose paint.
- Feather repair edges evenly.
Bonus Tip: Run your hand across the wall with your eyes closed. You’ll often feel imperfections that you can’t easily see.
Step 3: Sand the Entire Surface
This step often feels boring, but it matters.
Light sanding creates tiny scratches that help epoxy grip the wall securely.
Sanding Tips
- Use 120–220 grit sandpaper.
- Sand glossy surfaces more aggressively.
- Keep pressure even.
- Vacuum dust completely afterward.
Bonus Tip: FYI, skipping sanding may save twenty minutes today, but it could cost you peeling paint later. That’s not exactly a bargain.
Step 4: Apply Primer if Needed
Some epoxy systems include primer, while others require a separate epoxy-compatible primer.
Always read the manufacturer’s instructions.
Primer Benefits
- Improves adhesion.
- Creates an even finish.
- Reduces paint absorption.
- Helps hide repaired areas.
Bonus Tip: Don’t assume every wall needs primer or doesn’t need it. The product instructions always win that argument.
Step 5: Mix the Epoxy Correctly
Most epoxy paints use two parts:
- Part A (Resin)
- Part B (Hardener)
Mix them exactly according to the instructions.
Ever wondered why some epoxy cures perfectly while another batch stays sticky? Incorrect mixing causes that problem almost every time.
Mixing Tips
- Measure carefully.
- Stir slowly for several minutes.
- Avoid whipping air into the mixture.
- Only mix what you’ll use before the pot life expires.
Bonus Tip: IMO, using a drill mixer produces a much more consistent mixture than stirring by hand.
Step 6: Cut In Around the Edges
Start with a brush before using the roller.
Paint carefully around:
- Corners
- Ceiling lines
- Baseboards
- Windows
- Doors
- Electrical outlets
This creates clean lines and makes rolling much easier afterward.
Bonus Tip: Remove painter’s tape while the paint still feels slightly soft for cleaner edges.
Step 7: Roll on the Epoxy Paint
Now comes the satisfying part.
Load the roller evenly and work in manageable sections.
Avoid overloading the roller because epoxy naturally levels itself.
Rolling Technique
- Roll in a W pattern.
- Finish with light vertical strokes.
- Keep a wet edge.
- Work steadily.
- Avoid excessive back rolling.
Bonus Tip: If you notice bubbles, don’t panic. Small bubbles often disappear as the epoxy levels itself.
Step 8: Apply Additional Coats
Many epoxy paints require two coats for maximum durability.
Wait for the recommended recoat time before adding another layer.
Second Coat Tips
- Follow curing times exactly.
- Inspect for missed spots.
- Maintain even coverage.
- Avoid thick applications.
Bonus Tip: More paint doesn’t automatically mean a better finish. Thick coats often create drips instead of durability. Funny how that works.
Step 9: Allow Proper Curing Time
Dry and cured aren’t the same thing.
The surface may feel dry after several hours, but full curing often takes several days.
During Curing
- Keep dust away.
- Avoid touching the wall.
- Don’t wash the surface.
- Maintain proper room temperature.
- Follow manufacturer recommendations.
Bonus Tip: Patience pays off here. Touching uncured epoxy “just to check” almost always leaves a fingerprint souvenir.
Common Mistakes to Avoid
Even experienced DIYers make these mistakes occasionally.
Avoid:
- Painting over dirty walls
- Skipping sanding
- Mixing epoxy incorrectly
- Ignoring temperature requirements
- Applying coats too thick
- Working after pot life expires
- Rushing the curing process
Each mistake reduces durability and appearance.
How to Maintain Epoxy Wall Paint
One reason people love epoxy paint is its low maintenance.
Keep it looking fresh by:
- Cleaning with mild soap and water.
- Wiping spills quickly.
- Avoiding abrasive scrubbers.
- Inspecting high-impact areas occasionally.
- Touching up damage before moisture gets underneath.
With proper care, epoxy wall paint can stay attractive for many years.
Is Epoxy Wall Paint Worth It?
Absolutely—especially if durability matters.
Standard latex paint works well in bedrooms and living rooms. Epoxy wall paint excels in demanding spaces where moisture, chemicals, dirt, or heavy use would quickly damage ordinary paint.
It costs more upfront, but the long lifespan often saves money over time because you repaint far less frequently.
Final Thoughts
Learning how to apply epoxy wall paint isn’t difficult once you understand the process. The biggest secret isn’t fancy equipment or professional experience—it’s careful preparation, accurate mixing, and giving the paint enough time to cure properly.
Take your time, follow each step, and you’ll end up with walls that look polished and stay tough for years. And when someone asks who painted them, you can casually smile and say, “Oh, just a little weekend project.” No need to mention the endless waiting while the epoxy cured.