How to Apply Paint Thinner
Table of Contents
How to Apply Paint Thinner: A Beginner-Friendly Guide to Safe, Effective Results
Ever opened an old can of paint, grabbed a brush, and realized the paint looked more like peanut butter than something you could actually use? Yep, I’ve been there. My first instinct was to add way too much paint thinner, and let’s just say… the results weren’t exactly magazine-worthy.
The good news? Using paint thinner isn’t difficult when you know the basics. Whether you want to thin oil-based paint, clean brushes, or remove stubborn paint stains, this guide will show you exactly how to apply paint thinner safely and effectively.
Let’s get started.
What Is Paint Thinner?
Paint thinner is a solvent designed to reduce the thickness of oil-based paints, stains, varnishes, and enamels. It also works incredibly well for cleaning painting tools after finishing a project.
Paint thinner does NOT work well with latex or water-based paints. Water handles those jobs much better.
Common uses include:
- Thinning oil-based paint
- Cleaning paint brushes and rollers
- Removing fresh oil-based paint spills
- Cleaning spray guns
- Degreasing certain metal surfaces
Ever wondered why painters always seem to have a small metal container nearby? That’s usually where they keep paint thinner for cleaning brushes throughout the project.
When Should You Apply Paint Thinner?
Not every paint project needs thinner.
You should use it when:
- Oil-based paint feels too thick
- Paint leaves brush marks
- You want smoother spray gun performance
- Brushes need deep cleaning
- Fresh oil-based paint accidentally lands somewhere it shouldn’t
Skip it when you’re using:
- Latex paint
- Acrylic paint
- Chalk paint
- Milk paint
Adding thinner to water-based paint usually creates a disappointing mess. Nobody enjoys fixing that surprise.
Safety Comes First
Before opening the container, protect yourself.


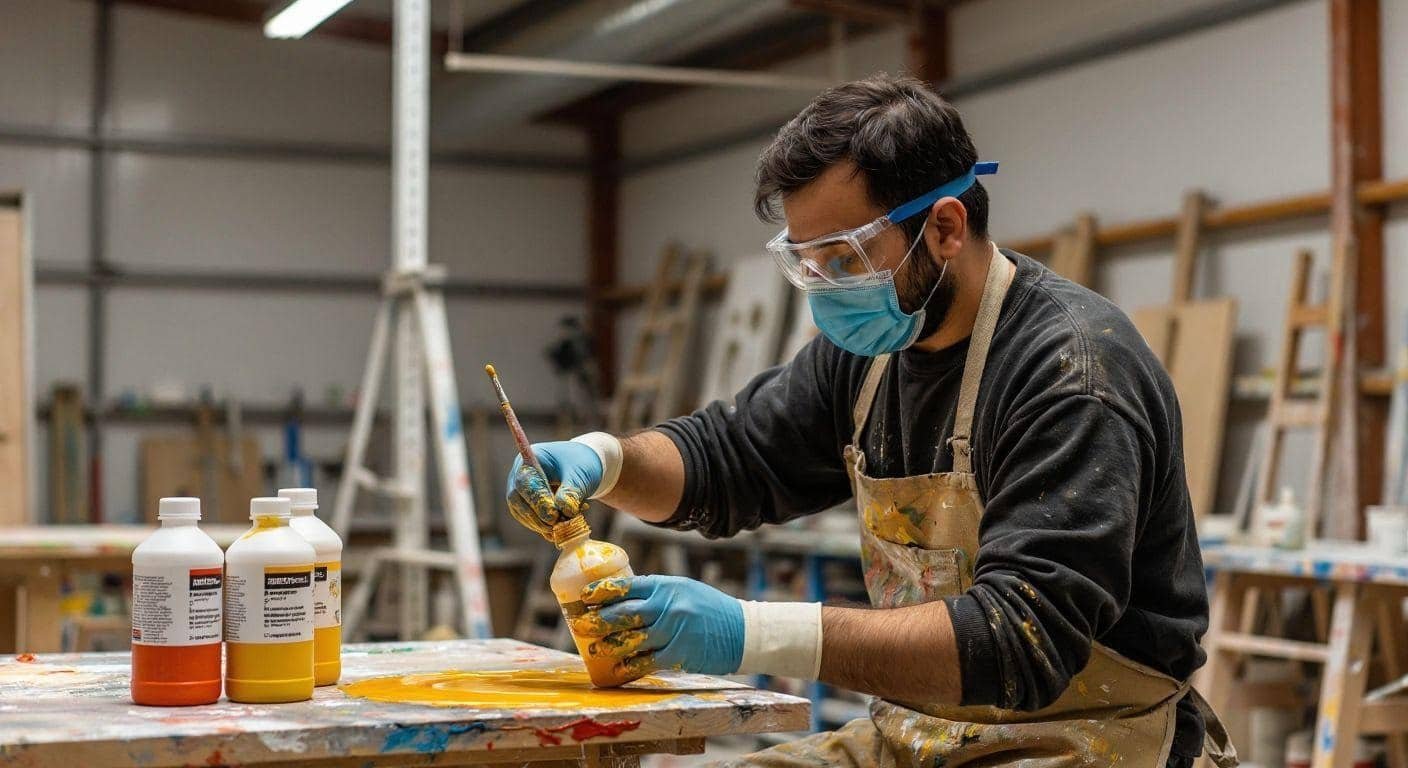
Wear Basic Protection
Always use:
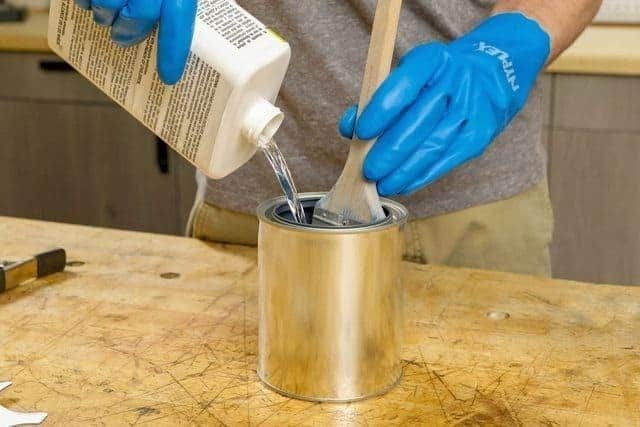
- Chemical-resistant gloves
- Safety goggles
- Long sleeves
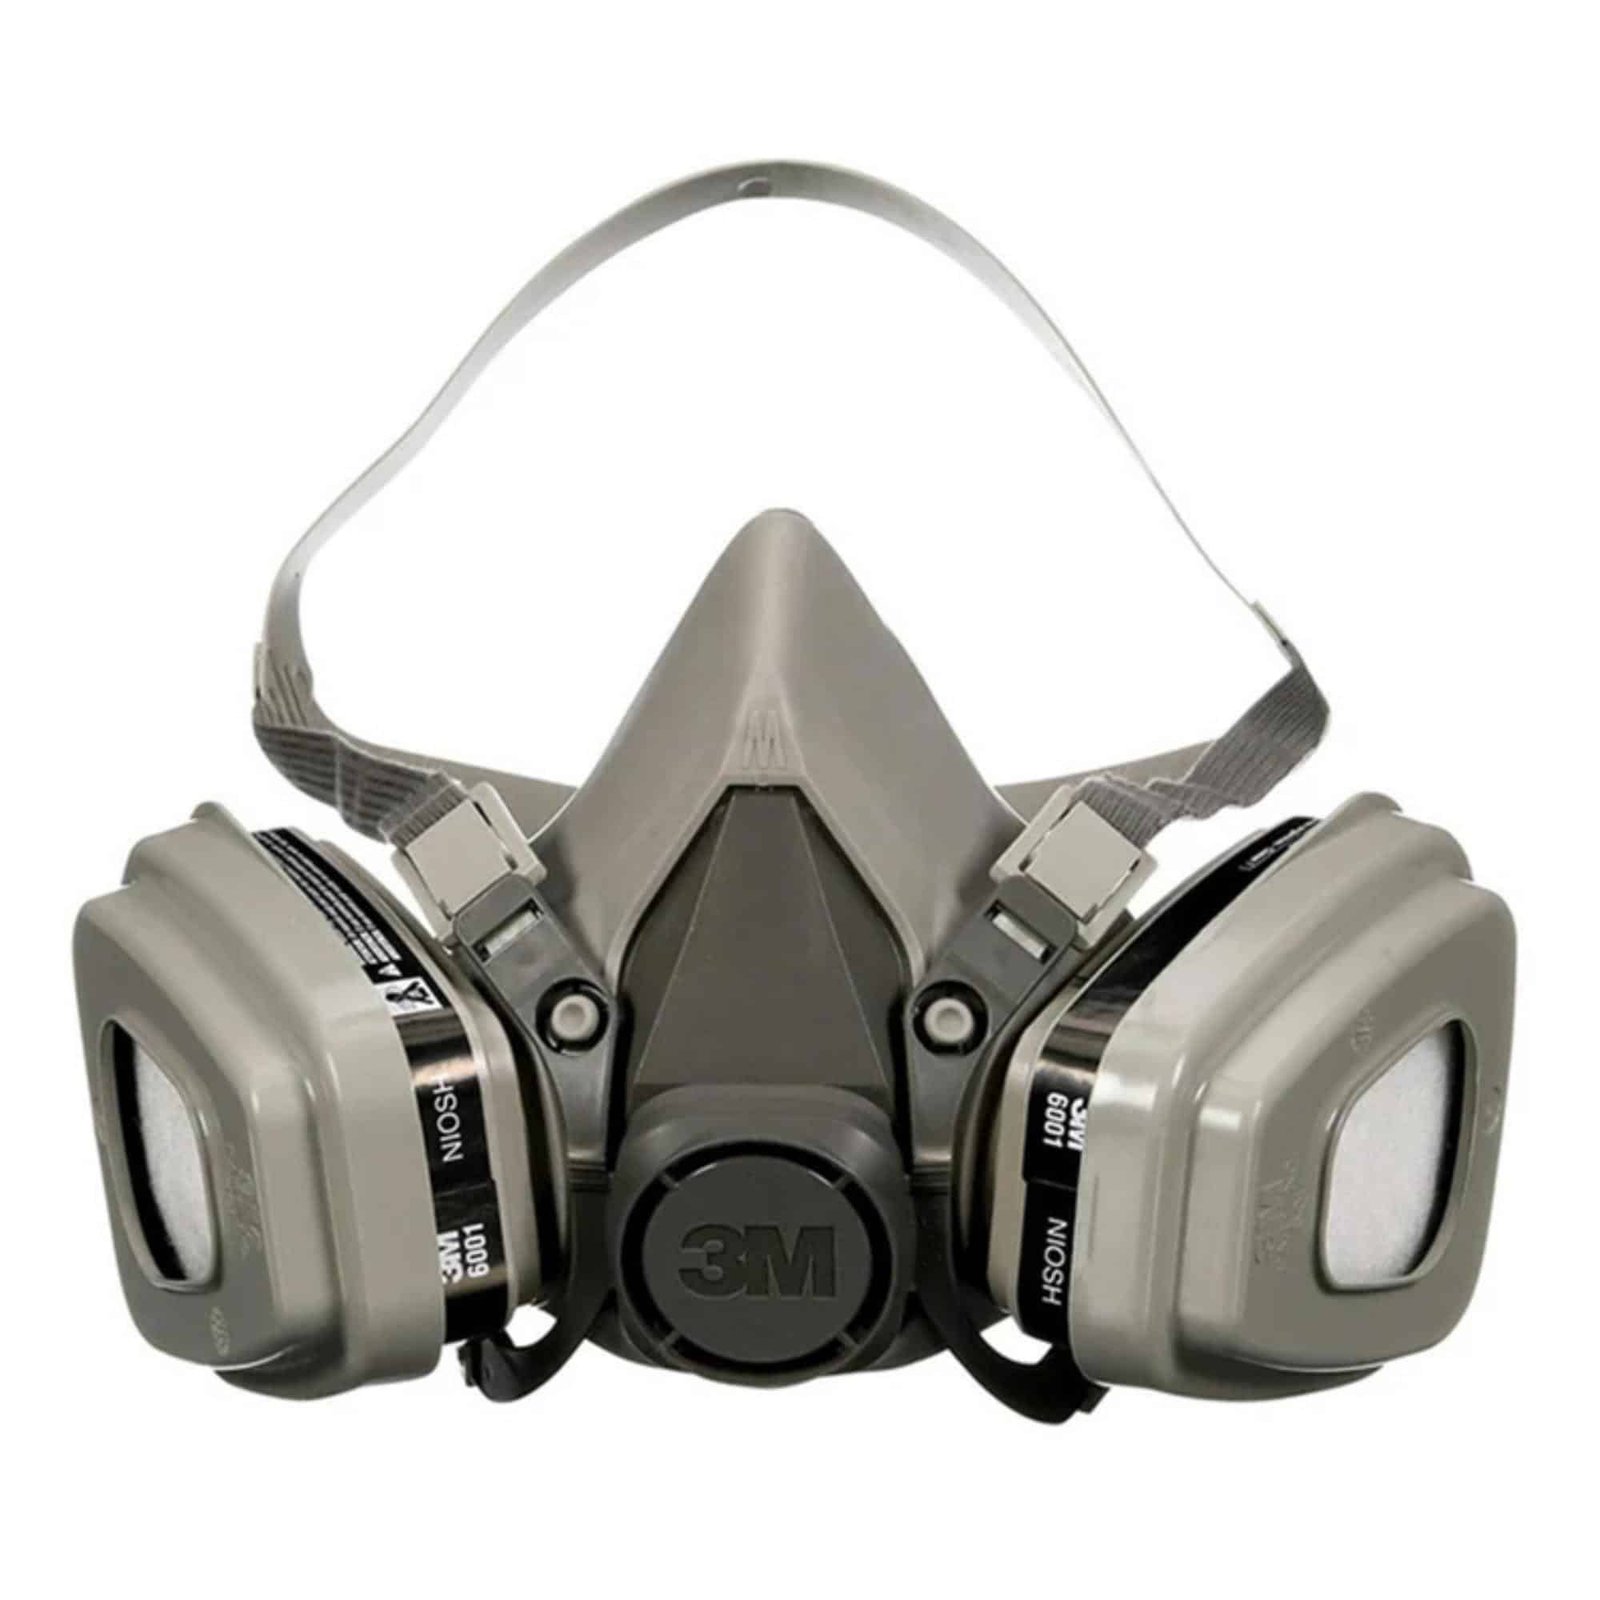
- Respirator if ventilation isn’t great
Work in Fresh Air
Paint thinner releases strong fumes.
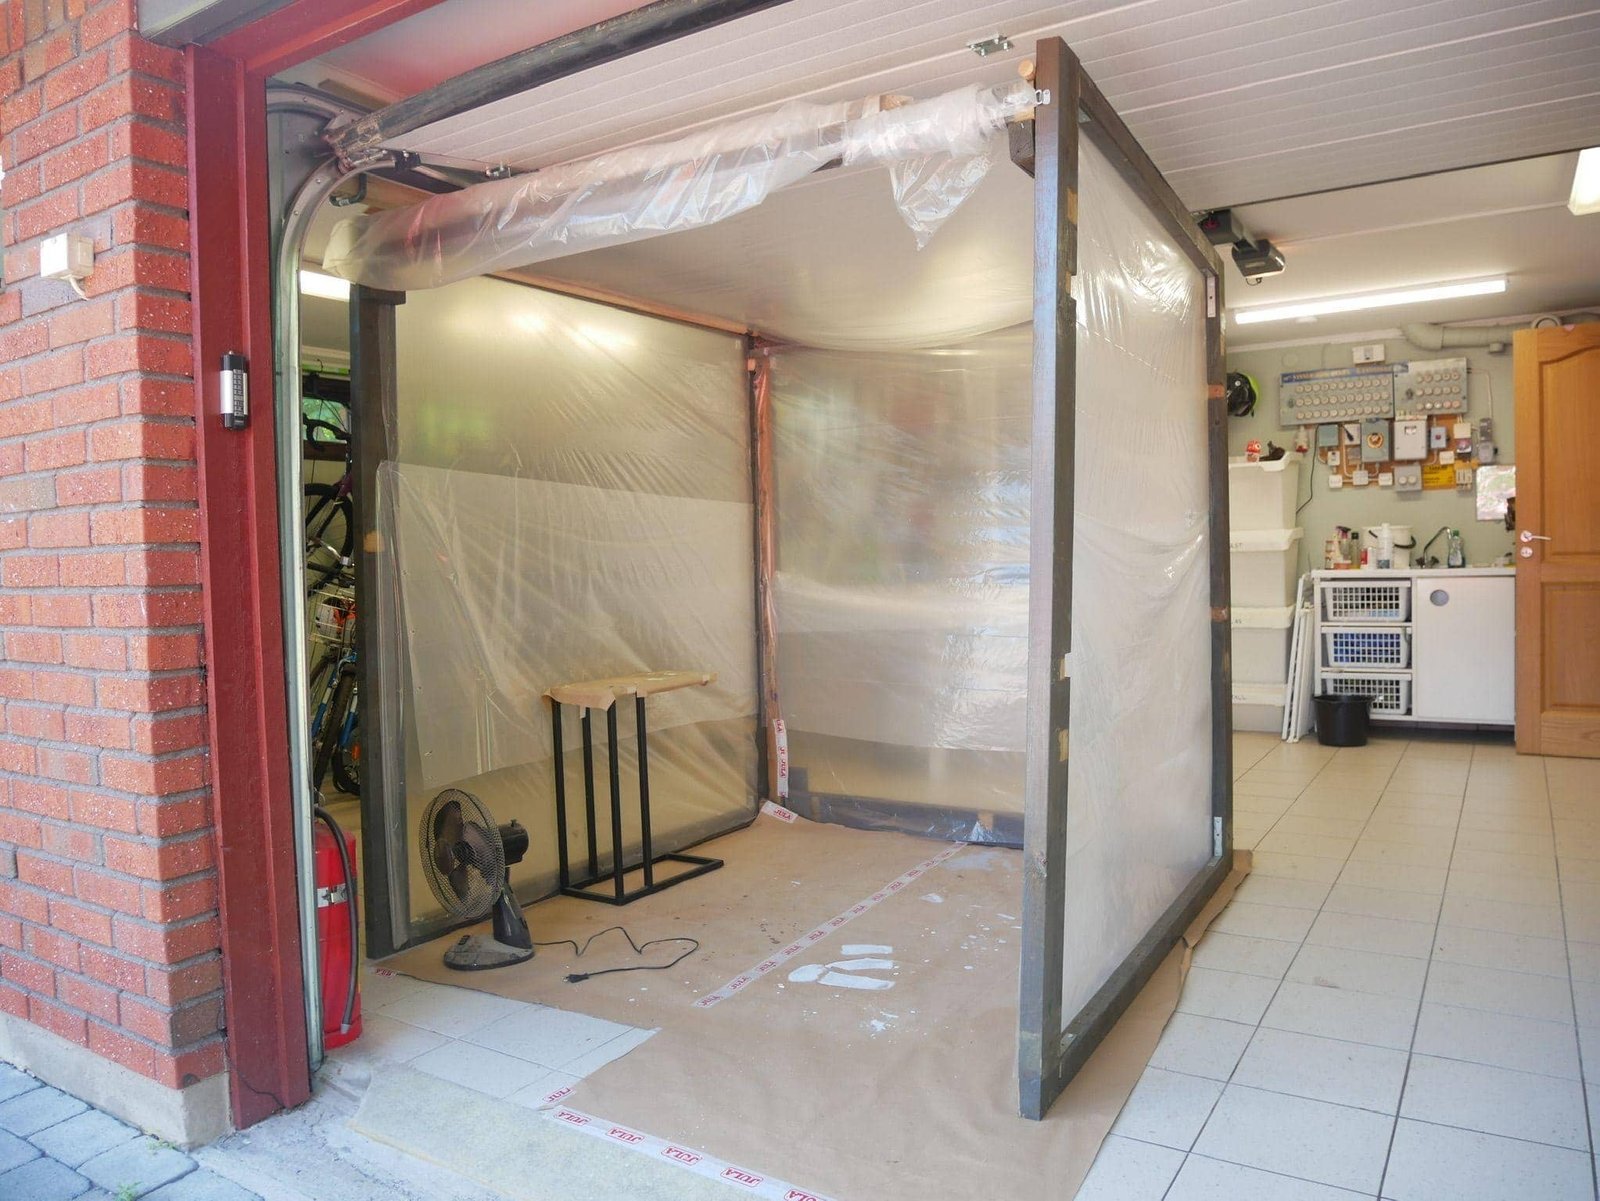
Open windows, use fans, or work outdoors whenever possible.
Keep It Away From Heat
Paint thinner catches fire easily.
Never smoke nearby.
Never place it near:
- Space heaters
- Water heaters
- Open flames
- Sparks
FYI: Reading the manufacturer’s safety instructions only takes two minutes, and those two minutes can save you a huge headache later.
8 Practical Ideas for Applying Paint Thinner Correctly
Idea 1: Thin Oil-Based Paint the Right Way
The biggest mistake beginners make involves pouring paint thinner into the can like they’re filling a swimming pool.
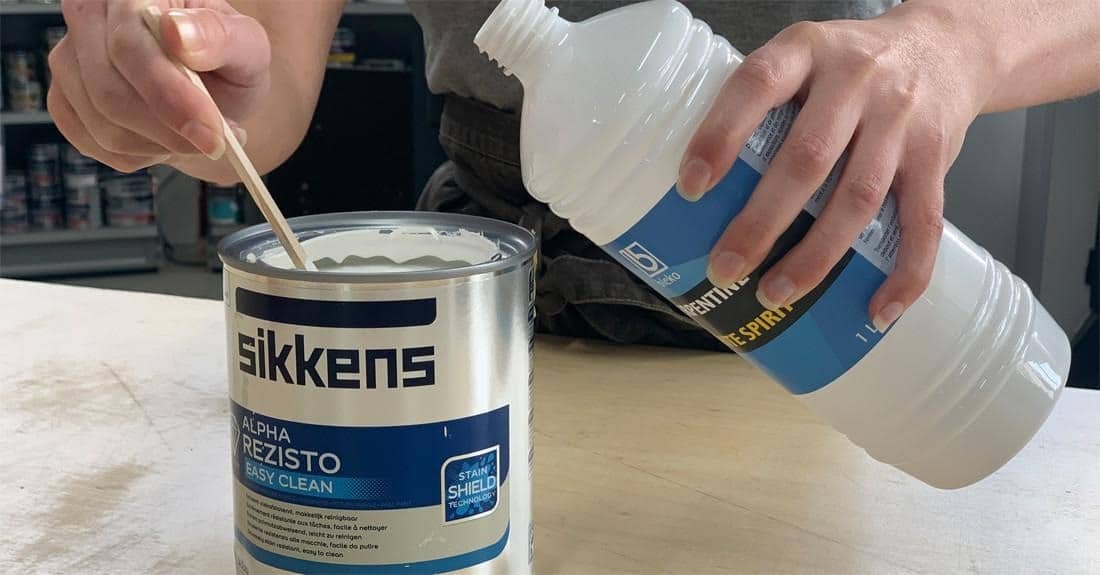
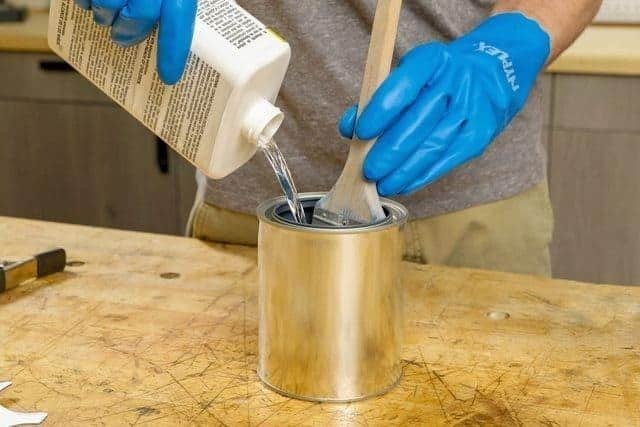
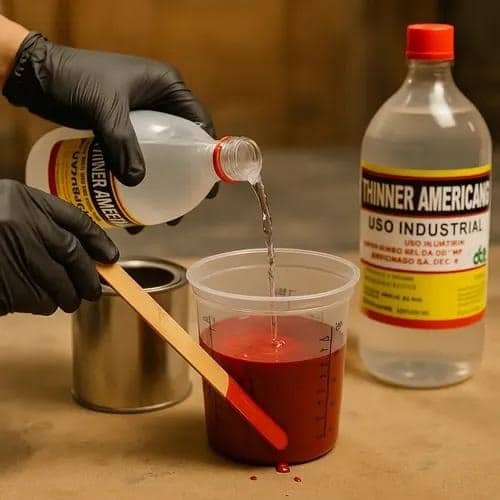
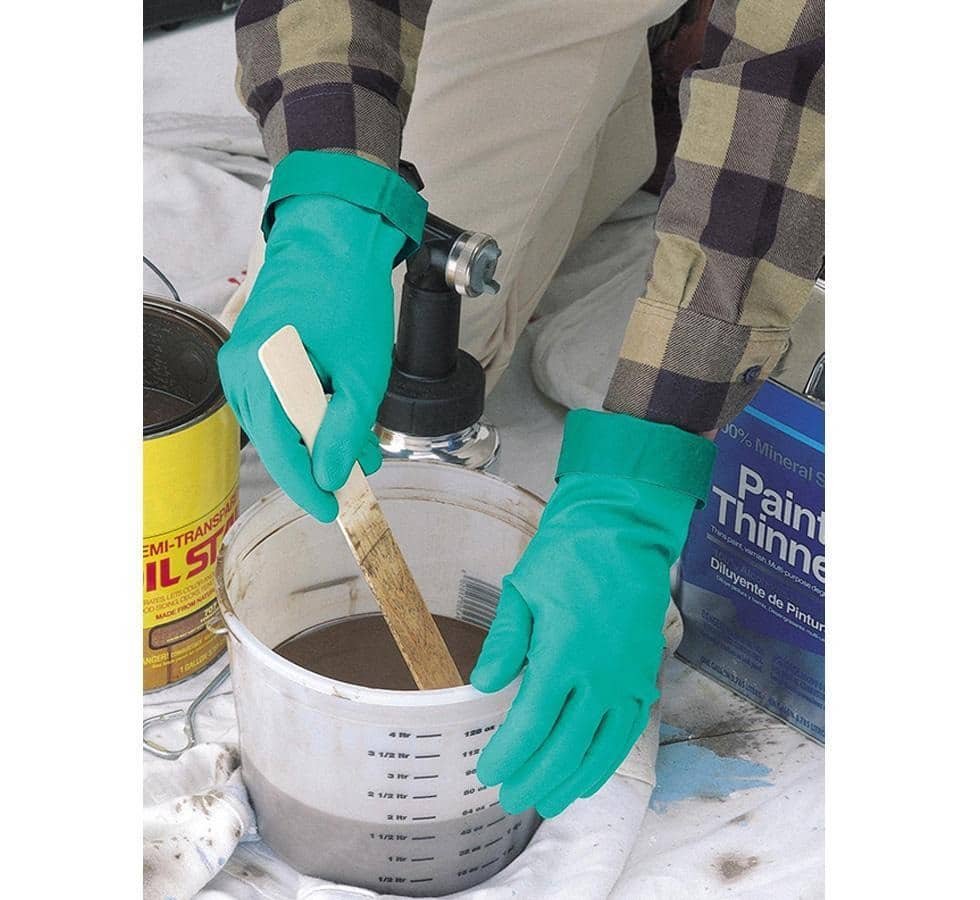
Instead, add small amounts gradually while stirring constantly. Start with about 5–10% thinner compared to the paint volume. Stir thoroughly before deciding whether you need more.
Styling Tips
- Mix in a clean bucket.
- Stir for at least two minutes.
- Test on scrap wood first.
- Add thinner slowly—not all at once.
Bonus Tip: You can always add more thinner, but you can’t easily remove it once it’s mixed.
Idea 2: Clean Brushes Immediately After Painting
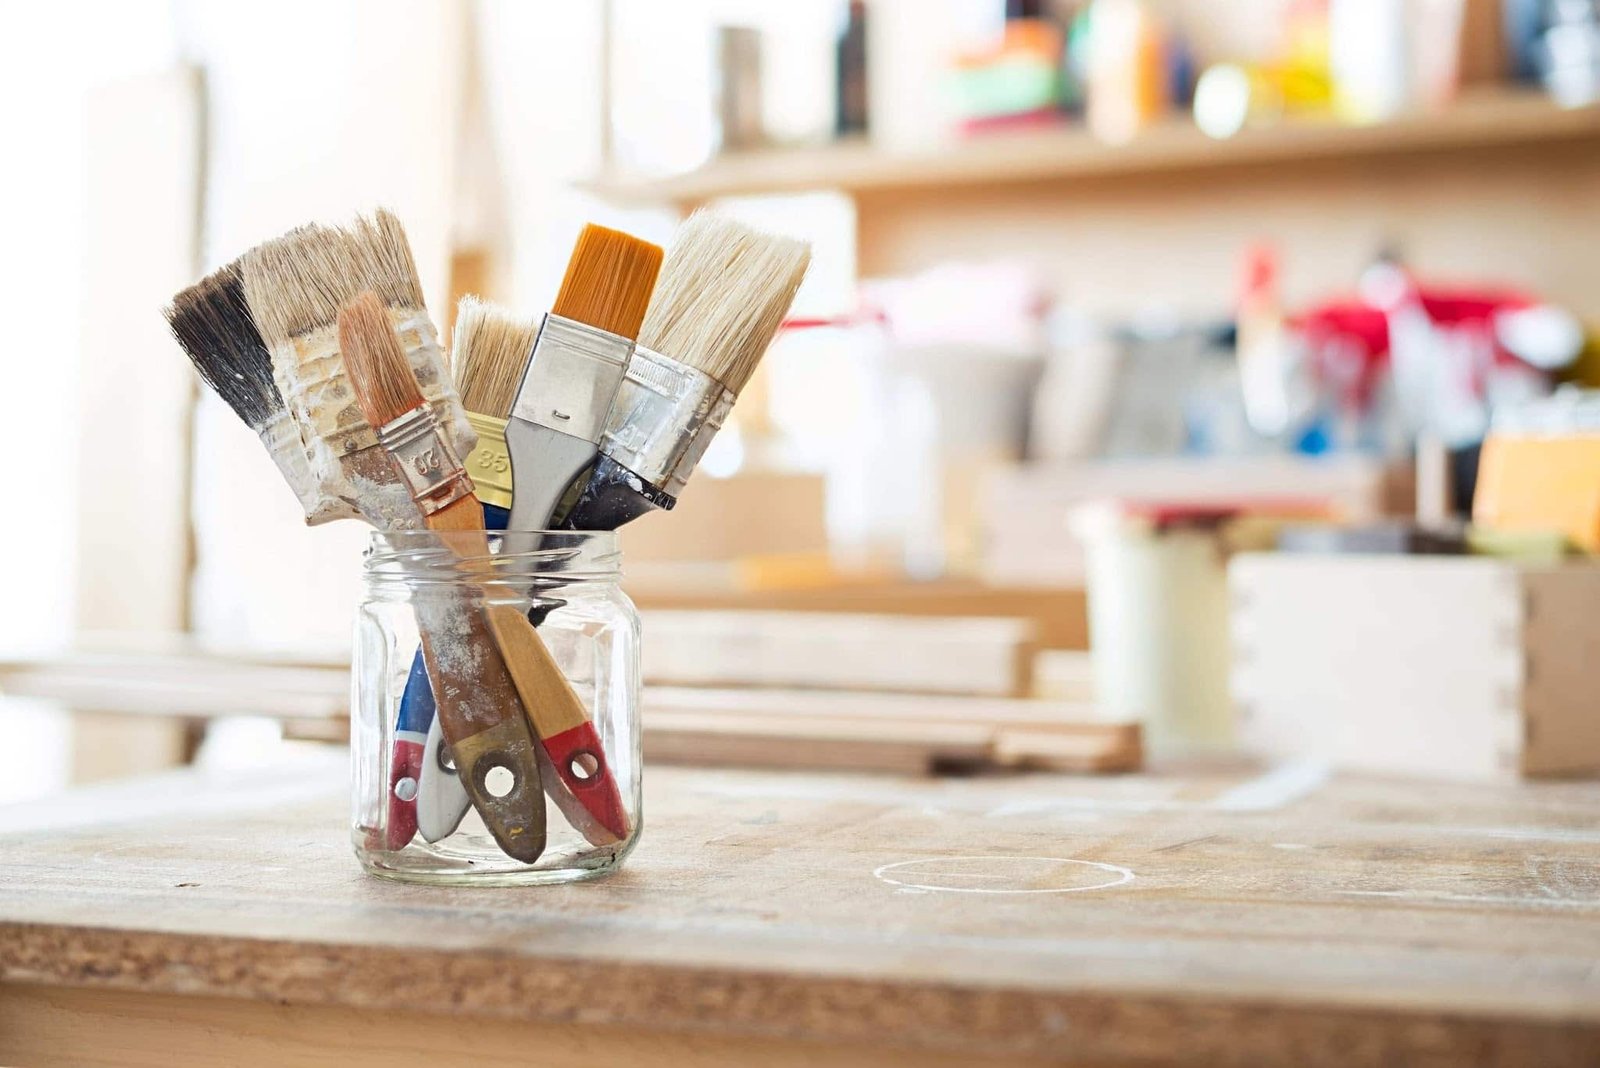
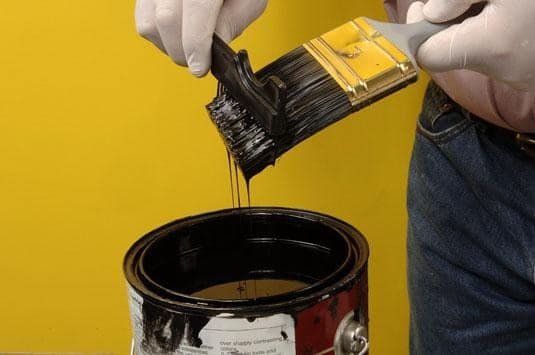
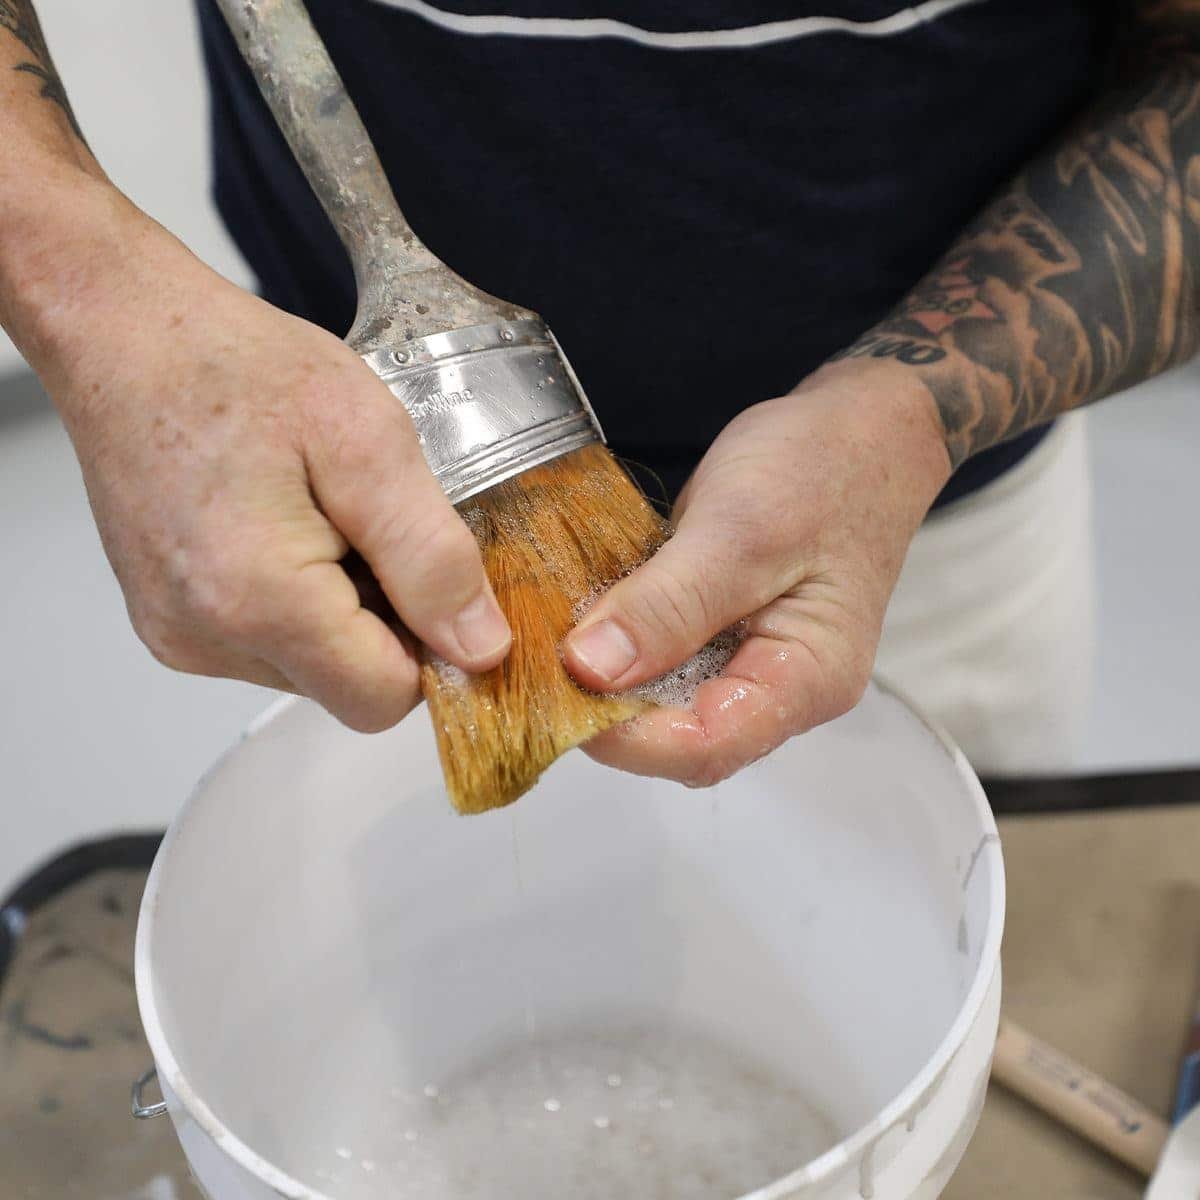
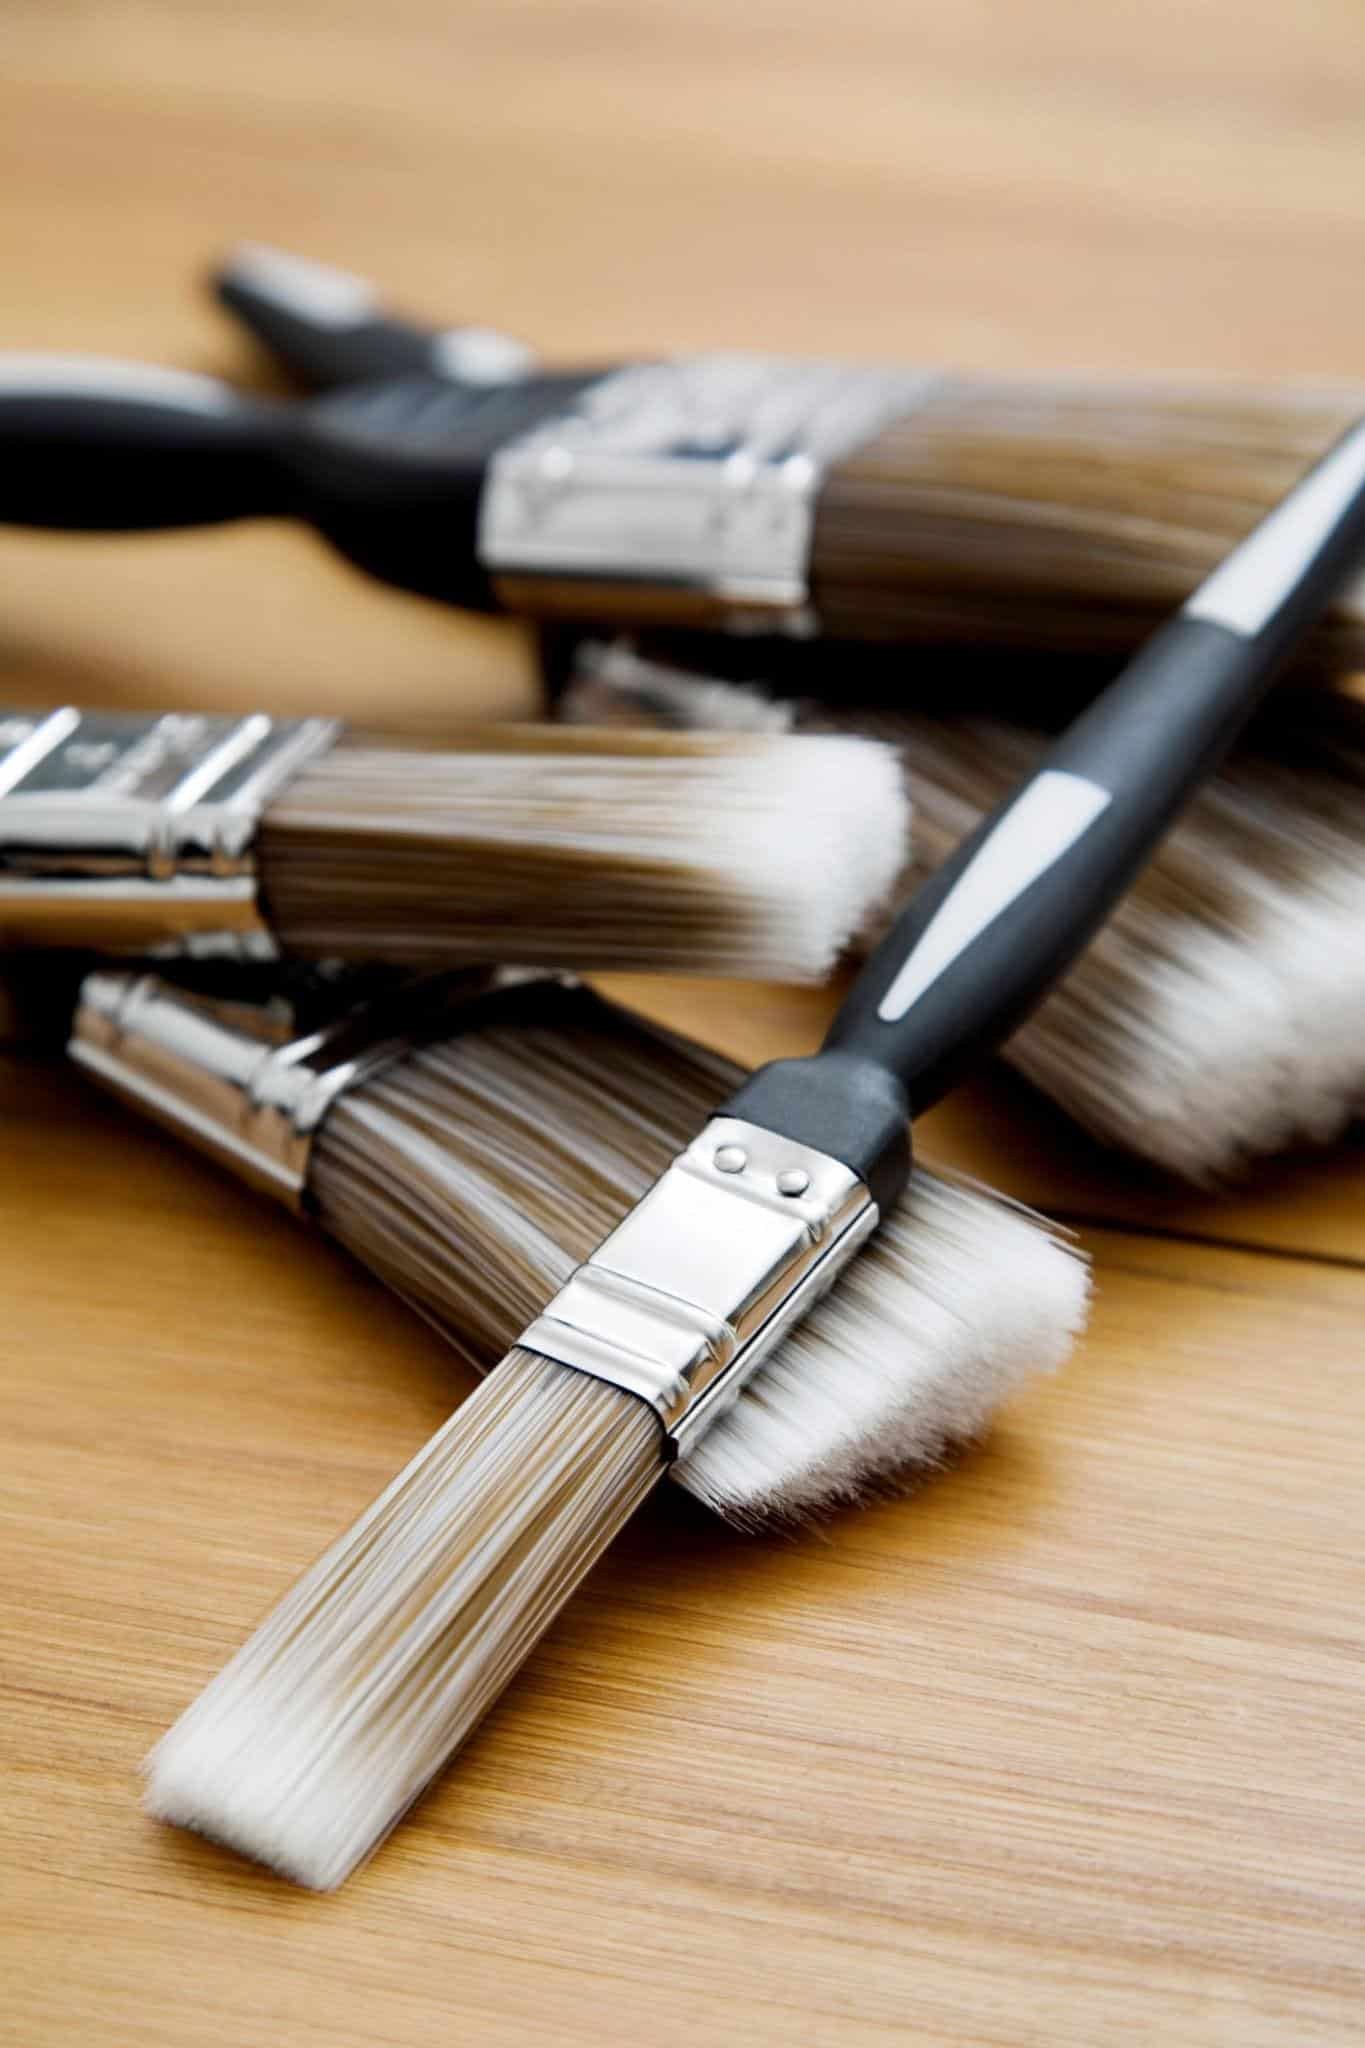
Don’t leave expensive brushes sitting overnight unless you enjoy buying replacements.
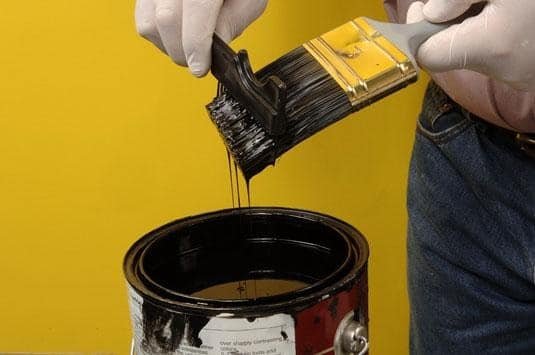
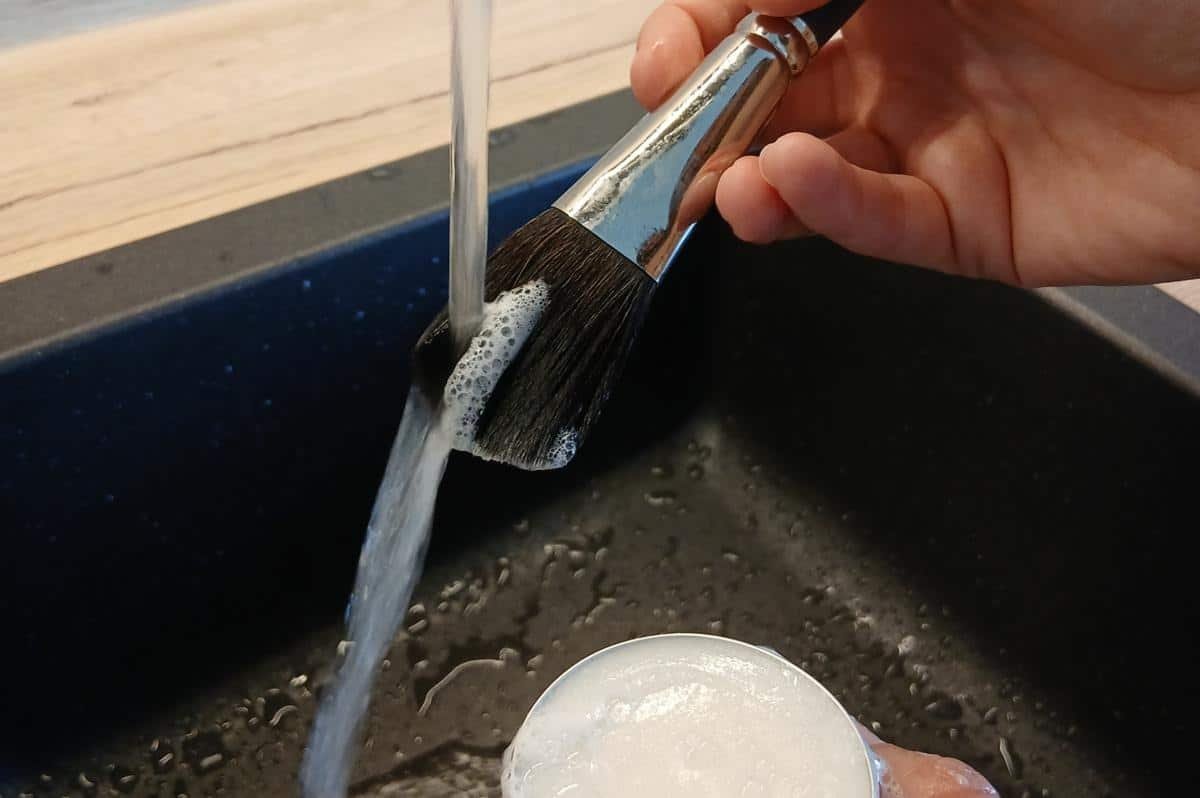
Swirl the brush gently inside a container of paint thinner until most of the paint dissolves. Wash afterward with warm water and soap to remove leftover solvent.
Cleaning Tips
- Use two containers if possible.
- Wipe excess paint first.
- Finish with dish soap.
- Hang brushes to dry.
Bonus Tip: Clean brushes immediately after use. Dried oil paint becomes much harder to remove.
Idea 3: Remove Fresh Paint Spills
Fresh spills respond much better than dried ones.
Apply a small amount of paint thinner to a clean cloth, then gently blot the paint stain. Avoid rubbing aggressively because you may spread the paint instead.
Helpful Tips
- Test on a hidden area first.
- Use white cloths.
- Blot instead of scrubbing.
- Replace dirty cloth sections often.
Bonus Tip: The faster you act, the easier cleanup becomes.
Idea 4: Prepare Paint for Spray Guns
Spray equipment needs thinner paint than brushes or rollers.
Check your spray gun manufacturer’s recommendations before mixing.
Best Practices
- Filter paint first.
- Mix thoroughly.
- Test spray patterns.
- Adjust gradually.
Bonus Tip: Properly thinned paint creates smoother finishes and reduces clogging.
Idea 5: Clean Metal Painting Tools
Putty knives, paint scrapers, mixing paddles, and metal trays collect dried paint quickly.
A small amount of paint thinner removes stubborn buildup with very little effort.
Tool Care Tips
- Soak tools briefly.
- Wipe with clean rags.
- Dry completely afterward.
- Store in a dry place.
Bonus Tip: Clean tools last much longer and perform better.
Idea 6: Remove Grease Before Painting
Paint sticks much better to clean surfaces.
Apply paint thinner to a lint-free cloth and wipe greasy metal before priming.
Surface Prep Tips
- Remove dust first.
- Wipe evenly.
- Allow complete evaporation.
- Prime immediately afterward.
Bonus Tip: Never skip surface preparation if you want professional-looking results.
Idea 7: Restore Thick Paint Carefully
Old oil paint often thickens during storage.
Instead of throwing it away immediately, try restoring it with small amounts of paint thinner.
Restoration Tips
- Stir thoroughly.
- Remove dried skin first.
- Add thinner slowly.
- Stop when paint flows smoothly.
Bonus Tip: If paint smells spoiled or contains large hardened chunks, replacement usually works better.
Idea 8: Dispose of Paint Thinner Responsibly
Used paint thinner still contains chemicals.
Never pour it down drains or onto the ground.
Disposal Tips
- Store in sealed containers.
- Label containers clearly.
- Let paint solids settle.
- Follow local hazardous waste rules.
Bonus Tip: Many municipalities accept leftover solvents during hazardous household waste collection events.
Common Mistakes to Avoid
Even experienced DIYers occasionally make mistakes.
Here are the biggest ones:
- Adding too much thinner at once
- Using paint thinner with latex paint
- Working without ventilation
- Skipping gloves
- Leaving containers open
- Using plastic containers that react with solvents
- Ignoring manufacturer recommendations
IMO, the “more is better” approach almost never works with paint thinner.
Paint Thinner vs Mineral Spirits
People often confuse these products.
| Paint Thinner | Mineral Spirits |
| Stronger odor | Milder smell |
| Lower cost | Slightly more expensive |
| Good for cleaning | Excellent for cleaning |
| Effective for thinning | Often preferred for fine finishes |
For detailed woodworking or furniture projects, I usually prefer mineral spirits because the odor feels less overwhelming.
Frequently Asked Questions
Can I apply paint thinner directly to paint?
Yes, but only with oil-based paint. Add it gradually while stirring.
Can paint thinner damage surfaces?
Yes.
It may damage:
- Plastic
- Rubber
- Finished wood
- Some fabrics
- Certain flooring materials
Always test first.
Can I reuse paint thinner?
Absolutely.
Let paint particles settle overnight.
Pour the clear liquid into another clean container while leaving sediment behind.
How long should paint thinner evaporate?
Most applications evaporate within several minutes, although humidity and temperature affect drying time.
Does paint thinner remove dried paint?
Sometimes.
Fresh paint removes much more easily.
Very old paint may require stronger removers or scraping.
Extra Tips for Better Results
Want smoother finishes every time?
Try these habits:
- Stir paint thoroughly before thinning.
- Measure thinner instead of guessing.
- Keep containers closed.
- Label mixed paint.
- Store solvents safely.
- Replace dirty thinner regularly.
- Use clean mixing sticks.
These small habits make a surprisingly big difference.
Final Thoughts
Learning how to apply paint thinner doesn’t require years of experience. You simply need patience, the right safety gear, and a little restraint when mixing. Small adjustments almost always produce better results than dramatic ones.
Remember the essentials:
- Use paint thinner only with oil-based products.
- Work in a well-ventilated area.
- Wear protective gloves and eye protection.
- Add thinner gradually while stirring.
- Dispose of used thinner responsibly.
Once you practice these techniques a few times, using paint thinner becomes just another easy part of your DIY routine. And trust me, your brushes, your paint finish, and probably your wallet will thank you for it.