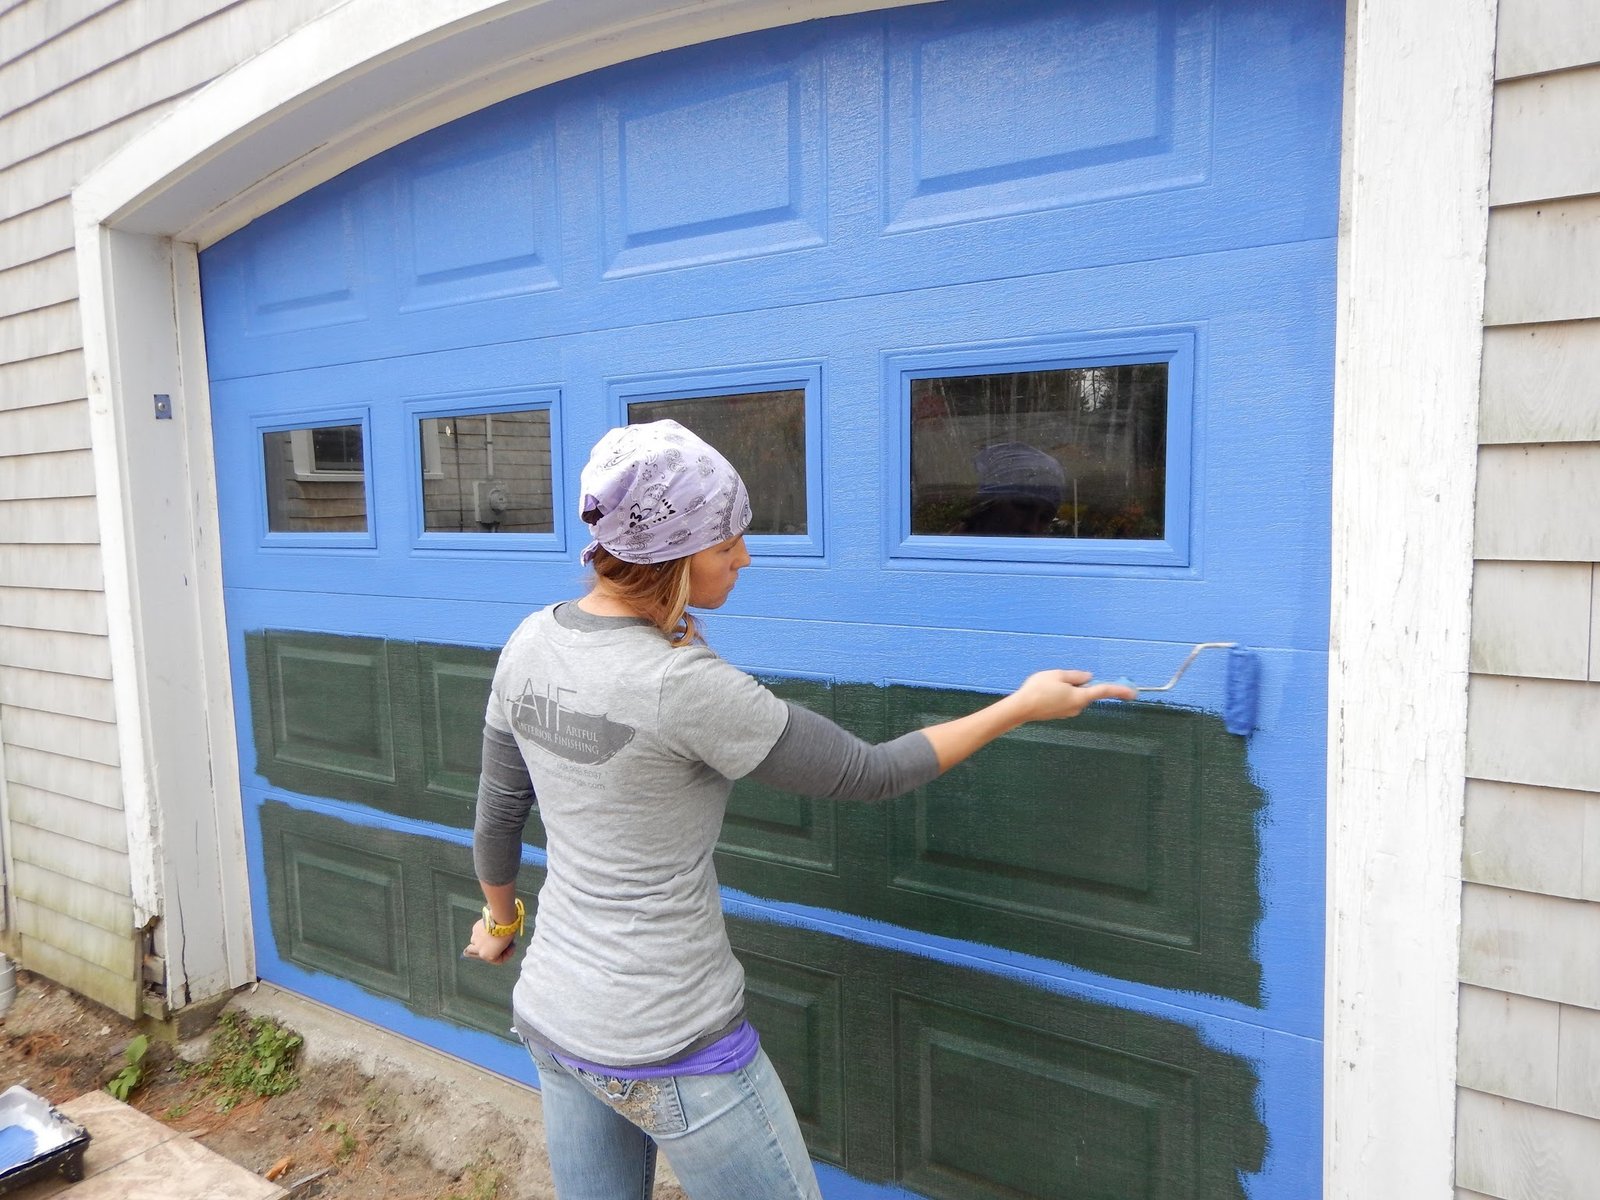
How to Paint Wood Garage Doors: A Complete DIY Guide for a Beautiful, Long-Lasting Finish
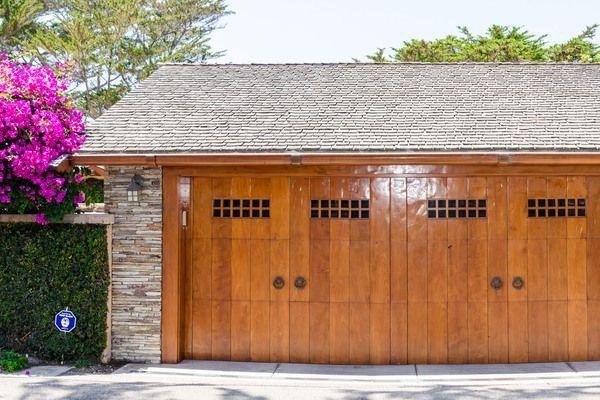
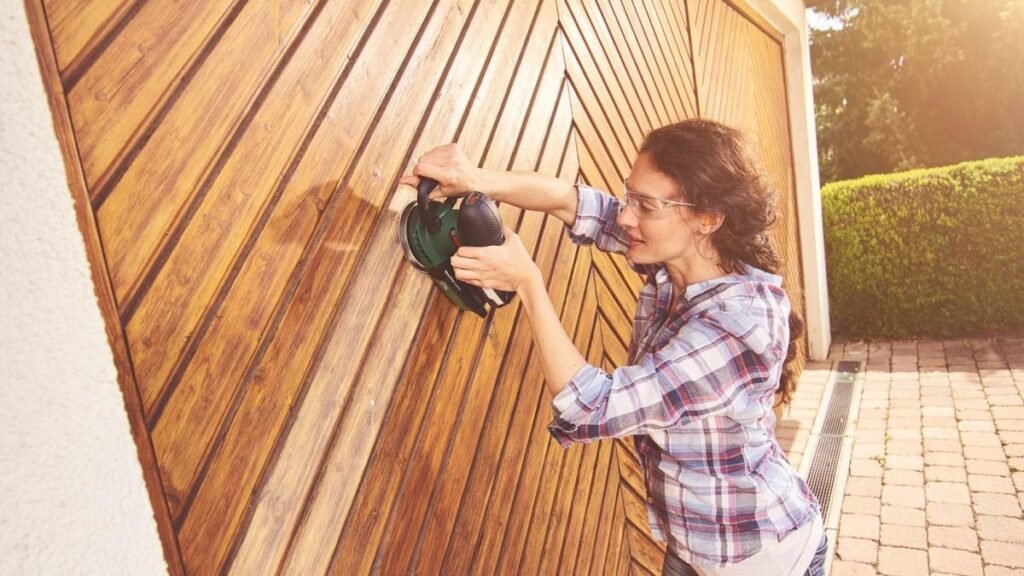
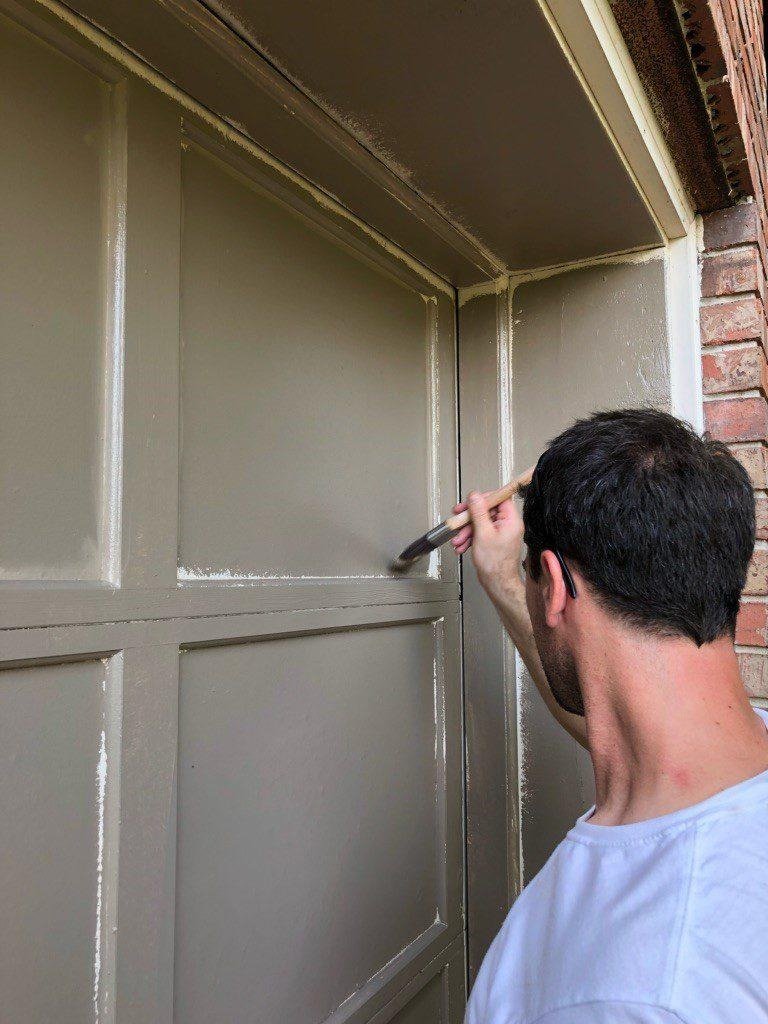
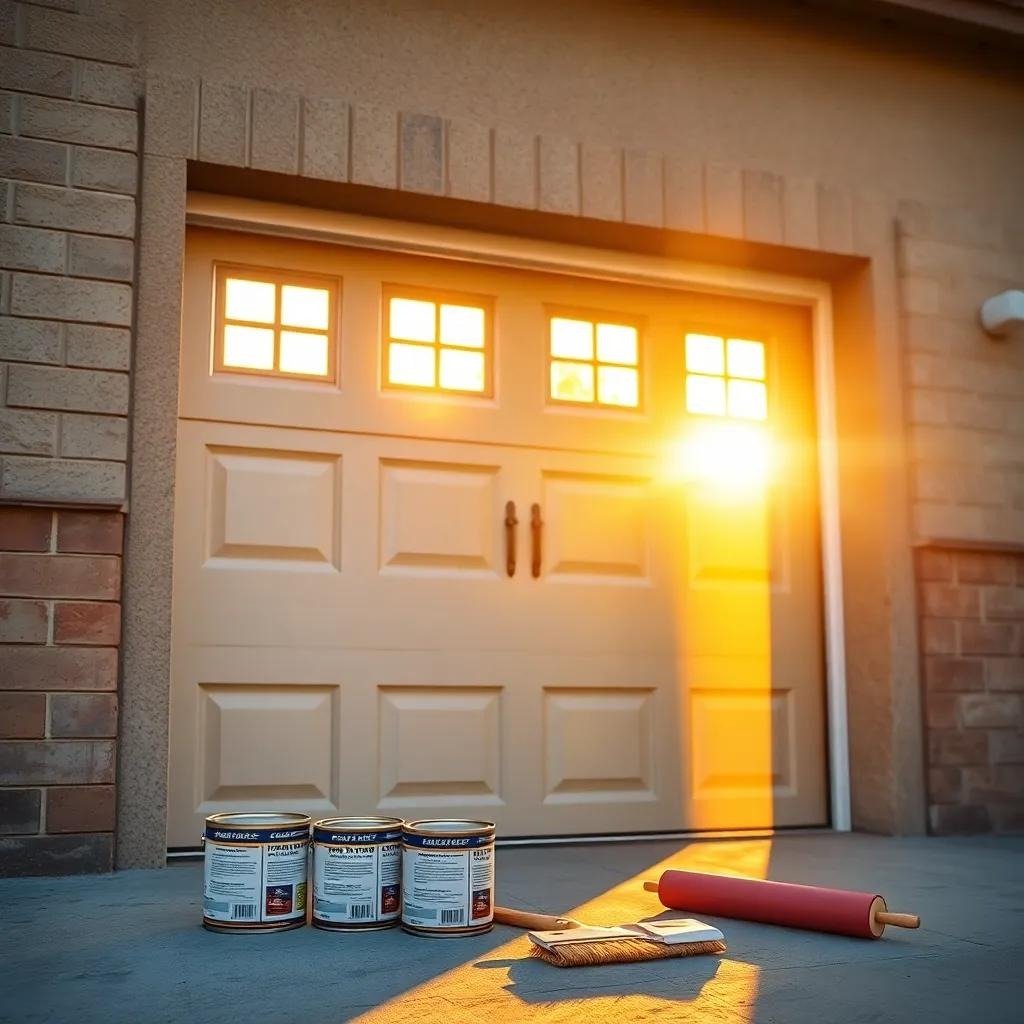
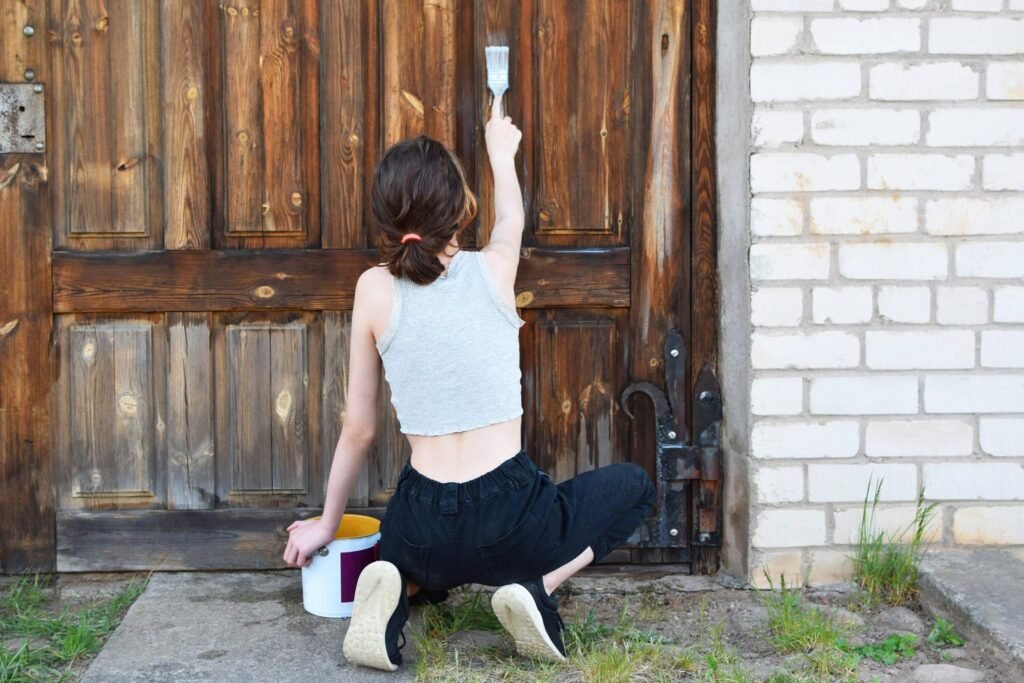
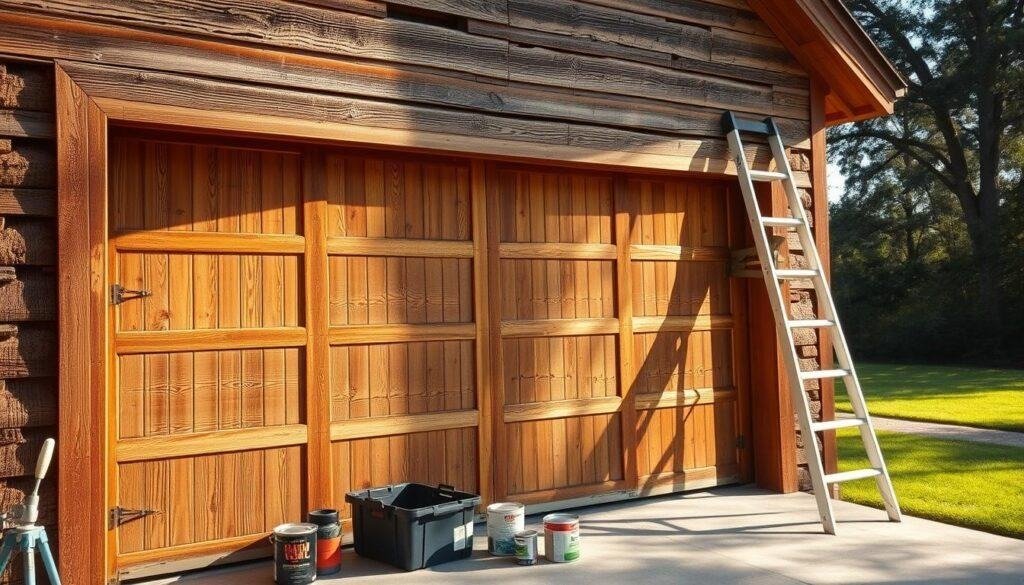
Painting a wood garage door might sound like one of those “I’ll do it next weekend” projects that somehow keeps getting postponed. Trust me, I’ve been there. Then one day you notice the peeling paint, faded color, and tiny cracks staring back at you every time you pull into the driveway. Suddenly, the garage door becomes impossible to ignore.
The good news? Painting a wood garage door isn’t difficult when you follow the right steps. A little preparation, the right products, and some patience can completely transform your home’s curb appeal without spending thousands on a replacement.
I’ve painted several wooden exterior projects over the years, and one lesson sticks with me every time: preparation always beats rushing. Spend extra time getting the surface ready, and the paint rewards you with a finish that lasts for years instead of months.
So, grab your paintbrush, put on your favorite playlist, and let’s give that garage door the makeover it deserves. Who doesn’t love a DIY project that actually makes the whole house look more expensive?
Table of Contents
Why Should You Paint a Wood Garage Door?
Many homeowners think paint only improves appearance. It definitely does that, but it also works as a protective shield.
A quality exterior paint protects the wood from:
- Rain and moisture damage
- Harsh UV rays
- Temperature changes
- Wood rot
- Cracking and splitting
- Mold and mildew growth
Without proper protection, even premium wood begins to show its age surprisingly fast.
FYI: A freshly painted garage door can instantly boost curb appeal without requiring a complete home renovation. That’s probably one of the best return-on-investment DIY projects you can tackle.
Gather Everything Before You Begin
Nothing kills DIY momentum faster than stopping halfway through because you forgot painter’s tape.
Here’s everything you’ll want nearby.
Essential Tools
- Paint brushes (angled brush works wonderfully)
- Paint roller with smooth nap
- Paint tray
- Extension pole
- Sandpaper (80, 120, and 220 grit)
- Electric sander (optional but helpful)
- Scraper
- Putty knife
- Wood filler
- Caulking gun
- Painter’s tape
- Drop cloths
- Ladder
- Safety glasses
- Dust mask
- Gloves
Materials
- Exterior wood primer
- High-quality exterior paint
- Exterior wood caulk
- Mild detergent
- Bucket
- Sponge
- Clean microfiber cloths
Bold tip: Buying quality paint costs less than repainting every couple of years.
Choosing the Best Paint for Wood Garage Doors
Not every paint belongs outdoors.
Exterior conditions constantly expose your garage door to sunshine, rain, humidity, dust, and freezing temperatures. Interior paint simply can’t handle those conditions.
Acrylic Latex Paint
This remains my favorite choice.
Why?
- Easy cleanup
- Excellent flexibility
- Resists cracking
- Dries quickly
- Handles temperature swings well
- Low odor
Most homeowners achieve excellent results with premium acrylic latex exterior paint.
Oil-Based Paint
Oil paint still offers impressive durability.
However, it also comes with:
- Longer drying time
- Strong odor
- More difficult cleanup
- Higher VOC levels
Unless you’re restoring an older home that already uses oil-based coatings, I usually recommend modern acrylic products.
Pick the Right Finish
The finish affects both appearance and maintenance.
Satin
Many professionals recommend satin because it provides:
- Soft sheen
- Easy cleaning
- Good durability
- Attractive appearance
Semi-Gloss
Semi-gloss offers:
- Better moisture resistance
- Easier washing
- More noticeable shine
Matte
Matte hides imperfections nicely.
Unfortunately, it also attracts dirt more easily and requires more maintenance.
IMO, satin hits the sweet spot for most wooden garage doors.
Inspect the Garage Door Carefully
Before opening the paint can, spend a few minutes inspecting the entire surface.
Ask yourself:
- Are there cracks?
- Is paint peeling?
- Does the wood feel soft anywhere?
- Are nails sticking out?
- Is mildew present?
Finding these issues now saves major headaches later.
Look closely around:
- Bottom edges
- Window trim
- Decorative panels
- Corners
- Hinges
- Weather stripping
Water usually attacks these spots first.
Repair Damage Before Painting
Fresh paint cannot hide damaged wood.
Instead, repair everything first.
Fill Small Holes
Use an exterior wood filler.
Allow it to dry completely before sanding.
Replace Rotten Sections
If wood has started crumbling or feels soft, replace that section instead of painting over it.
Paint cannot stop active rot.
Caulk Small Gaps
Exterior-grade caulk seals tiny openings where water loves to sneak inside.
Avoid sealing moving joints that require flexibility.
Clean the Surface Thoroughly
Ever wondered why fresh paint sometimes peels after only a few months?
Dirt.
Dust.
Grease.
Old mildew.
Paint sticks to clean wood—not grime.
Mix warm water with mild detergent and scrub every section.
Pay extra attention to:
- Fingerprints around handles
- Spider webs
- Tree sap
- Bird droppings
- Road dust
- Greasy buildup
Rinse everything thoroughly afterward.
Let the door dry completely before moving forward.
Sand the Entire Surface
This step feels boring.
I know.
It also makes the biggest difference.
Sanding removes:
- Loose paint
- Small imperfections
- Rough fibers
- Glossy surfaces
- Minor scratches
It also creates tiny grooves that help primer grip the wood.
Sanding Steps
- Start with 80-grit paper on rough areas.
- Move to 120-grit across the entire door.
- Finish with 220-grit for a smooth surface.
Always sand with the wood grain.
Going against the grain creates visible scratches that paint won’t magically hide. If only paint worked like Photoshop…but sadly, it doesn’t.
Remove Every Bit of Dust
After sanding, don’t rush to the primer.
Dust ruins beautiful paint jobs.
Use:
- Vacuum with brush attachment
- Tack cloth
- Damp microfiber cloth
Run your hand across the surface.
If you still feel dust, clean it again.
Remember: The cleaner the surface, the smoother the final finish.
Should You Remove Old Paint Completely?
Not always.
If the old paint remains firmly attached, simply sand it until smooth.
However, completely remove paint when you notice:
- Large peeling areas
- Bubbling
- Flaking
- Water damage
- Multiple thick paint layers
A paint scraper combined with sanding usually handles most situations.
Prime Before Painting
Primer often feels like the “boring middle step.”
Ironically, it determines whether your finish lasts two years or ten.
A quality exterior primer:
- Improves adhesion
- Blocks stains
- Seals porous wood
- Creates even color
- Helps paint cover better
Bare wood always benefits from primer.
Previously painted surfaces may also need fresh primer if you’ve sanded through to raw wood in several places.
How to Paint a Wood Garage Door Step by Step
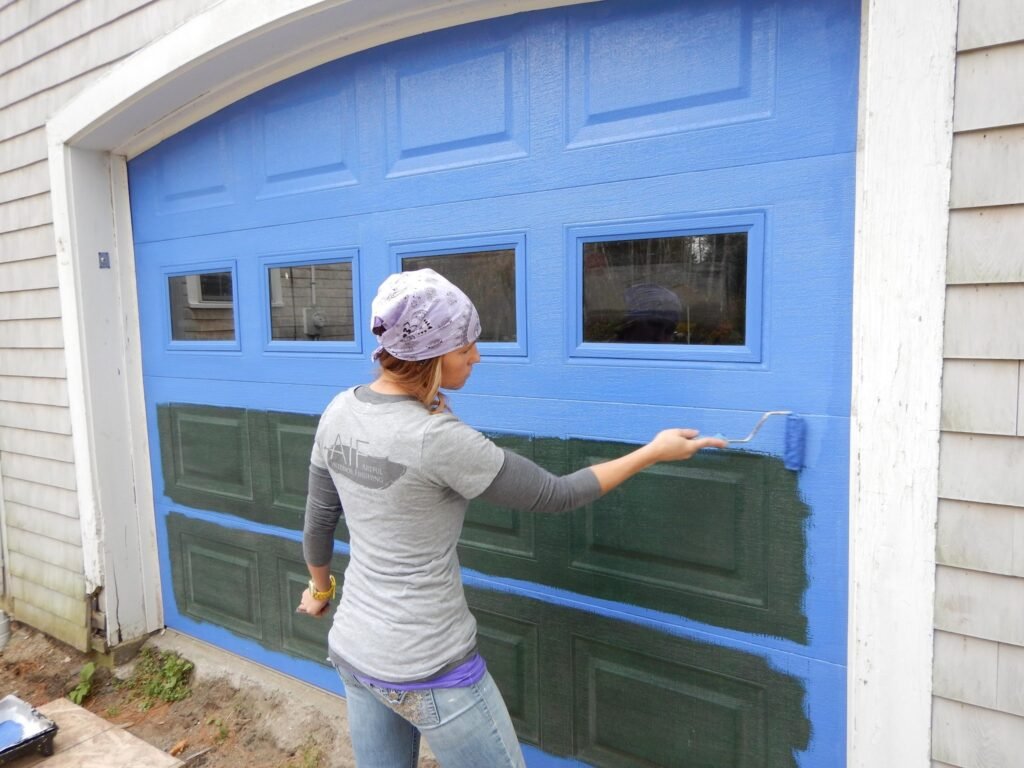
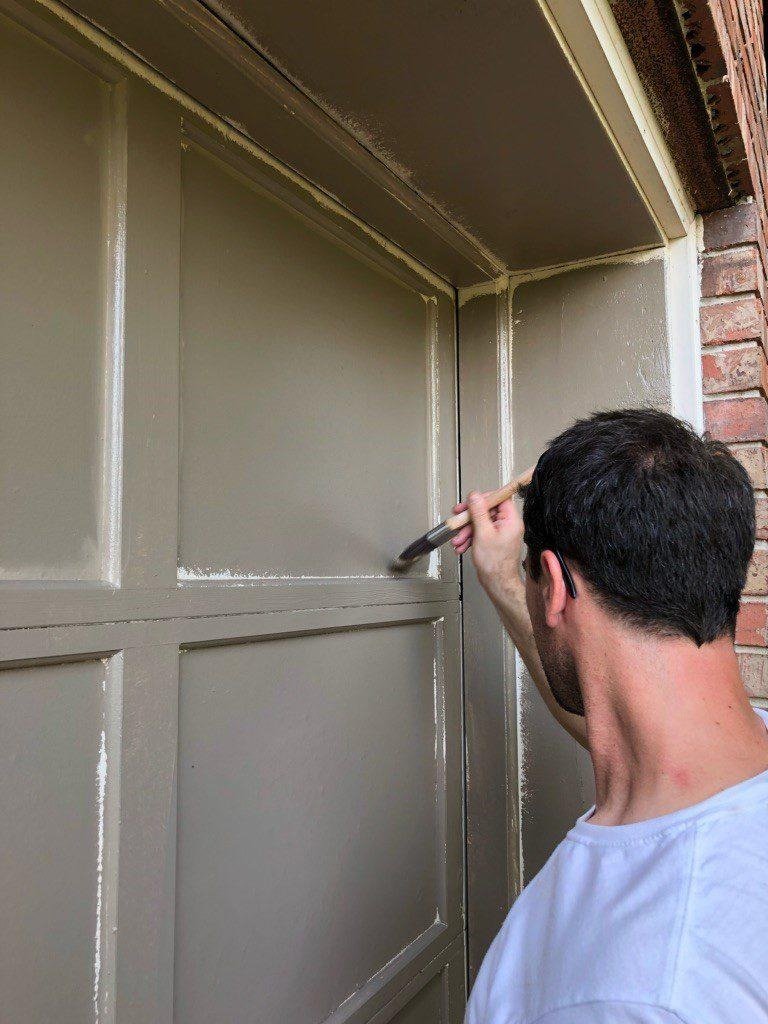
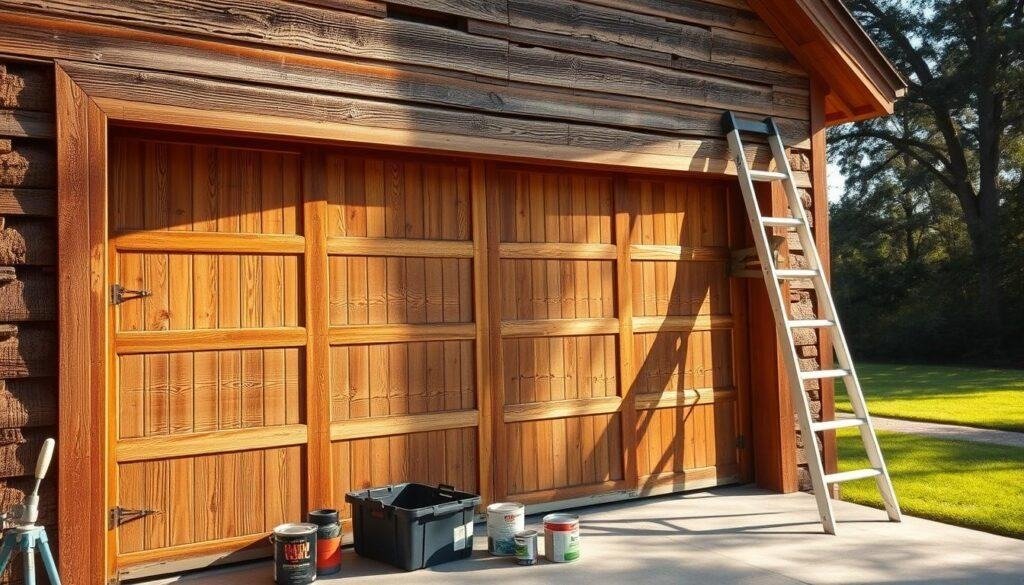
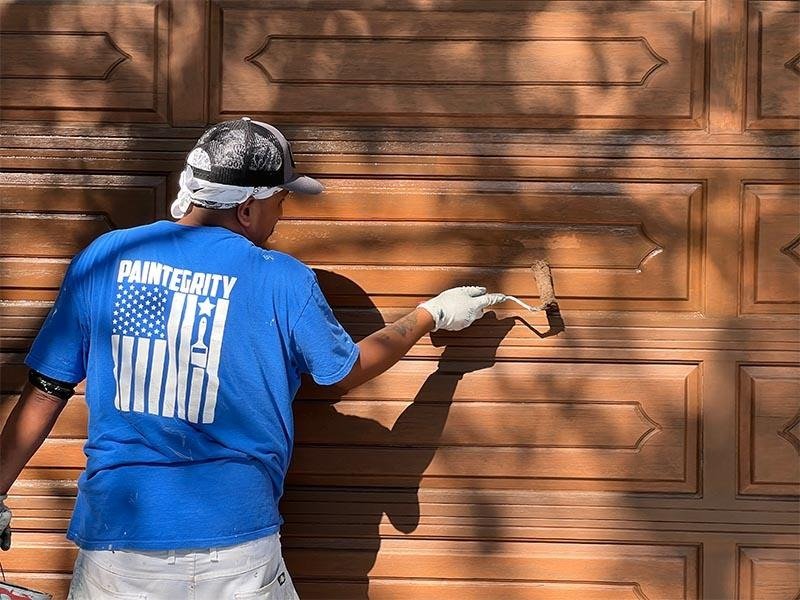
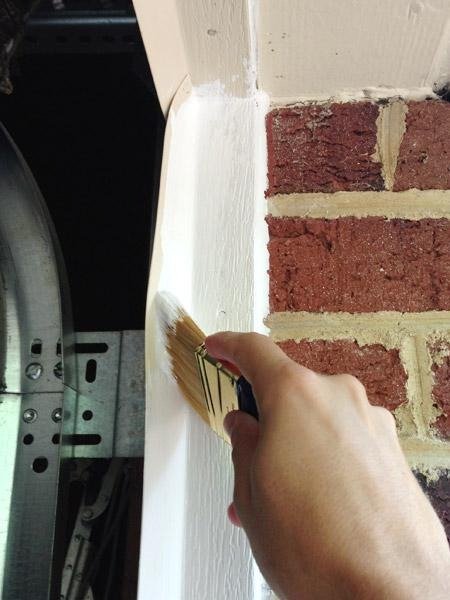
Now comes the fun part. Your garage door sits clean, smooth, repaired, and primed. This stage rewards all the preparation you completed earlier.
Don’t rush, though. Applying paint carefully always produces a smoother, longer-lasting finish than trying to finish the project in record time. Ever wondered why professional painters make it look so effortless? They simply take their time and follow a logical order.
Choose the Right Weather Before Painting
Mother Nature doesn’t always cooperate, so timing matters.
The ideal painting conditions include:
- Temperature between 50°F and 85°F (10°C–29°C)
- Low humidity
- No rain expected for at least 24 hours
- Light breeze
- No direct, intense afternoon sunlight
Avoid painting on extremely hot days because the paint dries too quickly. Fast drying might sound great, but it often leaves brush marks and uneven coverage.
Likewise, avoid rainy or humid weather because moisture slows drying and can ruin the finish.
Pro Tip: Start early in the morning or later in the afternoon when the garage door stays out of direct sunlight.
Brush, Roller, or Paint Sprayer?
Each method works well, but each has strengths.
Paint Brush
A quality angled brush offers excellent control.
Use it for:
- Corners
- Trim
- Decorative grooves
- Window frames
- Raised panels
Pros
- Excellent precision
- Minimal overspray
- Great for detailed work
Cons
- Takes longer
- Can leave brush marks if overloaded
Paint Roller
A foam or smooth-nap roller speeds up larger areas.
Use it on:
- Flat panels
- Wide rails
- Large center sections
Pros
- Faster coverage
- Smooth finish
- Easy for beginners
Cons
- Doesn’t reach narrow details
Paint Sprayer
Many professionals prefer sprayers because they create an ultra-smooth finish.
However, sprayers require careful masking.
Pros
- Fast application
- Factory-like finish
- Excellent coverage
Cons
- More cleanup
- Paint overspray
- Higher equipment cost
Personally, I love using a brush for details and a roller for large panels. That combination delivers beautiful results without making the project overly complicated.
Start From the Top
Gravity always wins.
Paint naturally drips downward, so begin at the top and gradually work toward the bottom.
This approach lets you smooth any drips before they dry.
A simple painting order looks like this:
- Top trim
- Decorative panels
- Horizontal rails
- Vertical stiles
- Large flat sections
- Bottom edge
Working in this order keeps the finish neat and consistent.
Paint One Section at a Time
Instead of covering the entire door randomly, focus on one panel before moving to the next.
This technique helps maintain a wet edge, which reduces visible lap marks.
For raised-panel garage doors:
- Paint inside edges first.
- Paint the recessed panel.
- Paint surrounding rails.
- Finish the outer frame.
Repeat this process until every section is complete.
Apply Thin, Even Coats
Many DIY painters think thicker paint creates a better finish.
It doesn’t.
Thick coats usually create:
- Runs
- Drips
- Wrinkles
- Longer drying times
Instead, apply two or three thin coats.
Thin coats dry more evenly, bond better, and produce a cleaner appearance.
Watch for Paint Runs
Take a step back every few minutes.
Look across the surface from different angles.
Fresh paint sometimes hides drips until sunlight hits it.
If you notice a run:
- Lightly brush upward.
- Feather the edges.
- Blend it immediately.
Fixing wet paint takes seconds.
Fixing dried runs usually requires sanding and repainting.
Let the First Coat Dry Completely
Patience feels difficult here.
I completely understand.
You finally see color covering the wood, and you want to finish everything immediately.
Resist the temptation.
Most exterior acrylic paints need:
- 2–4 hours before recoating
- 24 hours before light use
- Several days to fully cure
Always check the manufacturer’s drying recommendations because products vary.
Bonus Tip: Dry to the touch doesn’t mean fully cured. Give the paint enough time before exposing it to heavy use.
Apply the Second Coat
The second coat transforms the finish.
It:
- Deepens the color
- Improves durability
- Hides minor streaks
- Creates even coverage
- Enhances weather protection
Apply it exactly like the first coat.
Don’t rush simply because the surface already looks good.
Should You Add a Third Coat?
Sometimes.
Consider a third coat if:
- You changed from dark to light paint.
- The wood absorbs paint unevenly.
- You notice visible streaks.
- Bright sunlight exposes thin spots.
Most garage doors look fantastic after two quality coats.
Avoid These Common Painting Mistakes
Even experienced DIYers make mistakes from time to time.
Fortunately, they’re easy to avoid.
1. Skipping Surface Preparation
Paint cannot compensate for dirt or loose paint.
Always clean, sand, and repair first.
2. Painting Over Damp Wood
Moisture becomes trapped beneath the paint.
That often leads to bubbling and peeling.
3. Using Cheap Paint
Budget paint usually requires extra coats and often fades sooner.
Buying quality paint saves money in the long run.
4. Ignoring the Weather Forecast
Painting before rain arrives rarely ends well.
Always check the forecast before opening the paint can.
5. Overloading the Brush
Too much paint creates:
- Drips
- Uneven texture
- Thick edges
Dip only about one-third of the brush into the paint.
6. Forgetting the Door Edges
Many people paint only the front surface.
The edges also need protection because moisture reaches them first.
How Long Does a Painted Wood Garage Door Last?
A properly painted wood garage door often stays beautiful for 5–10 years.
Its lifespan depends on:
- Local climate
- Sun exposure
- Paint quality
- Surface preparation
- Routine maintenance
Homes facing strong afternoon sunlight usually need repainting sooner than shaded homes.
Maintain Your Newly Painted Garage Door
A little maintenance prevents major repairs later.
Every few months:
- Wash away dirt with mild soap and water.
- Remove leaves and debris near the bottom.
- Check for small cracks.
- Inspect caulk around trim.
- Touch up chips before moisture reaches bare wood.
These simple habits help preserve the finish for years.
Seasonal Maintenance Checklist
Spring
- Wash the entire door.
- Inspect for winter damage.
- Lubricate hinges and hardware.
Summer
- Look for fading.
- Clean pollen and dust.
- Check for expanding cracks.
Fall
- Remove leaves from the base.
- Inspect weather stripping.
- Seal small gaps.
Winter
- Avoid scraping ice with metal tools.
- Brush away snow gently.
- Keep moisture from sitting against the wood.
Pro Tip: A quick inspection every season can prevent expensive repairs later.
Can You Paint Hardware Too?
Yes, but choose the right product.
Handles, hinges, and decorative hardware often require metal primer and metal-specific paint.
If the hardware still looks attractive, you can also remove it before painting the wood and reinstall it afterward for a cleaner finish.
Painting over rusty hardware rarely improves its appearance, so clean or replace damaged pieces first.
Choosing the Best Color for a Wood Garage Door
Color influences more than curb appeal. It also affects how often you’ll notice dirt, fading, and wear.
Popular choices include:
- Classic white – Bright, timeless, and clean.
- Charcoal gray – Modern and elegant.
- Black – Bold and sophisticated.
- Warm brown – Highlights natural wood surroundings.
- Soft beige – Blends beautifully with traditional homes.
- Forest green – Complements brick and stone exteriors.
- Navy blue – Adds personality without overwhelming the façade.
When choosing a color, consider your home’s siding, trim, roof, and front door. A coordinated palette always looks intentional and polished.
Frequently Asked Questions About Painting Wood Garage Doors
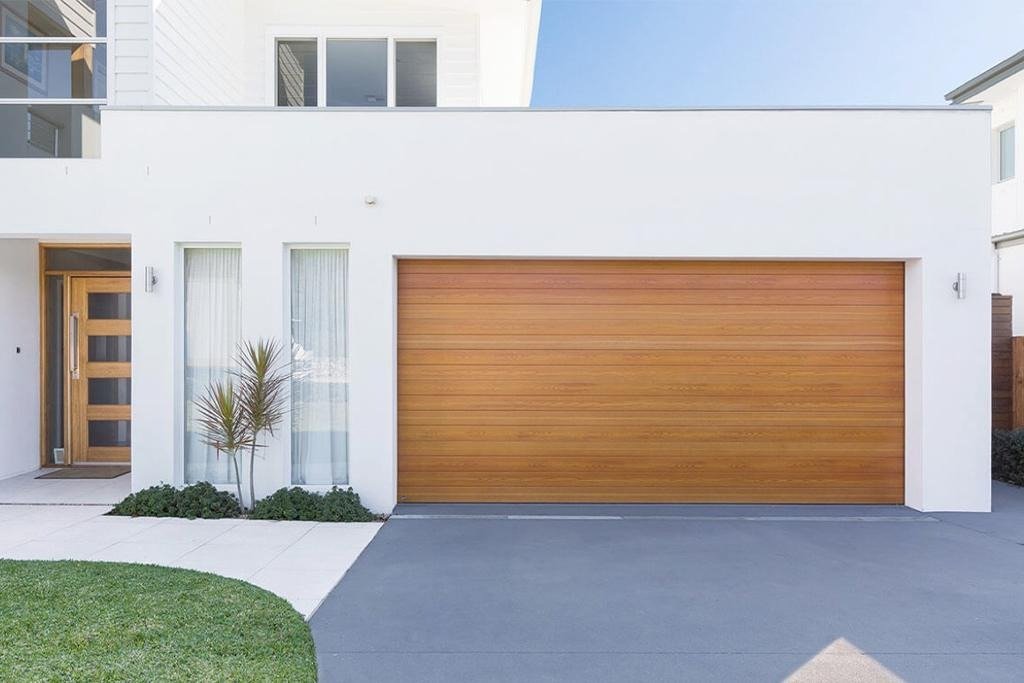
Even after you’ve finished painting, a few questions usually pop up. That’s completely normal. Here are the answers to the questions homeowners ask most often.
Can I Paint a Garage Door Without Sanding?
Technically, yes—but I wouldn’t recommend it.
Sanding helps the primer and paint grip the surface properly. If you skip this step, the finish may peel, chip, or wear out much sooner.
If your garage door already has glossy paint, light sanding becomes even more important because shiny surfaces don’t provide much grip for fresh paint.
Should I Remove the Garage Door Before Painting?
No.
Most homeowners paint the garage door while it’s installed.
Simply leave the door closed, protect the driveway with drop cloths, and mask nearby trim, windows, and hardware with painter’s tape.
If you use a paint sprayer, spend extra time covering surrounding walls, landscaping, and vehicles to prevent overspray.
How Often Should I Repaint a Wood Garage Door?
That depends on your climate and the amount of sun your home receives.
As a general guideline:
- Full sun: Every 4–6 years
- Partial shade: Every 5–8 years
- Mostly shaded: Every 7–10 years
Instead of waiting for major peeling, inspect your garage door once a year. Small touch-ups take far less time than a complete repaint.
Can I Paint Over Stained Wood?
Yes, but you’ll need the right preparation.
Follow these steps:
- Clean the surface thoroughly.
- Sand the stain lightly.
- Apply a high-quality stain-blocking primer.
- Let the primer dry completely.
- Apply two coats of exterior paint.
Skipping the primer often allows the stain to bleed through the new paint.
What’s the Best Time of Year to Paint?
Spring and early fall usually provide the best weather.
These seasons often offer:
- Moderate temperatures
- Lower humidity
- Less intense sunlight
- Better drying conditions
Summer can also work well if you avoid the hottest part of the day.
How Long Should I Wait Before Opening the Garage Door?
Most exterior paints dry to the touch within a few hours, but that doesn’t mean they’re ready for regular use.
A safe guideline is:
- Light handling: After 24 hours
- Normal use: After 24–48 hours
- Full curing: Up to 30 days, depending on the product
Always follow the drying and curing times listed on your paint can.
Troubleshooting Common Paint Problems
Even with careful preparation, small issues can happen. The good news? Most of them have simple solutions.
Paint Is Peeling
Possible causes:
- Dirty surface
- No primer
- Moisture trapped underneath
- Poor-quality paint
Solution:
Scrape away loose paint, sand the area smooth, apply primer, and repaint.
Brush Marks Are Visible
Possible causes:
- Low-quality brush
- Thick paint
- Overworking the paint
Solution:
Use a premium synthetic brush, apply thinner coats, and avoid brushing over paint that’s already starting to dry.
Paint Is Bubbling
Possible causes:
- Painting in direct sunlight
- Damp wood
- Excessive humidity
Solution:
Allow the surface to dry completely, sand the damaged area, prime if necessary, and repaint under better weather conditions.
Uneven Color
Possible causes:
- One coat only
- Uneven primer
- Inconsistent paint application
Solution:
Apply another even coat using the same painting technique across the entire door.
Expert Tips for a Professional-Looking Finish
After several painting projects, I’ve picked up a few habits that make a noticeable difference.
Use High-Quality Tools
Cheap brushes often shed bristles and leave streaks.
A good brush and roller may cost a little more, but they create a smoother finish and last through multiple projects.
Stir Paint Thoroughly
Never assume the paint is ready after opening the can.
Stir it slowly for several minutes so the pigments mix evenly.
Work Methodically
Avoid jumping from one area to another.
Finish one section before moving on to the next. This helps maintain a wet edge and creates a more uniform appearance.
Keep a Damp Cloth Nearby
Small drips happen to everyone.
Wiping them away immediately saves you from sanding later.
Don’t Rush the Drying Time
This might be the hardest tip to follow, but it’s also one of the most important.
Paint continues to harden long after it feels dry. Giving it enough time helps prevent fingerprints, sticking, and surface damage.
Simple Maintenance Checklist
Once your garage door looks brand new, a little routine care will keep it that way.
Every 3–6 months:
- ✔ Wash the surface with mild soap and water.
- ✔ Remove dirt, pollen, and cobwebs.
- ✔ Check for chipped paint.
- ✔ Inspect caulk around trim.
- ✔ Tighten loose hardware.
- ✔ Touch up small scratches promptly.
These quick tasks only take a few minutes but can add years to the life of your paint job.
Quick Do’s and Don’ts
✅ Do
- Choose premium exterior paint.
- Prime bare wood.
- Paint during mild weather.
- Apply thin, even coats.
- Clean the door regularly.
- Repair small chips as soon as you notice them.
❌ Don’t
- Paint over dirt or mildew.
- Skip sanding.
- Ignore weather forecasts.
- Apply thick coats.
- Rush between coats.
- Forget the edges and trim.
Final Thoughts
Painting a wood garage door takes time, but it rewards you with one of the biggest curb appeal upgrades you can achieve on a reasonable budget.
The secret isn’t expensive tools or professional experience. The real secret lies in careful preparation, quality materials, and patience. Clean thoroughly, repair damaged areas, sand properly, apply a quality primer, and finish with two thin coats of premium exterior paint. Those simple steps create results that look polished and stand up to years of changing weather.
I’ve always found this project surprisingly satisfying. Watching an old, faded garage door transform into a fresh, vibrant focal point makes every minute of prep work worthwhile. Plus, every time you pull into your driveway, you’ll get a little reminder that your effort paid off.
So, the next time you glance at your weathered garage door and think, “Maybe next weekend,” make that weekend count. Grab your supplies, take your time, and enjoy the process. Your home—and your future self—will thank you for it.
Key Takeaways
- Clean, repair, and sand the wood before painting.
- Use a high-quality exterior primer and acrylic latex paint.
- Apply two or three thin coats instead of one thick coat.
- Paint from the top down to reduce drips.
- Choose mild, dry weather for the best results.
- Inspect and clean the garage door every few months to extend the paint’s lifespan.
- Touch up small chips early to prevent moisture damage and costly repairs.
With the right preparation and a little patience, your freshly painted wood garage door can stay beautiful for many years while adding lasting value and charm to your home’s exterior.