How to Spray Paint Bathroom Fixtures: A Complete DIY Guide for a Stunning Bathroom Makeover
Tired of looking at outdated bathroom fixtures but not thrilled about spending hundreds of dollars on replacements? You’re definitely not alone. I faced the same problem when I remodeled my guest bathroom. The faucets, towel bars, and toilet paper holder still worked perfectly, but their shiny brass finish screamed “1995 called and wants its bathroom back.”
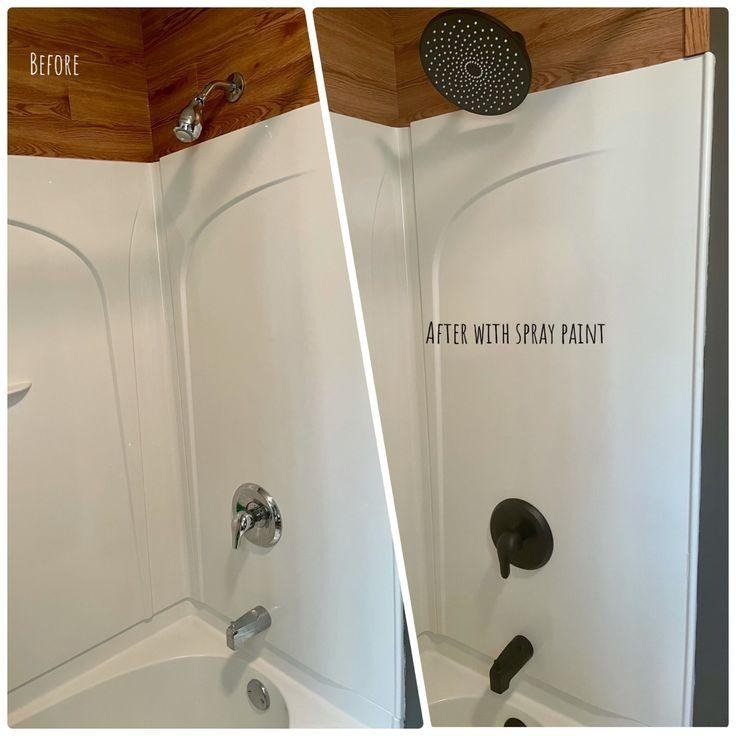
Instead of replacing everything, I grabbed a can of spray paint, followed the right preparation steps, and completely transformed the space. Honestly, I expected mediocre results. What I got instead looked surprisingly professional—and my wallet thanked me.
If you’ve ever wondered how to spray paint bathroom fixtures the right way, this guide walks you through every step. You’ll learn which paint works best, how to avoid peeling, and how to achieve a durable finish that actually lasts.
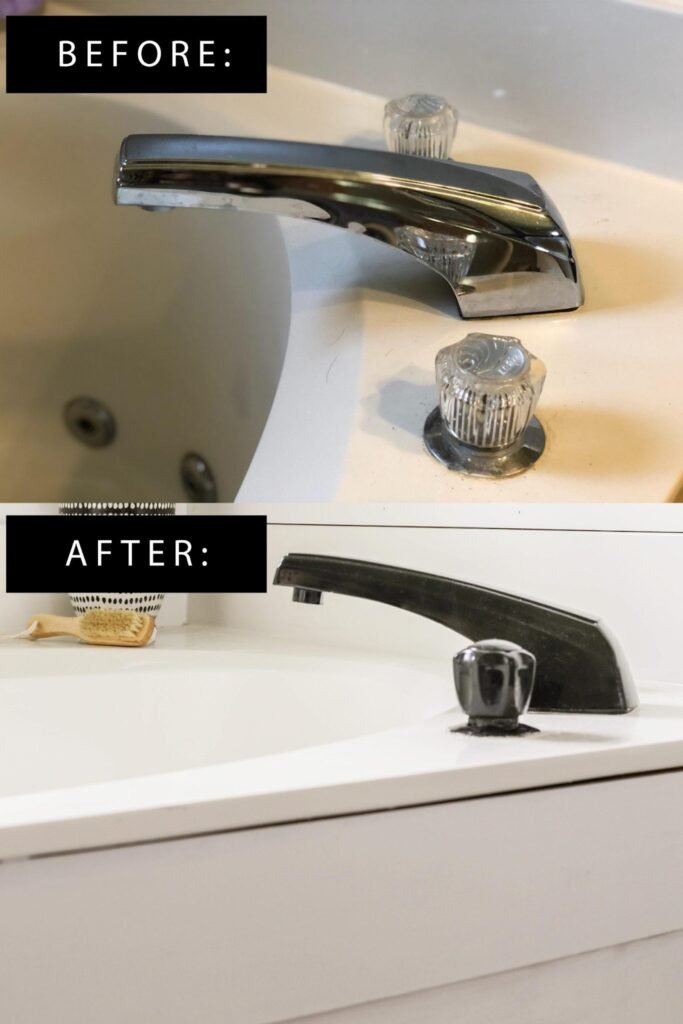
Table of Contents
Why Spray Paint Bathroom Fixtures?
Replacing bathroom hardware can cost anywhere from $200 to over $1,000, depending on the finish and quality.
Spray painting costs a fraction of that.
Besides saving money, it lets you customize almost any finish you want.
Benefits include:
- Affordable bathroom makeover
- Quick weekend DIY project
- No plumbing replacement required
- Huge variety of paint colors
- Modernizes outdated finishes
Ever look at your faucet and think, “You’re perfectly functional…you’re just ugly”? Yeah, same.
Can You Spray Paint Bathroom Fixtures?
Yes—but only if you prepare them correctly.
This isn’t one of those projects where you spray paint over dirt and hope for the best. That’s basically asking the paint to peel off next week.
Most fixtures that paint well include:
- Faucets
- Shower trim
- Towel bars
- Toilet paper holders
- Cabinet hardware
- Light fixture bases
- Mirror frames
Avoid painting:
- Inside faucet openings
- Drain assemblies
- Moving internal plumbing parts
Best Spray Paint for Bathroom Fixtures
Choosing the right paint makes all the difference.
I always recommend products designed for metal because they bond better and resist moisture.
Best Options
1. Rust-Oleum Universal Metallic Spray Paint
Great for:
- Chrome
- Stainless steel
- Aluminum
- Brass
Pros:
- Excellent adhesion
- Durable finish
- Beautiful metallic colors
2. Rust-Oleum Painter’s Touch 2X
Perfect for:
- Matte Black
- Satin White
- Satin Nickel look
Works especially well after using a bonding primer.
3. Krylon Fusion All-In-One
Excellent if you want:
- Fast drying
- Built-in primer
- Good chip resistance
4. Appliance Epoxy Spray Paint
This creates an incredibly tough finish.
It works well on bathroom fixtures because it’s designed for humid environments.
IMO, this paint lasts longer than standard spray paint.
Supplies You’ll Need
Before you start, gather everything.
Materials
- Spray paint
- Self-etching primer
- Painter’s tape
- Plastic sheeting
- Fine sandpaper (220–320 grit)
- Degreaser
- Rubbing alcohol
- Microfiber cloth
- Gloves
- Respirator mask
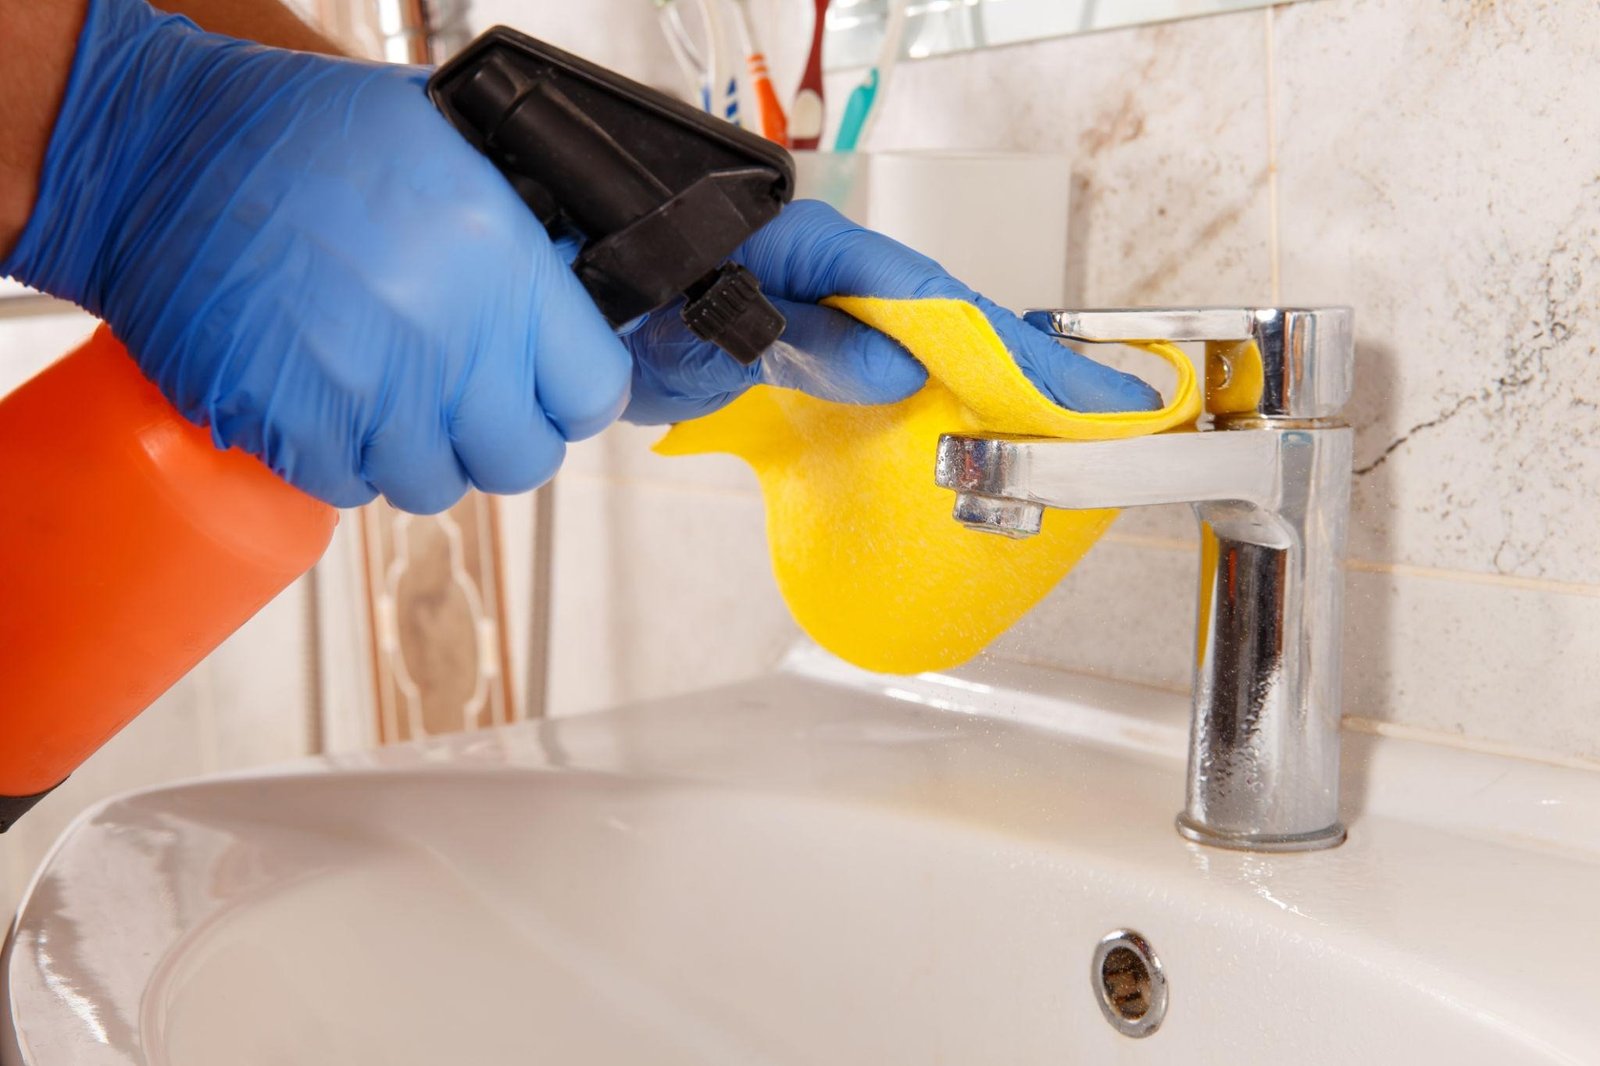
Step 1: Clean the Fixtures Thoroughly
This step matters more than people realize.
Bathroom fixtures collect:
- Soap residue
- Toothpaste
- Oils
- Hard water deposits
- Mineral buildup
Paint won’t stick to any of that.
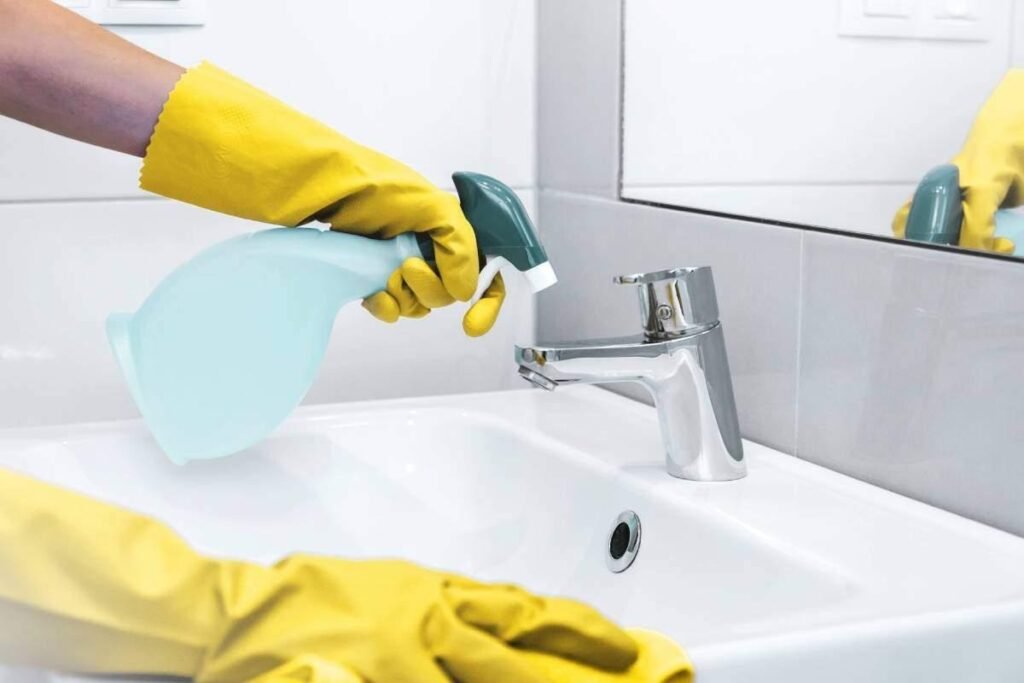
Wash the fixtures using:
- Dish soap
- Degreaser
- Warm water
Then wipe everything with rubbing alcohol.
The surface should feel squeaky clean.
Step 2: Lightly Sand the Surface
Many people skip sanding because the fixture already feels smooth. That shortcut usually leads to peeling paint. A lightly scuffed surface gives the primer something to grip, which helps the finish last much longer.
Use 220- to 320-grit sandpaper and gently sand the entire fixture. You don’t need to remove the original finish. Your goal is simply to dull the glossy surface.
After sanding:
- Wipe away all dust with a microfiber cloth.
- Clean the fixture again with rubbing alcohol.
- Let it dry completely before moving on.
Styling & Preparation Tips
- Use flexible sanding pads for curved faucets.
- Reach tight corners with folded sandpaper.
- Avoid coarse sandpaper that leaves deep scratches.
- Wear gloves to keep skin oils off the clean surface.
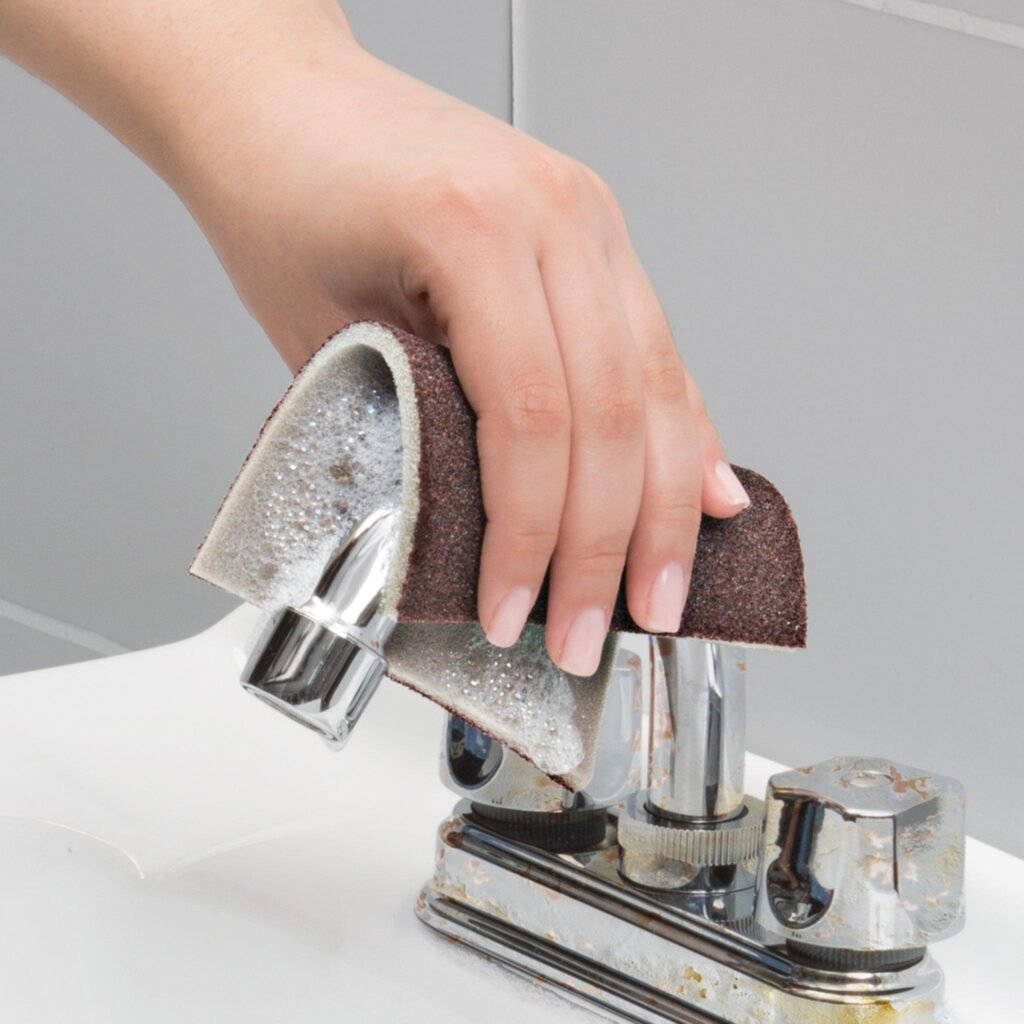
Pro Tip: If you’re painting chrome, spend an extra minute sanding. Chrome has an extremely slick finish, and proper sanding dramatically improves paint adhesion.
Step 3: Mask Everything You Don’t Want Painted
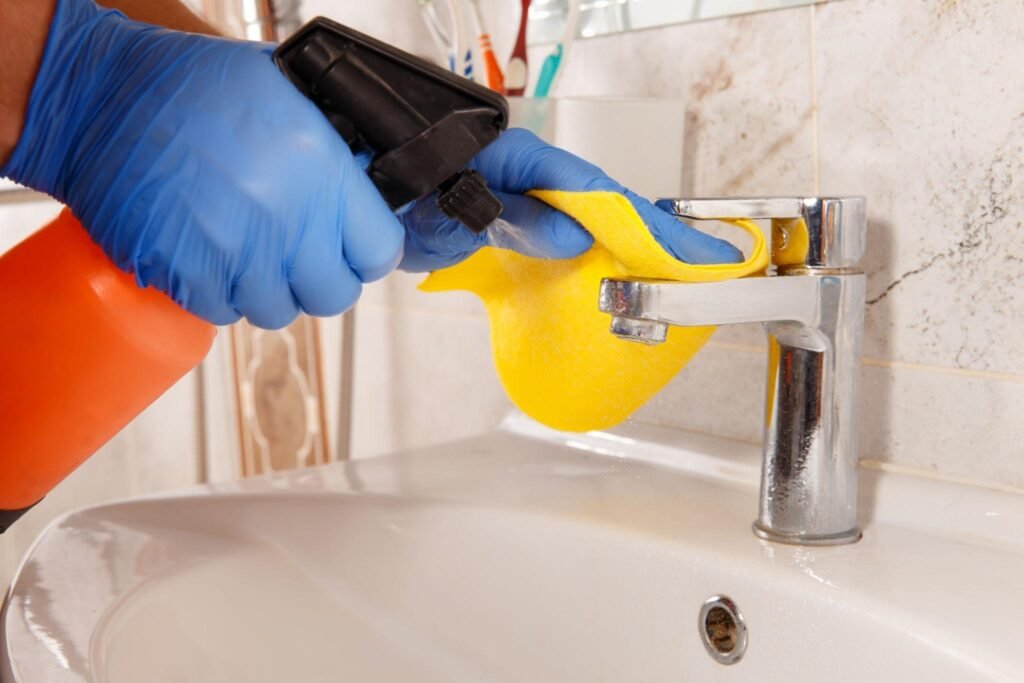
Paint has an amazing ability to land exactly where you don’t want it. Spend a little extra time masking now, and you’ll save yourself a frustrating cleanup later.
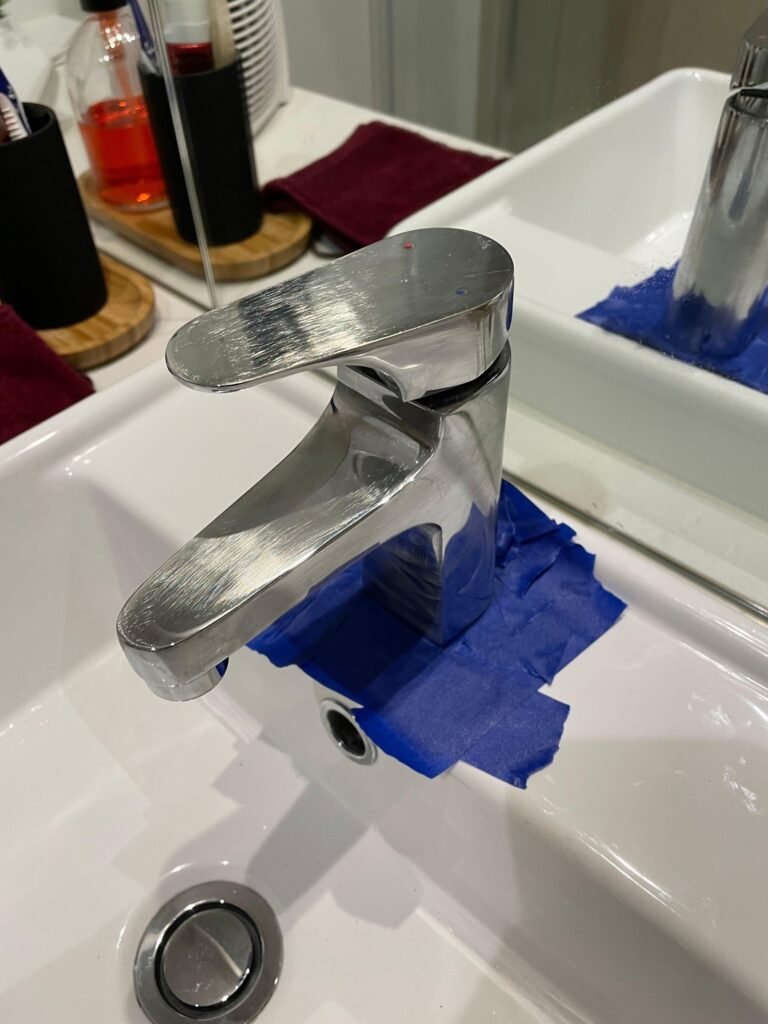
Cover sinks, countertops, mirrors, walls, and flooring with plastic sheeting or drop cloths. Apply painter’s tape carefully around the edges of each fixture.
Double-check every angle before spraying. Ever noticed that one tiny uncovered spot somehow attracts overspray? It happens more often than you’d think.
Masking Tips
- Cover large areas with plastic instead of newspaper.
- Press tape edges firmly to prevent paint bleed.
- Remove outlet covers if they’re nearby.
- Protect nearby light fixtures and cabinets.
Bonus Tip: Remove towel bars, cabinet handles, and toilet paper holders if possible. Painting them on a flat surface usually produces a smoother finish.
Step 4: Apply a Self-Etching Primer
Primer acts like the bridge between the metal and the paint. Skipping primer often leads to chipping, peeling, and disappointment.
Shake the can for at least one minute. Hold it about 8 to 10 inches away from the fixture and spray using smooth, even passes.
Apply one light coat instead of trying to cover everything immediately.
Let the primer dry according to the manufacturer’s instructions before adding another coat if needed.
Why Self-Etching Primer Works Best
Self-etching primer slightly bites into the metal surface, creating a stronger bond than standard primers.
It works especially well on:
- Chrome
- Brass
- Stainless steel
- Aluminum
- Galvanized metal
Primer Tips
- Keep the spray can moving continuously.
- Overlap each pass slightly.
- Spray beyond the edges before stopping.
- Allow proper drying time.
Pro Tip: Don’t panic if the primer doesn’t completely hide the original finish. Its job is adhesion, not perfect color coverage.
Step 5: Spray Paint Using Thin, Even Coats
This is where the transformation finally begins.
The biggest mistake beginners make? They spray one heavy coat because they want instant results. Unfortunately, gravity loves wet paint, so runs and drips quickly appear.
Instead, apply multiple thin coats.
Hold the spray can 8 to 12 inches from the fixture. Start spraying before reaching the fixture and continue beyond it before releasing the nozzle.
This technique creates much smoother coverage.
Best Painting Technique
- Shake the can well.
- Spray in long, smooth passes.
- Overlap each pass by about 50%.
- Wait 10–15 minutes between coats.
- Apply 3–4 light coats.
You’ll notice the finish becoming richer with every coat.
Painting Tips
- Paint in temperatures between 60°F and 85°F.
- Avoid windy conditions if working outdoors.
- Rotate removable hardware between coats.
- Check every angle for missed spots.
Bonus Tip: FYI, patience beats speed every single time. Thin coats may seem slow, but they produce a finish that looks much more professional.
Step 6: Allow the Paint to Dry and Cure Properly
Dry paint and cured paint aren’t the same thing.
A fixture might feel dry after an hour, but the coating continues hardening for several days.
Typical drying schedule:
- Touch dry: 20–60 minutes
- Recoat: 15–30 minutes (follow the paint instructions)
- Handle carefully: 24 hours
- Full cure: 5–7 days
Avoid cleaning, scrubbing, or exposing the fixture to heavy moisture until the paint fully cures.
Waiting isn’t the exciting part of the project, but it makes a huge difference in durability.
Drying Tips
- Increase ventilation with fans.
- Keep dust away from fresh paint.
- Avoid touching the surface to “check” if it’s dry.
- Follow the paint manufacturer’s curing recommendations.
Pro Tip: If possible, wait a full week before using newly painted faucets heavily. That extra patience helps the finish resist scratches much better.
Best Colors for Spray Painted Bathroom Fixtures
One of the most enjoyable parts of this project involves choosing the finish. The right color can completely change the personality of your bathroom without replacing a single fixture.
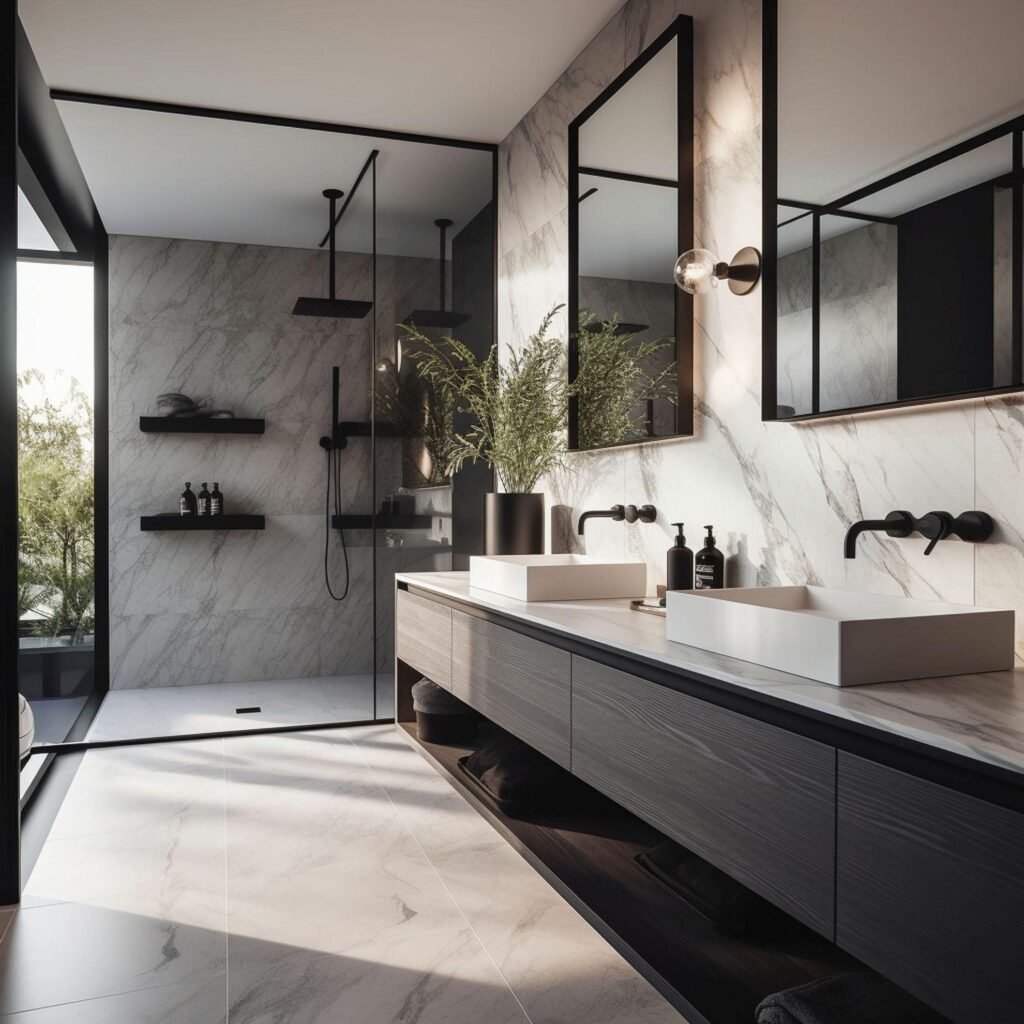
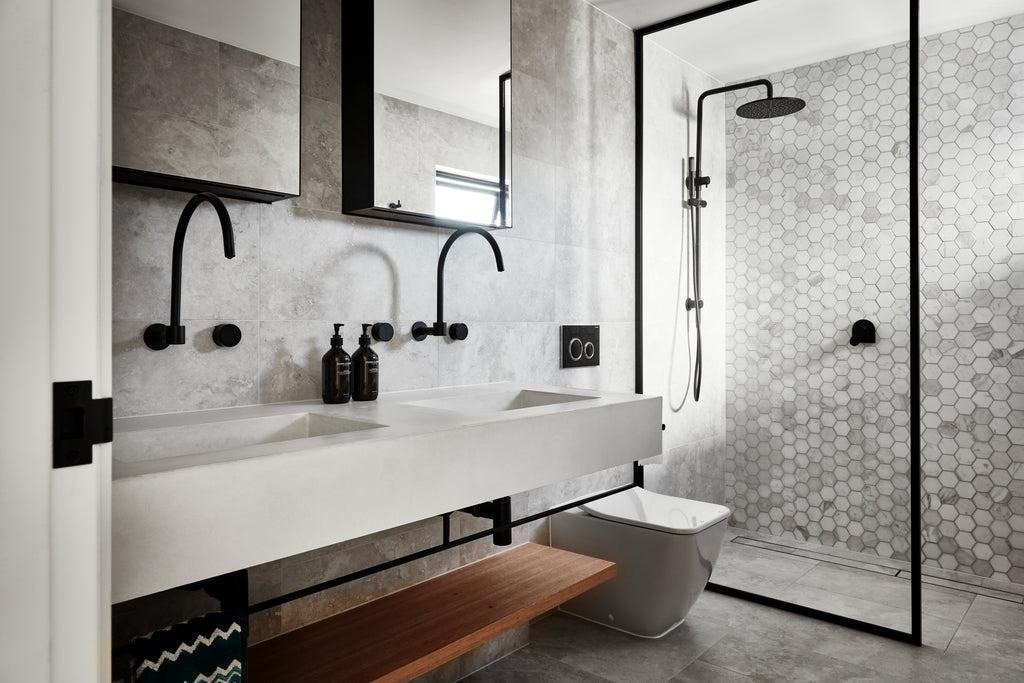
Matte Black
Matte black remains one of the most popular choices because it creates a clean, modern look.
It pairs beautifully with:
- White subway tile
- Marble countertops
- Wood vanities
- Minimalist décor
Satin Nickel
If you prefer something timeless, satin nickel offers a soft metallic finish that works with almost every bathroom style.
Great combinations include:
- Gray walls
- White cabinetry
- Brushed metal accessories
- Neutral color palettes
Oil-Rubbed Bronze
This finish creates warmth and character.
It looks fantastic alongside:
- Rustic décor
- Farmhouse bathrooms
- Beige stone countertops
- Dark wood cabinets
Gold or Champagne Bronze
Gold fixtures continue gaining popularity, especially in contemporary and luxury-inspired bathrooms.
Pair them with:
- White marble
- Navy blue walls
- Emerald green accents
- Warm lighting
Bonus Tip: Try matching your faucet, towel bars, cabinet handles, and mirror frame. Coordinated finishes instantly make the room feel more expensive without actually spending much more.
Durability: How Long Do Spray Painted Bathroom Fixtures Last?
One of the biggest questions people ask is, “Will the paint actually last?” The short answer is yes—if you prepare the surface properly and use quality products.
In my experience, properly painted bathroom fixtures can stay attractive for three to five years or even longer. High-traffic faucets may show wear sooner than towel bars or mirror frames, but careful preparation makes a huge difference.
Several factors affect durability:
- Quality of the primer and spray paint
- How well you cleaned and sanded the surface
- Bathroom humidity levels
- Frequency of cleaning
- Daily wear and tear
Would I trust a rushed one-coat paint job? Not a chance. A little patience during prep pays off every single day.
Durability Tips
- Avoid abrasive scrubbers.
- Wipe fixtures dry after heavy use.
- Repair small chips before they spread.
- Use gentle bathroom cleaners.
Bonus Tip: If a tiny chip appears after a few years, lightly sand the area and apply a small touch-up coat instead of repainting the entire fixture.
Common Mistakes to Avoid
Even experienced DIYers make mistakes from time to time. The good news? Most of them are easy to avoid.
1. Skipping Surface Preparation
Dirty fixtures and glossy finishes prevent paint from bonding properly.
2. Using the Wrong Paint
Wall paint belongs on walls—not on metal fixtures.
3. Spraying Heavy Coats
Heavy coats almost always create drips and uneven texture.
4. Ignoring Drying Times
Touching the fixture too soon leaves fingerprints and smudges.
5. Painting in Poor Conditions
Very humid or extremely cold weather slows drying and affects the finish.
Mistake Prevention Checklist
- ✔ Clean thoroughly.
- ✔ Sand lightly.
- ✔ Use self-etching primer.
- ✔ Apply thin coats.
- ✔ Let the paint cure completely.
Pro Tip: Don’t rush because you’re excited to see the finished result. Ironically, slowing down usually helps you finish faster since you won’t need to fix mistakes.
How to Maintain Spray Painted Bathroom Fixtures
Once you’ve transformed your bathroom, you’ll want to keep those fixtures looking fresh.
Fortunately, maintenance requires very little effort.
Weekly Care
Use:
- Warm water
- Mild dish soap
- Soft microfiber cloth
Avoid:
- Steel wool
- Scouring pads
- Bleach-based cleaners
- Abrasive powders
These harsh products slowly wear away the painted finish.
Monthly Maintenance
Inspect fixtures for:
- Tiny scratches
- Loose hardware
- Water spots
- Soap buildup
Clean minor stains before they become permanent.
Bonus Tip: Dry your faucet with a microfiber towel after cleaning. It takes less than a minute and helps prevent mineral deposits.
Should You Spray Paint Bathroom Faucets?
Absolutely—but keep your expectations realistic.
Spray painting works best as a budget-friendly cosmetic upgrade.
If your faucet leaks, corrodes internally, or has severe rust damage, replacing it makes more sense than painting it.
Choose spray painting if:
- The fixture works perfectly.
- You dislike the finish.
- You want an affordable bathroom makeover.
- You’re updating the room before selling your home.
Replace the fixture if:
- It leaks.
- It has structural damage.
- The finish is flaking badly.
- Internal parts no longer function correctly.
Personally, I always ask one simple question: “Does it work?” If the answer is yes, painting often makes much more financial sense.
Cost Comparison: Paint vs. Replace
Let’s talk numbers.
Replacing every bathroom fixture can become surprisingly expensive.
| Option | Estimated Cost |
| Spray paint supplies | $30–$70 |
| New faucet | $80–$300+ |
| Matching towel bars | $40–$120 |
| Toilet paper holder | $20–$50 |
| Professional installation | $100–$300 |
For many bathrooms, painting saves hundreds of dollars while delivering a fresh, modern appearance.
Frequently Asked Questions
Can I spray paint chrome bathroom fixtures?
Yes. Clean, sand, and apply a self-etching primer before painting for the best results.
Do I need to remove the fixtures first?
Not always.
You can paint many fixtures in place if you mask surrounding surfaces carefully. Removing hardware often produces a smoother finish, but it isn’t mandatory.
What finish lasts the longest?
Matte, satin, and semi-gloss finishes generally hide scratches better than high-gloss finishes.
Can I use regular wall paint?
No.
Wall paint isn’t designed for metal surfaces or constant moisture exposure. Always choose a spray paint formulated for metal.
How many coats should I apply?
Plan on three to four light coats rather than one heavy coat.
Will hot water damage painted faucets?
Not if the paint cures completely and you use products designed for metal. Properly cured coatings handle normal bathroom temperatures well.
Can I paint shower fixtures too?
Yes, but expect shower fixtures to experience more wear because they face frequent water exposure. Careful preparation and high-quality paint become even more important.
Final Thoughts
Learning how to spray paint bathroom fixtures gives you one of the highest-impact bathroom upgrades for one of the lowest costs.
With the right primer, quality spray paint, and a little patience, you can completely transform outdated faucets, towel bars, cabinet hardware, and other fixtures without replacing them. Preparation always determines the final result, so don’t skip the cleaning, sanding, or curing stages.
Whether you choose matte black, satin nickel, oil-rubbed bronze, or a stylish gold finish, you’ll create a bathroom that feels newer, cleaner, and far more personalized. The best part? Every time someone compliments your “new” fixtures, you’ll know the secret—and your budget will still be smiling.
If you’ve been putting off a bathroom refresh because of the cost, grab a can of quality spray paint, set aside a weekend, and give your fixtures a second life. You might be surprised by just how dramatic the transformation can be.